Введение
This guide illustrates how to remove the upper rear panel from the Nintendo 2DS to access the battery and other parts of the device.
Выберете то, что вам нужно
-
-
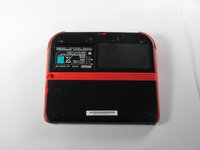
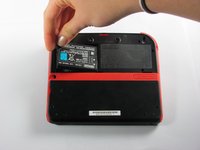
Remove the two Phillips captive screws securing the upper rear panel.
 Спросите у FixBot
-
-
-
-
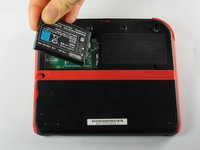
Remove the battery from its housing by lifting it up from the side closest to the outside edge.
-


To reassemble your device, follow these instructions in reverse order.
Отменить: Я не выполнил это руководство.
46 человек успешно провели ремонт по этому руководству.
Команда

Cal Poly, Team 70-1, Forte Winter 2015 Участник Cal Poly, Team 70-1, Forte Winter 2015
CPSU-FORTE-W15S70G1
4 членов
Автор 36 руководств
7 Комментарии к руководству
The only thing I was trying to figure out is if the bezel came up with the panel, and it’s not clear from these photos. For the record, it does not.
This didnt help my problem
maybe its because you did not plug the battery correctly matthew
or maybe its just not working ludovic 🫡
Who knows, will the same battery, instead of 1300mah in original, 2000mah in 'fake' works with 2DS?