Этот перевод был сделан машиной и пока не проверен человеком. Говорите на этом языке? Просмотрите его.
Введение
Используйте это руководство для замены неисправного DVD-привода. В зависимости от вашей новой детали, возможно, потребуется переставить четыре резиновых втулки с корпуса старого DVD-привода.
Выберете то, что вам нужно
-
-
-
Используйте металлическую лопатку (spudger), чтобы снять белые пластиковые заглушки винтов, приклеенные к нижней части корпуса у передней панели Wii.
 Спросите у FixBot
-
-
-
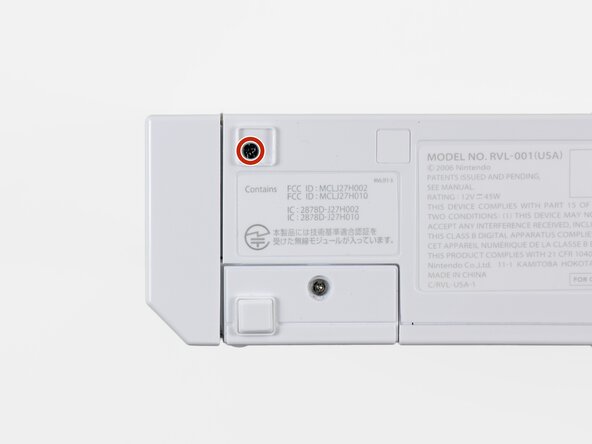
Открутите два винта Tri-Point длиной 8,3 мм, скрытые под крышками, которые вы только что сняли.
-
-
-
Открутите один винт Phillips длиной 5,9 мм, расположенный под дверцей порта контроллера ближе к передней панели.
-
-
-
Используйте металлическую лопатку, чтобы снять резиновую ножку, приклеенную к боковой стороне Wii рядом с отверстием дисковода.
-
-
-
Открутите один винт Phillips длиной 5,9 мм, спрятанный под ножкой, которую вы только что сняли.
-
-
Инструмент, используемый на этом этапе:Tweezers$4.99
-
-
-
-
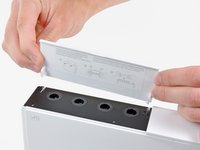
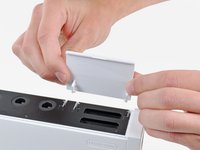
Откройте крышку разъема контроллера так, чтобы она встала перпендикулярно черной рамке разъема контроллера.
-
Потяните крышку разъема контроллера строго вверх, чтобы отсоединить ее от внешнего корпуса.
-
-
-
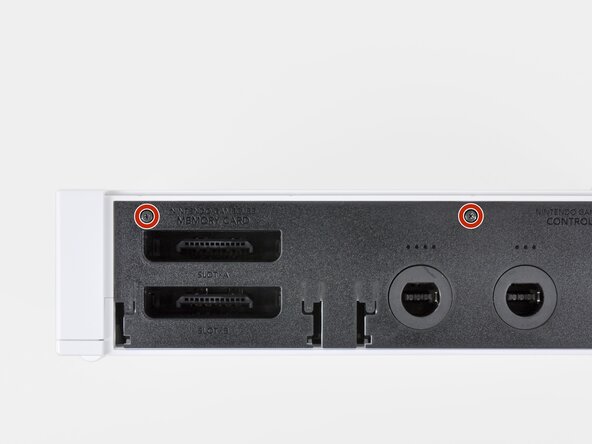
Открутите два оставшихся винта Phillips длиной 4,1 мм вдоль верхнего края рамки разъемов контроллеров, выполненной из черного пластика.
-
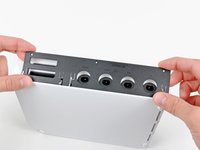
Приподнимите рамку за длинный край, наиболее удаленный от разъемов контроллеров, и снимите её с Wii.
-
-
-
-
Используйте металлическую лопатку (spudger), чтобы снять три отмеченные крышки винтов, приклеенные к боковой стороне консоли Wii.
-
-
-
Открутите следующие винты:
-
Два винта Phillips длиной 5 мм
-
Один винт Tri-Point длиной 8,2 мм
-
-
-
Используйте металлическую лопатку, чтобы снять две резиновые ножки, приклеенные к нижней грани Wii рядом с задними разъемами.
-
-
Инструмент, используемый на этом этапе:iFixit Precision 4 mm Screwdriver Bit$2.99
-
Выкрутите два 8,2-мм винта с трехлопастной головкой (Tri-Point), скрытых под ножками, которые вы только что сняли.
-
-
-
Снимите внешний корпус, потянув его прямо вверх относительно основного блока Wii.
-
-
-
-
-
Открутите маленький винт Phillips, удерживающий крышку батарейного отсека на нижней панели.
-
Извлеките крышку батарейного отсека из консоли Wii.
-
-
-
Открутите винт Tri-Point длиной 8,2 мм, который был скрыт под крышкой аккумуляторного отсека.
-
-
-
Открутите два винта Tri-Point длиной 8,2 мм, которыми крепится экран привода DVD рядом с портами контроллера.
-
-
-
Открутите четыре винта Phillips длиной 9 мм, крепящие привод DVD к нижней панели.
-
-
-
Приподнимите сторону привода DVD, противоположную портам контроллера, настолько, чтобы получить доступ к кабелям на его нижней панели.
-
Осторожно вытяните кабель питания привода DVD из-под пластикового кожуха рядом с радиатором.
-
-
-
Отсоедините кабель питания DVD-привода от разъема на самом приводе.
-
-
-
Используйте ноготь, чтобы откинуть вверх фиксирующий клапан разъема шлейфа привода DVD.
-
Вытяните шлейф привода DVD из разъема.
-
Извлеките привод DVD из Wii.
-
-
-
-
-
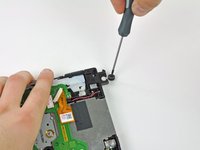
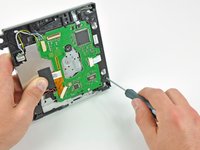
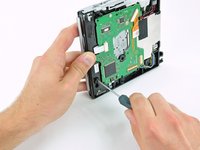
Вставьте кончик длинной тонкой отвертки в отверстие в центре первого уплотнителя на задней части корпуса DVD-привода.
-
Потяните уплотнитель прямо от корпуса DVD-привода, пока он не выйдет из паза.
-
-
-
Повторите процедуру, описанную в предыдущем шаге, для второго резинового уплотнителя на задней части корпуса DVD-привода.
-
-
-
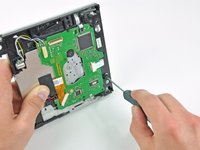
Вставьте кончик тонкой отвертки в отверстие в центре нижней резиновой втулки на передней части корпуса DVD-привода.
-
Потяните отвертку прямо вверх, пока втулка не отделится.
-
-
-
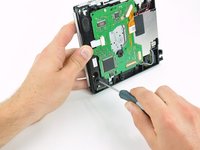
Повторите процедуру с предыдущего шага, чтобы извлечь второй резиновый уплотнитель с передней части корпуса дисковода.
-
-




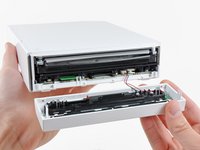
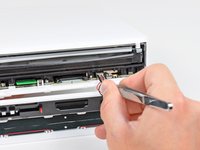


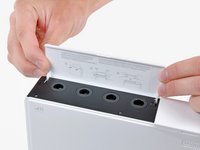




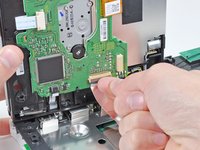
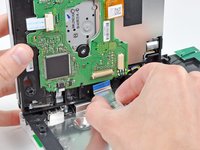


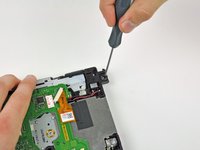
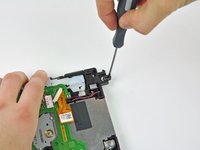




Для сборки устройства выполните эти действия в обратном порядке.
Отменить: Я не выполнил это руководство.
469 человек успешно провели ремонт по этому руководству.

107 Комментарии к руководству
Brilliant guide. I had the drive swapped in 10 mins and my son is over the moon.
My Wii stopped reading disks and there was a bad clicking noise when trying to read disks. I swapped it out with a new one by following this guide and it works perfectly now! I could not be more pleased. Great guide!
This was exact and awesome. I ordered a drive online and installed it using these very exact and useful instructions. worked perfectly, and two little people are quite happy. Thanks again.
I need the video here is one: http://www.youtube.com/watch?v=u0qXRq8hB...
Excellent Guide!! Very descriptive.
