Перейти к основному содержанию
Присоединяйся к сообществу ремонтников - Создай аккаунт

Nokia 1100b RH-36 Screen Replacement

Выберете то, что вам нужно

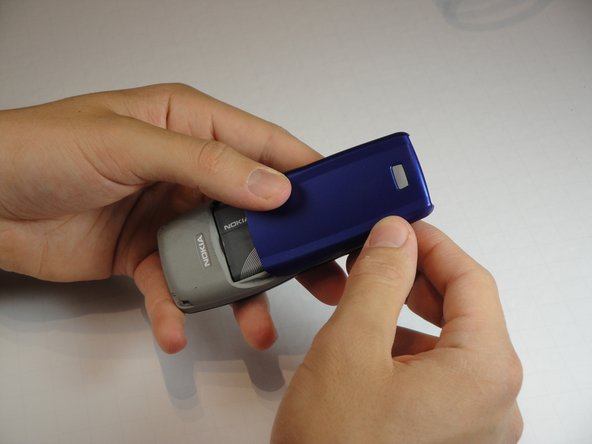
    1. Nokia 1100b RH-36 Screen Replacement, Battery Cover: шаг 1, изображение 1 из 2 Nokia 1100b RH-36 Screen Replacement, Battery Cover: шаг 1, изображение 2 из 2
      • Flip the phone over so that the screen faces down.

      • Press the gray button on the battery cover and slide it down off the back of the phone.

      Спросите у FixBot

      Добавить комментарий

    2. Nokia 1100b RH-36 Screen Replacement, Battery: шаг 2, изображение 1 из 1
      • Wedge the flat end of the spudger into the small indent next to the Nokia logo on the battery.

      • Gently pry the battery out of the phone.

      Спросите у FixBot

      Добавить комментарий

    1. Nokia 1100b RH-36 Screen Replacement, Front Cover: шаг 3, изображение 1 из 2 Nokia 1100b RH-36 Screen Replacement, Front Cover: шаг 3, изображение 2 из 2
      • Firmly grip the back of the casing.

      • Separate the front and back casings either by pulling them apart from the middle or gently prying the front off with your fingers from the bottom.

      • Be sure not to bend the casing too much when prying from the bottom. Failure to do so may cause it to crack.

      Спросите у FixBot

      Добавить комментарий

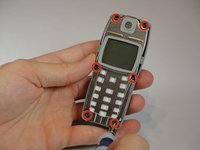
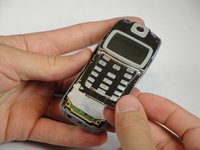
    1. Nokia 1100b RH-36 Screen Replacement, Inner Casing: шаг 4, изображение 1 из 2 Nokia 1100b RH-36 Screen Replacement, Inner Casing: шаг 4, изображение 2 из 2
      • Remove the six 6mm T6 Torx screws around the edge of the front of the phone.

      • Remove the metal frame holding the screen and speaker.

      Спросите у FixBot

      Добавить комментарий

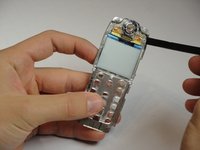
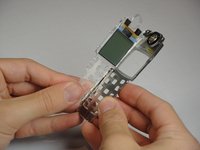
    1. Nokia 1100b RH-36 Screen Replacement, Screen: шаг 5, изображение 1 из 2 Nokia 1100b RH-36 Screen Replacement, Screen: шаг 5, изображение 2 из 2
      • Flip over the metal frame you just removed.

      • Using the flat end of the spudger, pry apart the inner clear plastic frame with screen attached from the metal frame.

      • Remove the screen bearing plastic frame.

      Спросите у FixBot

      Добавить комментарий

Заключение

To reassemble your device, follow these instructions in reverse order.

Отменить: Я не выполнил это руководство.

2 человек успешно провели ремонт по этому руководству.

JSwan

Участник с: 04/12/13

811 Репутация

Автор 6 руководств

Команда

Cal Poly, Team 10-43, Amido Spring 2013 Участник Cal Poly, Team 10-43, Amido Spring 2013

CPSU-AMIDO-S13S10G43

4 членов

Автор 49 руководств

0 Комментарии к руководству

Добавить комментарий

Статистика просмотров:

За последние 24 часов: 0

За последние 7 дней: 8

За последние 30 дней: 32

За всё время: 2,464