Перейти к основному содержанию
Присоединяйся к сообществу ремонтников - Создай аккаунт

Nokia 6010 Charger Connector Replacement

Выберете то, что вам нужно

    1. Nokia 6010 Charger Connector Replacement, Battery: шаг 1, изображение 1 из 3 Nokia 6010 Charger Connector Replacement, Battery: шаг 1, изображение 2 из 3 Nokia 6010 Charger Connector Replacement, Battery: шаг 1, изображение 3 из 3
      • Press the small tab on the bottom of the back of the phone.

      • Push the back case upward towards the power button. The back case will then pop off.

      • It requires some force, so be careful.

      Спросите у FixBot

      Добавить комментарий

    2. Nokia 6010 Charger Connector Replacement: шаг 2, изображение 1 из 2 Nokia 6010 Charger Connector Replacement: шаг 2, изображение 2 из 2
      • Lift the battery near the bottom and pry up.

      Спросите у FixBot

      Добавить комментарий

    1. Nokia 6010 Charger Connector Replacement, SIM Card: шаг 3, изображение 1 из 1
      • With one hand, press the ridged tab near the visible side of the SIM card.

      • Slide the card out with your other hand.

      Спросите у FixBot

      Добавить комментарий

    1. Nokia 6010 Charger Connector Replacement, Keypad: шаг 4, изображение 1 из 2 Nokia 6010 Charger Connector Replacement, Keypad: шаг 4, изображение 2 из 2
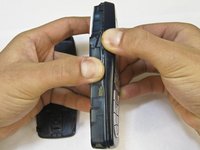
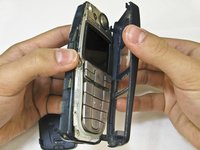
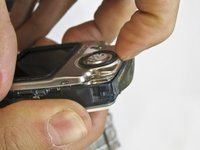
      • Grip the phone on either the sides, the top, or the bottom.

      • Pull the front case away from the rest of the phone.

      • There are no special tabs to keep it in place so it should wiggle free easily.

      Спросите у FixBot

      Добавить комментарий

    2. Nokia 6010 Charger Connector Replacement: шаг 5, изображение 1 из 1
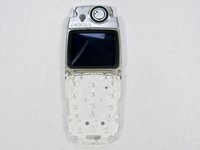
      • Lift the keypad away from the body of the phone.

      • The keypad is the rubber-backed piece with the number keys.

      Спросите у FixBot

      Добавить комментарий

    1. Nokia 6010 Charger Connector Replacement, LCD Screen and Speaker: шаг 6, изображение 1 из 2 Nokia 6010 Charger Connector Replacement, LCD Screen and Speaker: шаг 6, изображение 2 из 2
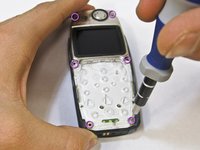
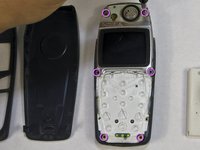
      • Remove the six screws around the front of the phone body with a T6 screwdriver.

      Спросите у FixBot

      Добавить комментарий

    2. Nokia 6010 Charger Connector Replacement: шаг 7, изображение 1 из 3 Nokia 6010 Charger Connector Replacement: шаг 7, изображение 2 из 3 Nokia 6010 Charger Connector Replacement: шаг 7, изображение 3 из 3
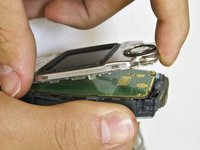
      • Insert your finger underneath the speaker piece and pry away from the phone body.

      • The plastic layer containing the LCD screen and speaker takes some force to remove.

      • There are 4 plastic tabs which keep it in place, but they are hard to press. Be careful and go tab by tab or use a spudger if you are nervous about using too much force.

      • The LCD and the speaker are attached to the same piece and must be replaced together.

      Спросите у FixBot

      Добавить комментарий

    1. Nokia 6010 Charger Connector Replacement, Logic Board: шаг 8, изображение 1 из 2 Nokia 6010 Charger Connector Replacement, Logic Board: шаг 8, изображение 2 из 2
      • Slide the rubber power button away from the body of the phone.

      • The power button is the rubber piece on the top of the phone.

      Спросите у FixBot

      Добавить комментарий

    2. Nokia 6010 Charger Connector Replacement: шаг 9, изображение 1 из 3 Nokia 6010 Charger Connector Replacement: шаг 9, изображение 2 из 3 Nokia 6010 Charger Connector Replacement: шаг 9, изображение 3 из 3
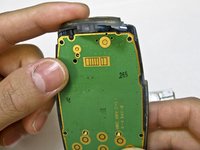
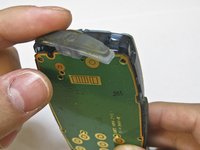
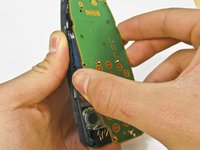
      • Insert a finger between the phone body and logic board.

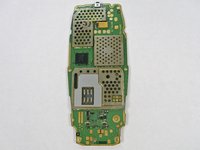
      • The logic board is the green plastic piece with circuitry attached.

      • Pull the board away gently.

      • The board is delicate and contains electronic parts. Be careful while removing it.

      Спросите у FixBot

      Добавить комментарий

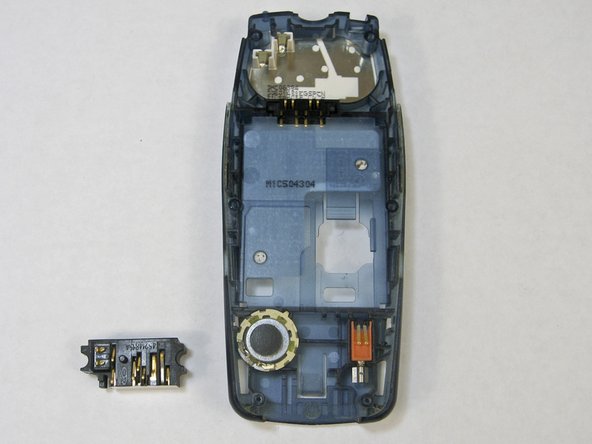
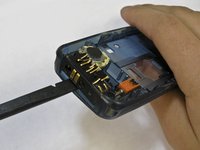
    1. Nokia 6010 Charger Connector Replacement, Charger Connector: шаг 10, изображение 1 из 3 Nokia 6010 Charger Connector Replacement, Charger Connector: шаг 10, изображение 2 из 3 Nokia 6010 Charger Connector Replacement, Charger Connector: шаг 10, изображение 3 из 3
      • Insert a spudger tool between the phone casing and the charger connector.

      • Pry the key away from the phone gently.

      • Be careful not to bend the metal leads while handling the power key.

      Спросите у FixBot

      Добавить комментарий

Заключение

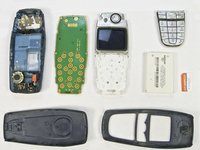
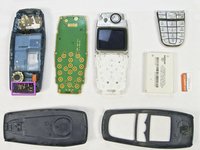
To reassemble your device, follow these instructions in reverse order.

Отменить: Я не выполнил это руководство.

Еще один человек закончил это руководство.

Nicholas Hanne

Участник с: 01/20/10

129 Репутация

Автор 8 руководств

Команда

Cal Poly, Team 14-45, Regan Winter 2010 Участник Cal Poly, Team 14-45, Regan Winter 2010

CPSU-REGAN-W10S14G45

5 членов

Автор 56 руководств

0 Комментарии к руководству

Добавить комментарий

Статистика просмотров:

За последние 24 часов: 0

За последние 7 дней: 12

За последние 30 дней: 44

За всё время: 4,664