Перейти к основному содержанию
Присоединяйся к сообществу ремонтников - Создай аккаунт

Nokia 6086 Logic Board Replacement

Выберете то, что вам нужно

    1. Nokia 6086 Logic Board Replacement, Battery: шаг 1, изображение 1 из 1
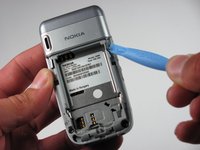
      • Turn off the phone.

      • Check if there is a microSD card in the slot behind the door on the side. If so, remove it by first pushing it in, then pulling it out.

      • Position the phone so that the back side is in view.

      Спросите у FixBot

      Добавить комментарий

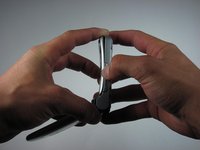
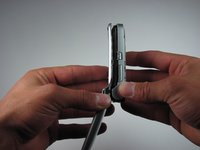
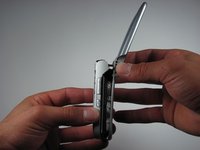
    2. Nokia 6086 Logic Board Replacement: шаг 2, изображение 1 из 3 Nokia 6086 Logic Board Replacement: шаг 2, изображение 2 из 3 Nokia 6086 Logic Board Replacement: шаг 2, изображение 3 из 3
      • Remove the back battery cover.

      • Apply pressure on the cover while simultaneously sliding the cover downward.

      Спросите у FixBot

      Добавить комментарий

    3. Nokia 6086 Logic Board Replacement: шаг 3, изображение 1 из 3 Nokia 6086 Logic Board Replacement: шаг 3, изображение 2 из 3 Nokia 6086 Logic Board Replacement: шаг 3, изображение 3 из 3
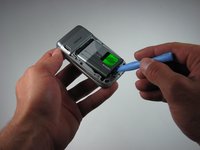
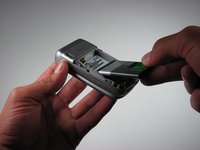
      • Insert the iPod opening tool between the base of the phone and the phone battery.

      • Position the phone so that the battery won't fall out of the phone.

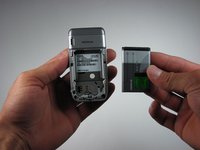
      • The battery lifts out of the phone fast and easily.

      • Carefully lift the battery out of the phone.

      Спросите у FixBot

      Добавить комментарий

    1. Nokia 6086 Logic Board Replacement, Upper Back Cover: шаг 4, изображение 1 из 1
      • Turn the phone so that the back of the phone is facing forward.

      • The picture to the left shows the location of the plastic tabs that attach to the upper cover of the phone.

      • In this picture, the upper cover has already been removed.

      Спросите у FixBot

      Добавить комментарий

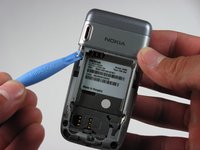
    2. Nokia 6086 Logic Board Replacement: шаг 5, изображение 1 из 2 Nokia 6086 Logic Board Replacement: шаг 5, изображение 2 из 2
      • Place the iPod opening tool under the tabs near the top of the phone.

      • Slide the iPod Opening Tool upwards.

      • This will pop the tabs and release the upper part of the phone.

      • Repeat for the left and the right sides.

      Спросите у FixBot

      Добавить комментарий

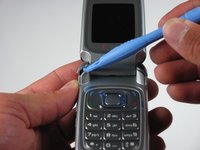
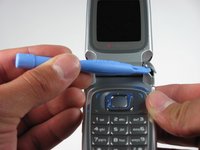
    3. Nokia 6086 Logic Board Replacement: шаг 6, изображение 1 из 2 Nokia 6086 Logic Board Replacement: шаг 6, изображение 2 из 2
      • Place the iPod opening tool at the top area of the bottom section of the phone (indicated in picture).

      • Lift the iPod opening tool to pop open the clips.

      • This will release the upper back cover of the phone.

      • Repeat for the left and the right sides.

      Спросите у FixBot

      Добавить комментарий

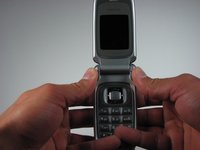
    4. Nokia 6086 Logic Board Replacement: шаг 7, изображение 1 из 3 Nokia 6086 Logic Board Replacement: шаг 7, изображение 2 из 3 Nokia 6086 Logic Board Replacement: шаг 7, изображение 3 из 3
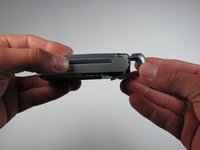
      • Push upward on the top back cover using two thumbs.

      • This will remove the top back cover from the phone.

      Спросите у FixBot

      Добавить комментарий

    1. Nokia 6086 Logic Board Replacement, Base of The Phone: шаг 8, изображение 1 из 2 Nokia 6086 Logic Board Replacement, Base of The Phone: шаг 8, изображение 2 из 2
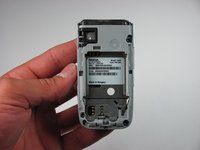
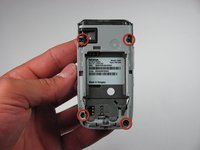
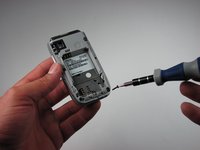
      • Locate the four screws.

      • Remove the screws using a T6 Torx screwdriver.

      Спросите у FixBot

      Добавить комментарий

    2. Nokia 6086 Logic Board Replacement: шаг 9, изображение 1 из 2 Nokia 6086 Logic Board Replacement: шаг 9, изображение 2 из 2
      • Turn the phone over.

      • Gently pull apart the phone.

      • Start at the bottom of the phone and pull outward.

      • There are plastic catches on the middle of each side. These should pop free as you pull.

      • Be careful, the phone will separate into two sections.

      Спросите у FixBot

      Добавить комментарий

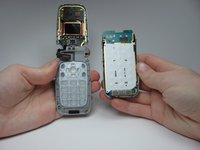
    3. Nokia 6086 Logic Board Replacement: шаг 10, изображение 1 из 2 Nokia 6086 Logic Board Replacement: шаг 10, изображение 2 из 2
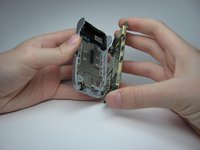
      • The phone should now be in two different sections.

      • 1) The logic board and the back cover

      • 2) The keypad and the rest of the phone

      Спросите у FixBot

      Добавить комментарий

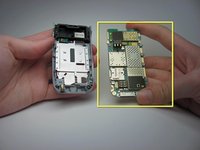
    1. Nokia 6086 Logic Board Replacement, Logic Board: шаг 11, изображение 1 из 2 Nokia 6086 Logic Board Replacement, Logic Board: шаг 11, изображение 2 из 2
      • Remove the logic board from the back cover of the phone.

      Спросите у FixBot

      Добавить комментарий

Заключение

To reassemble your device, follow these instructions in reverse order.

Отменить: Я не выполнил это руководство.

Еще один человек закончил это руководство.

Andrea

Участник с: 04/15/10

70 Репутация

Автор 5 руководств

Команда

Cal Poly, Team 26-30, Regan Spring 2010 Участник Cal Poly, Team 26-30, Regan Spring 2010

CPSU-REGAN-S10S26G30

4 членов

Автор 63 руководств

0 Комментарии к руководству

Добавить комментарий

Статистика просмотров:

За последние 24 часов: 0

За последние 7 дней: 7

За последние 30 дней: 26

За всё время: 2,067