Перейти к основному содержанию
Присоединяйся к сообществу ремонтников - Создай аккаунт

Nokia 8390 Charging Port Replacement

Выберете то, что вам нужно

    1. Nokia 8390 Charging Port Replacement, Back Cover: шаг 1, изображение 1 из 1
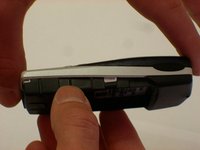
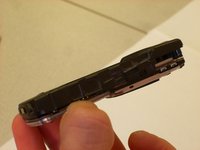
      • Locate the button on the bottom of the back cover.

      Спросите у FixBot
      Добавить комментарий

    2. Nokia 8390 Charging Port Replacement: шаг 2, изображение 1 из 3 Nokia 8390 Charging Port Replacement: шаг 2, изображение 2 из 3 Nokia 8390 Charging Port Replacement: шаг 2, изображение 3 из 3
      • Depress the button with your finger.

      • While the button is depressed, slide the back cover off of the phone.

      Спросите у FixBot
      Добавить комментарий

    1. Nokia 8390 Charging Port Replacement, Outer Case: шаг 3, изображение 1 из 3 Nokia 8390 Charging Port Replacement, Outer Case: шаг 3, изображение 2 из 3 Nokia 8390 Charging Port Replacement, Outer Case: шаг 3, изображение 3 из 3
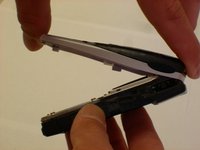
      • Grasp the top and bottom of the front cover.

      • Grasp the phone body with your other hand.

      • Lightly pull the casing off of the phone.

      Спросите у FixBot
      Добавить комментарий

    1. Nokia 8390 Charging Port Replacement, Motherboard: шаг 4, изображение 1 из 3 Nokia 8390 Charging Port Replacement, Motherboard: шаг 4, изображение 2 из 3 Nokia 8390 Charging Port Replacement, Motherboard: шаг 4, изображение 3 из 3
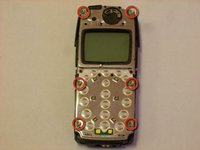
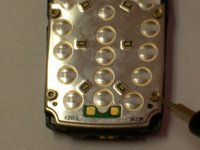
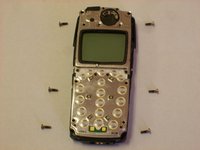
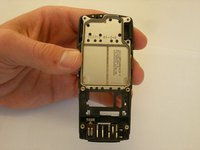
      • Locate the six star-shaped screws on the phone.

      • Note: There are two on the bottom end, two in the middle, and two on the top end.

      • Remove these screws using the screwdriver.

      Спросите у FixBot

      Добавить комментарий

    2. Nokia 8390 Charging Port Replacement: шаг 5, изображение 1 из 3 Nokia 8390 Charging Port Replacement: шаг 5, изображение 2 из 3 Nokia 8390 Charging Port Replacement: шаг 5, изображение 3 из 3
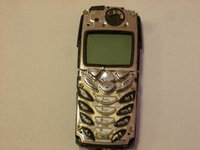
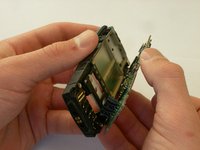
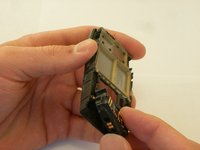
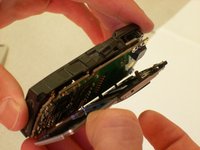
      • Grab the top and bottom of the phone casing.

      • Carefully pull the motherboard apart from the bottom casing.

      • The circuit board should be divided into two parts.

      Спросите у FixBot

      Добавить комментарий

    3. Nokia 8390 Charging Port Replacement: шаг 6, изображение 1 из 3 Nokia 8390 Charging Port Replacement: шаг 6, изображение 2 из 3 Nokia 8390 Charging Port Replacement: шаг 6, изображение 3 из 3
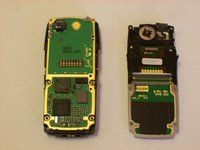
      • Grab the top and bottom of the remaining casing.

      • Carefully pull apart the casing from the circuit board.

      Спросите у FixBot

      Добавить комментарий

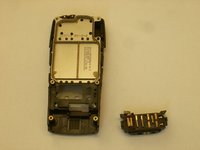
    4. Nokia 8390 Charging Port Replacement: шаг 7, изображение 1 из 1
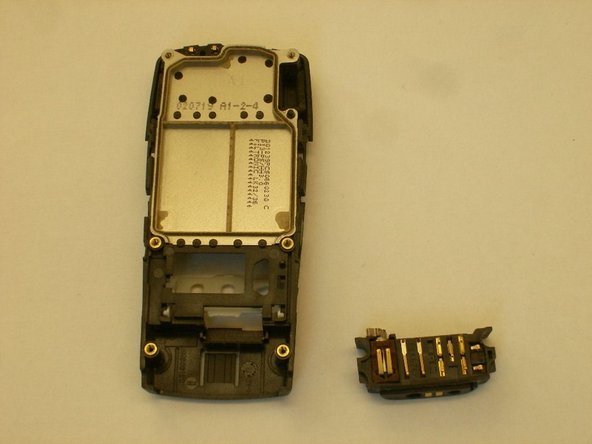
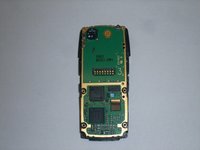
      • The circuit board should be divided into three parts, completely separate from the back casing, as shown.

      Спросите у FixBot
      Добавить комментарий

    1. Nokia 8390 Charging Port Replacement, Charging Port: шаг 8, изображение 1 из 3 Nokia 8390 Charging Port Replacement, Charging Port: шаг 8, изображение 2 из 3 Nokia 8390 Charging Port Replacement, Charging Port: шаг 8, изображение 3 из 3
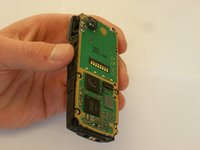
      • Hold back of phone in hand so that hand is not covering any parts.

      • Grasp charge port with thumb.

      • Pull out with hand.

      Спросите у FixBot
      Добавить комментарий

Заключение

To reassemble your device, follow these instructions in reverse order.

Отменить: Я не выполнил это руководство.

2 человек успешно провели ремонт по этому руководству.

Clinton

Участник с: 10/22/12

57 Репутация

Автор 7 руководств

Команда

Clemson, Team 14-5, Benson Fall 2012 Участник Clemson, Team 14-5, Benson Fall 2012

CLEM-BENSON-F12S14G5

3 членов

Автор 64 руководств

0 Комментарии к руководству

Добавить комментарий

Статистика просмотров:

За последние 24 часов: 0

За последние 7 дней: 6

За последние 30 дней: 23

За всё время: 685