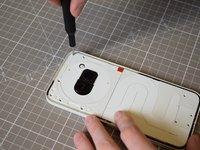
Перейти к основному содержанию
Присоединяйся к сообществу ремонтников - Создай аккаунт

Nothing Phone (2a) Battery Replacement

Выберете то, что вам нужно

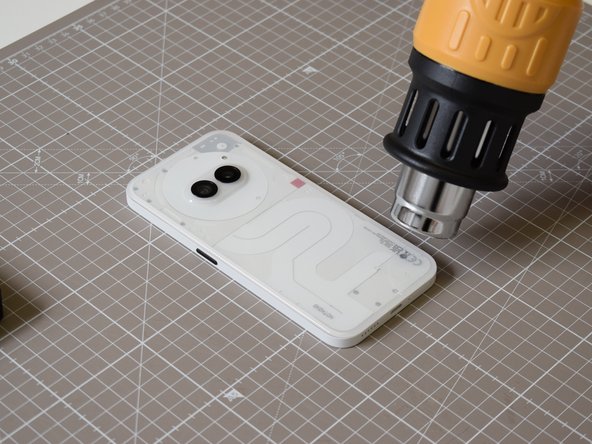
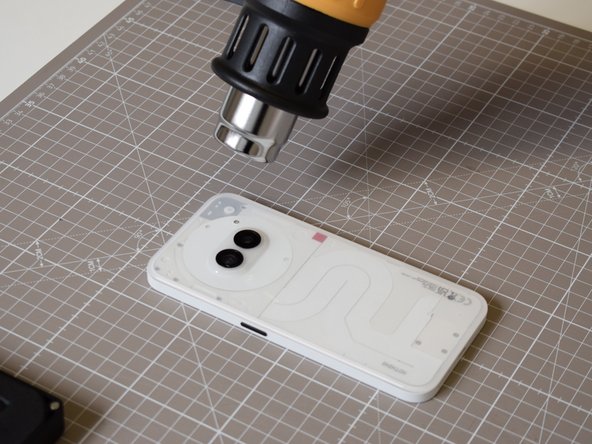
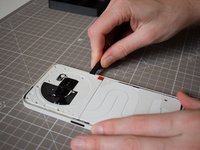
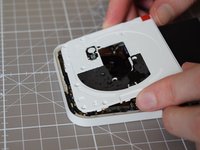
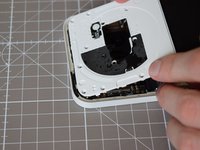
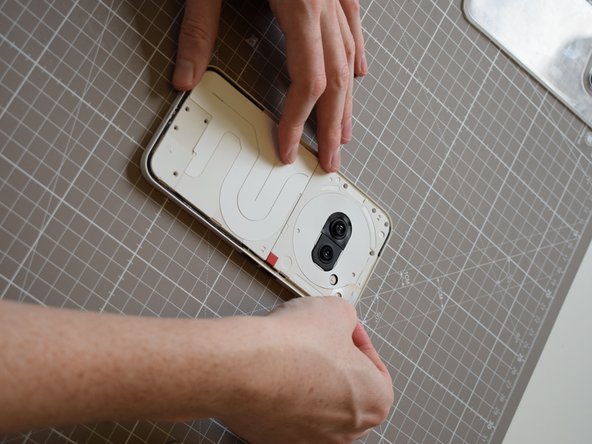
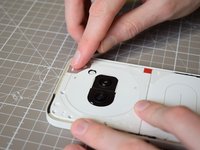
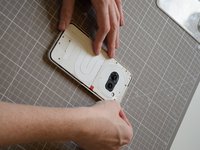
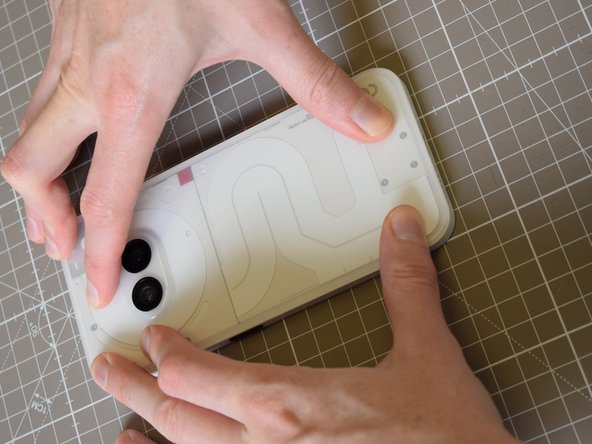
  1. Nothing Phone (2a) Battery Replacement, Apply heat to back panel: шаг 1, изображение 1 из 3 Nothing Phone (2a) Battery Replacement, Apply heat to back panel: шаг 1, изображение 2 из 3 Nothing Phone (2a) Battery Replacement, Apply heat to back panel: шаг 1, изображение 3 из 3
    • Using a heat gun, or a hair dryer, apply heat to the back panel.

    • The purpose of this is to lightly melt to the glue keeping the back panel on, easing the process of removing this backing.

    • Ensure this process is gradual, lightly applying heat at a distance to avoid melting any component.

    Спросите у FixBot

    Добавить комментарий

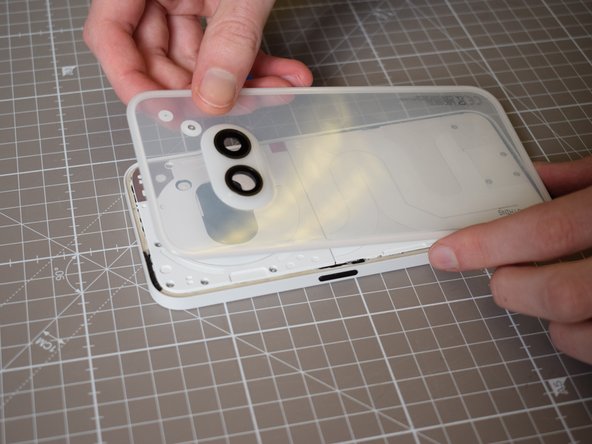
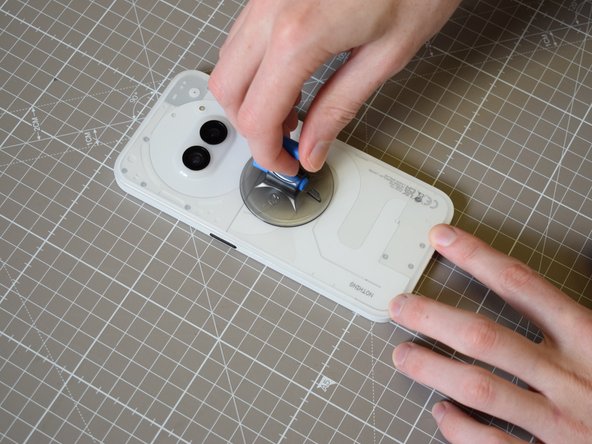
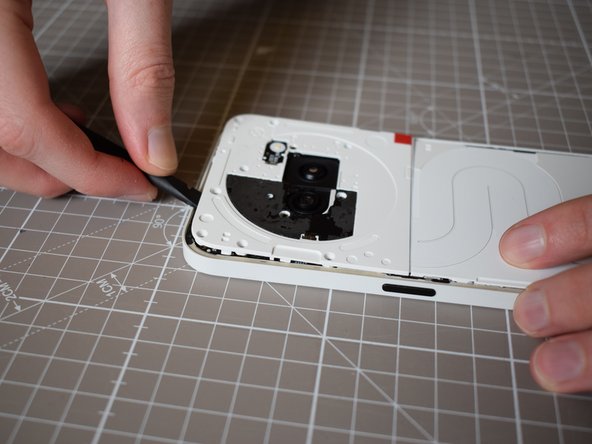
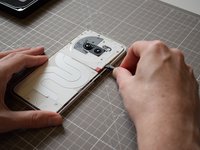
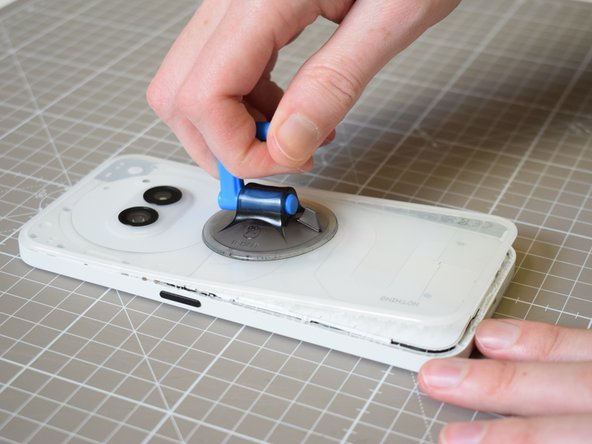
  2. Nothing Phone (2a) Battery Replacement, Remove Back Panel: шаг 2, изображение 1 из 3 Nothing Phone (2a) Battery Replacement, Remove Back Panel: шаг 2, изображение 2 из 3 Nothing Phone (2a) Battery Replacement, Remove Back Panel: шаг 2, изображение 3 из 3
    Инструмент, используемый на этом этапе:
    Jimmy
    $7.95
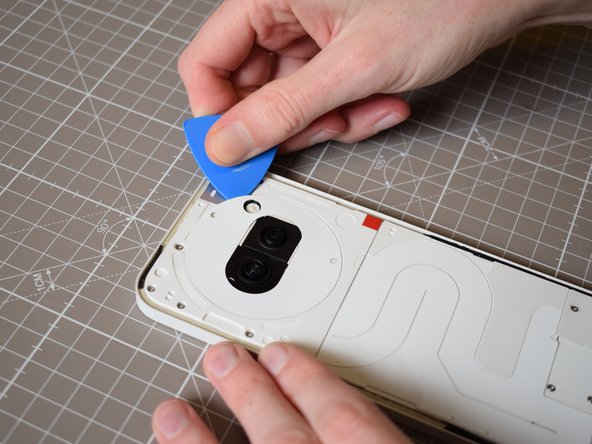
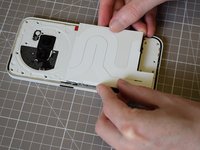
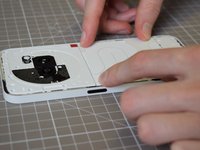
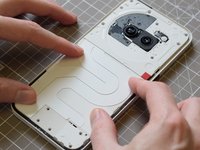
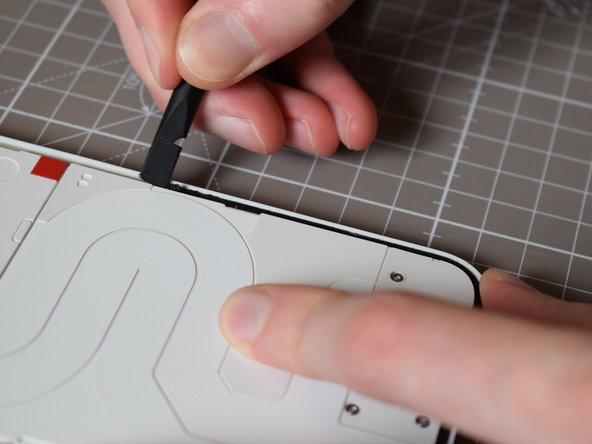
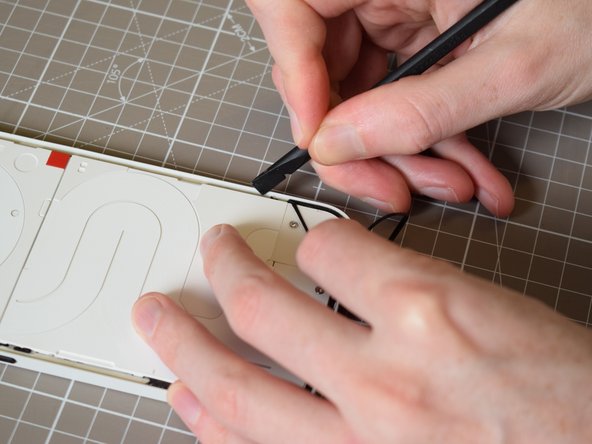
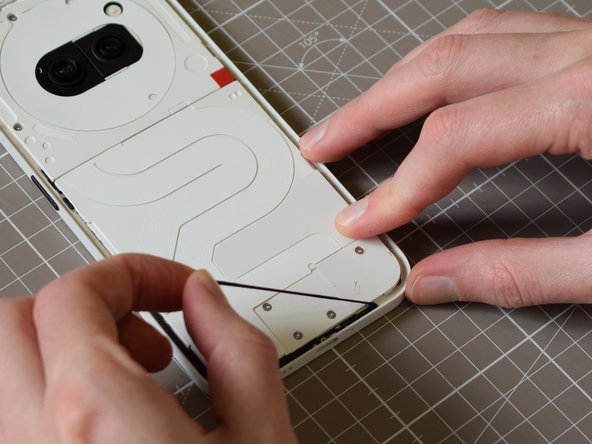
    • Using either a Jimmy or iFixit opening picks, pry the edges of the back panel from the main body.

    • Ease the back panel off, if you have one, this can be made easier with a suction cup.

    Спросите у FixBot

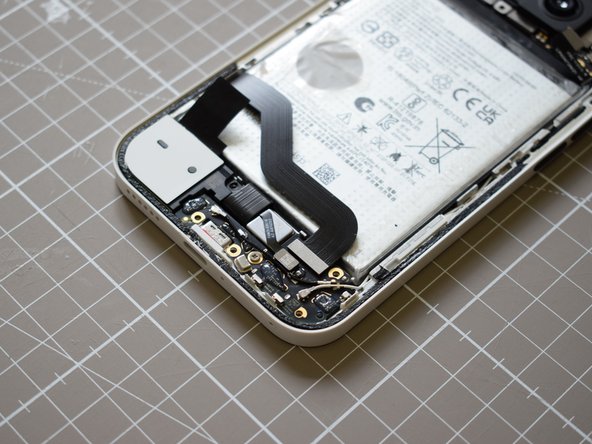
    Добавить комментарий

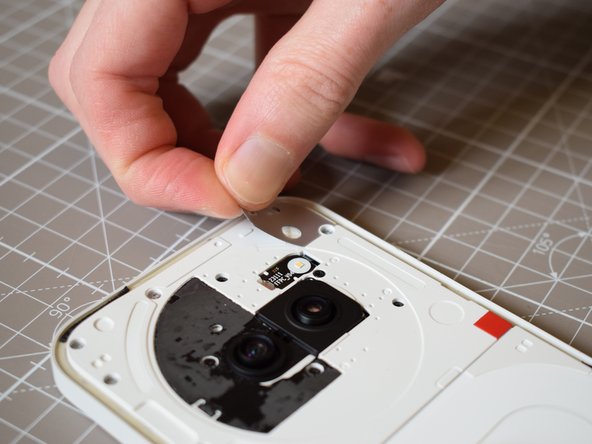
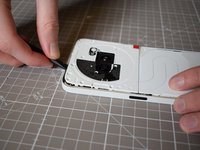
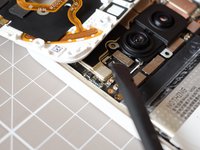
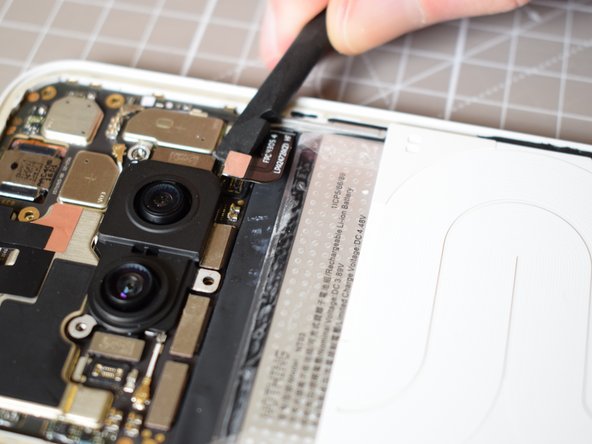
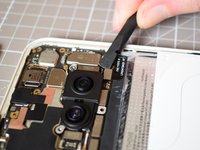
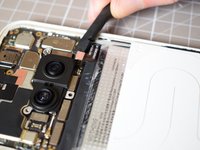
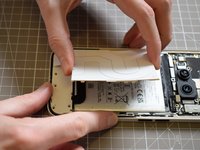
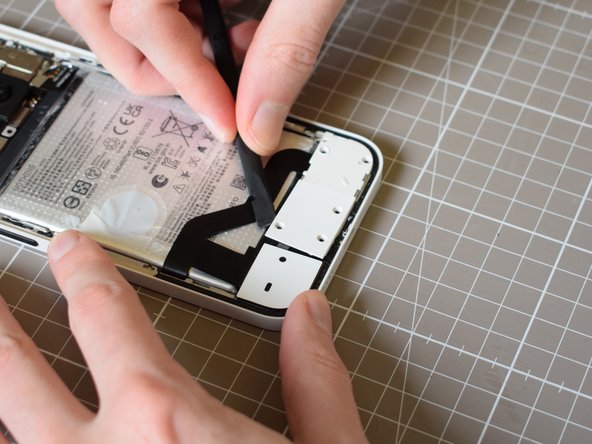
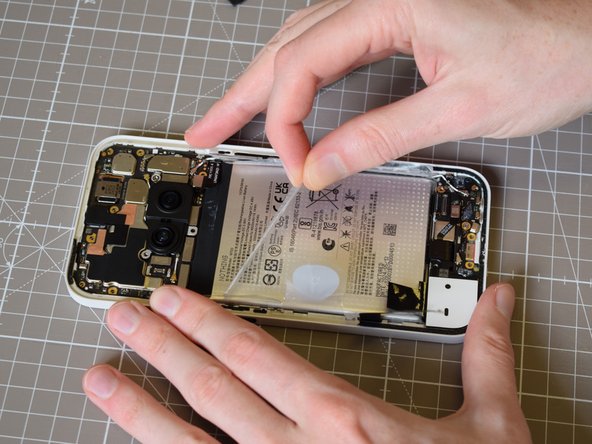
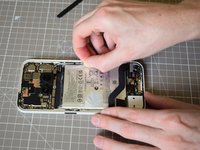
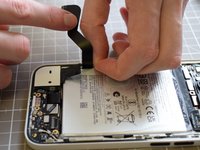
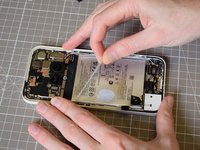
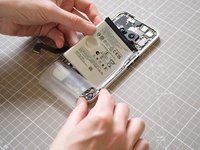
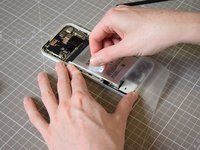
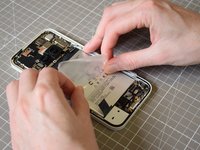
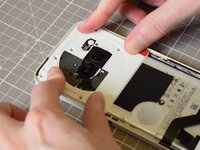
  3. Nothing Phone (2a) Battery Replacement, Remove the sticker surrounding the camera unit: шаг 3, изображение 1 из 3 Nothing Phone (2a) Battery Replacement, Remove the sticker surrounding the camera unit: шаг 3, изображение 2 из 3 Nothing Phone (2a) Battery Replacement, Remove the sticker surrounding the camera unit: шаг 3, изображение 3 из 3
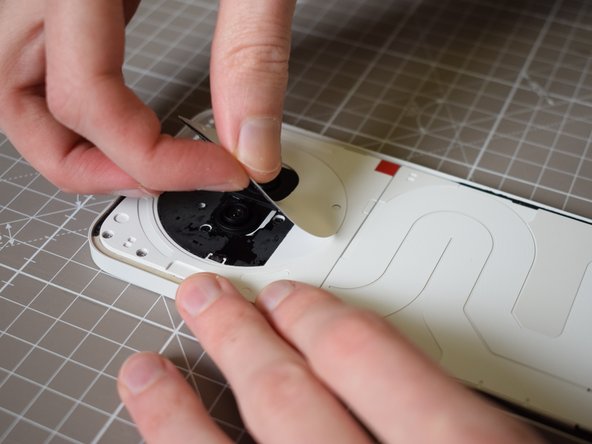
    • Using a hair dryer/heat gun, apply heat to the sticker, to lightly melt the glue holding the sticker on.

    • Again, do this in a gradual manner to avoid melting components, especially if you are using a heat gun.

    • Using the opening pick, pry up an edge of the sticker and remove it.

    Спросите у FixBot

    Добавить комментарий

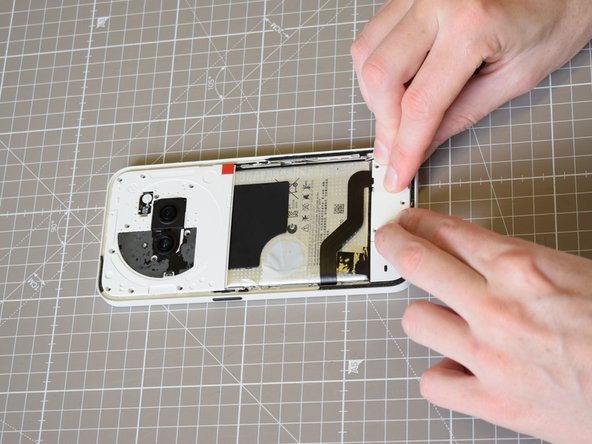
  4. Nothing Phone (2a) Battery Replacement, Remove silver sticker in the top right: шаг 4, изображение 1 из 2 Nothing Phone (2a) Battery Replacement, Remove silver sticker in the top right: шаг 4, изображение 2 из 2
    • Using the same process as the previous step, remove the sticker in the top right.

    Спросите у FixBot

    Добавить комментарий

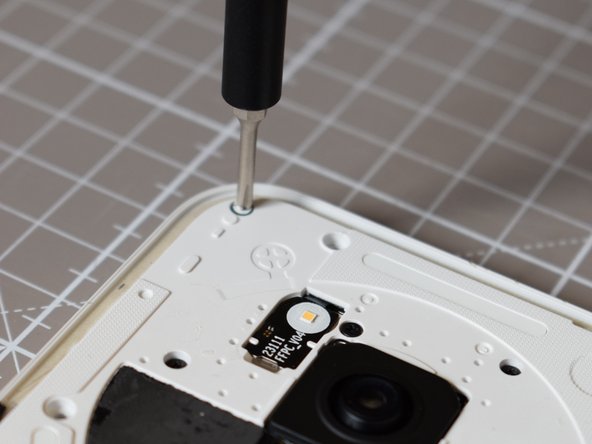
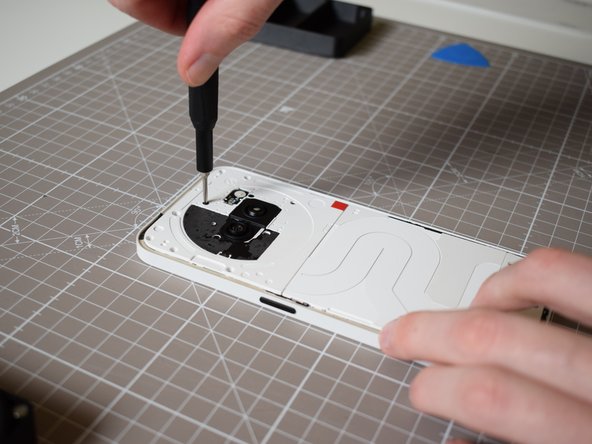
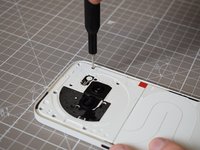
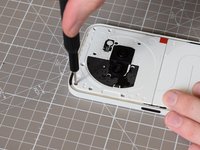
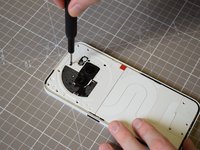
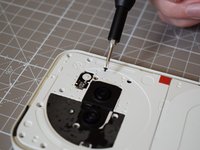
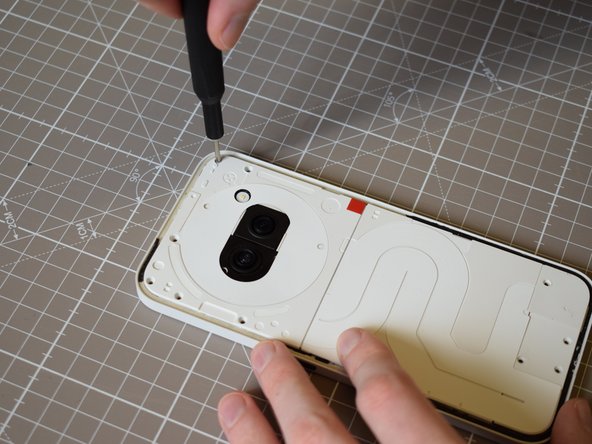
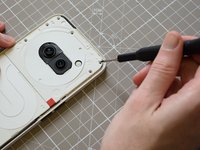
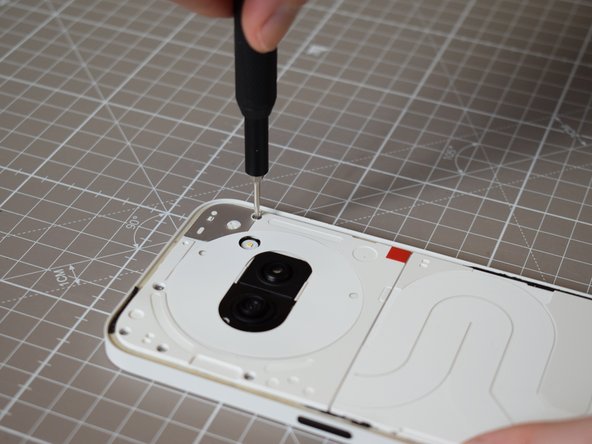
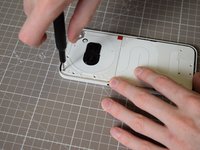
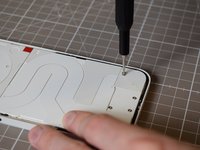
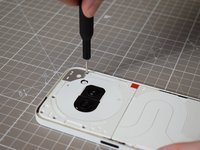
  5. Nothing Phone (2a) Battery Replacement, Undo x5 T5 screws: шаг 5, изображение 1 из 3 Nothing Phone (2a) Battery Replacement, Undo x5 T5 screws: шаг 5, изображение 2 из 3 Nothing Phone (2a) Battery Replacement, Undo x5 T5 screws: шаг 5, изображение 3 из 3
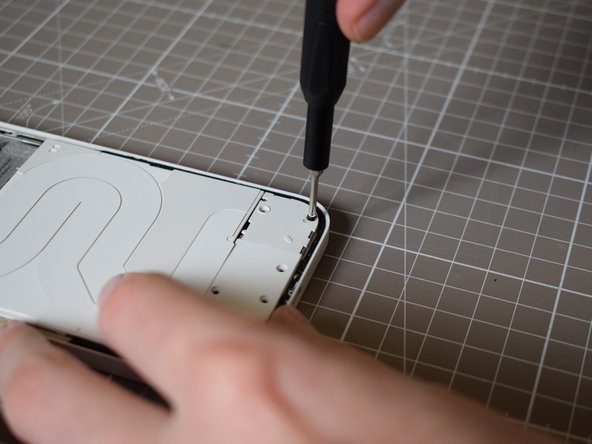
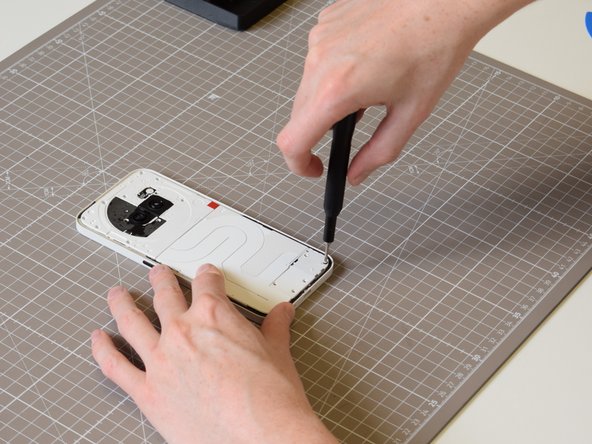
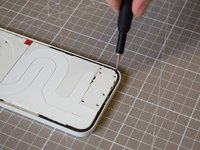
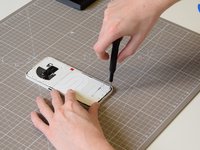
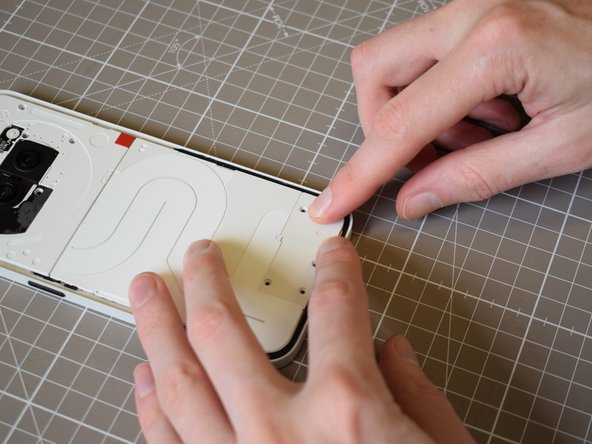
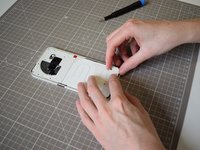
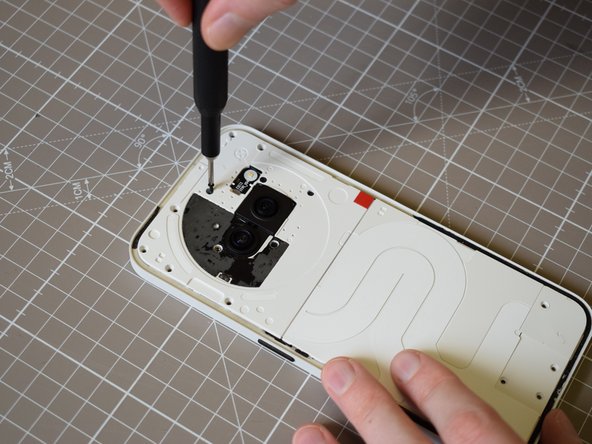
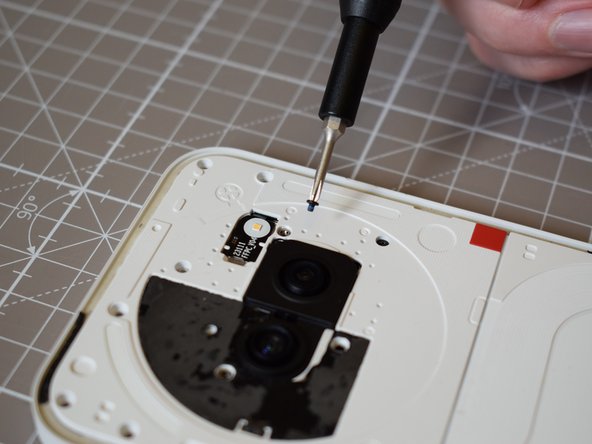
    • Using a T5 screwdriver, remove the 5 T5 screws holding the upper section down.

    • There is a tiny sticker on the head of the screw that sits beneath the silver sticker in the top right that we have just removed, this makes is difficult to locate.

    Спросите у FixBot

    Добавить комментарий

  6. Nothing Phone (2a) Battery Replacement, Undo x6 Phillips 00 Screw: шаг 6, изображение 1 из 3 Nothing Phone (2a) Battery Replacement, Undo x6 Phillips 00 Screw: шаг 6, изображение 2 из 3 Nothing Phone (2a) Battery Replacement, Undo x6 Phillips 00 Screw: шаг 6, изображение 3 из 3
    • Using a 00 Phillips screwdriver, undo the 9 phillips screws

    • It should also be noted that the screws below the flash module is smaller than the other 5. Store for reassembly with this in mind.

    Спросите у FixBot

    Добавить комментарий

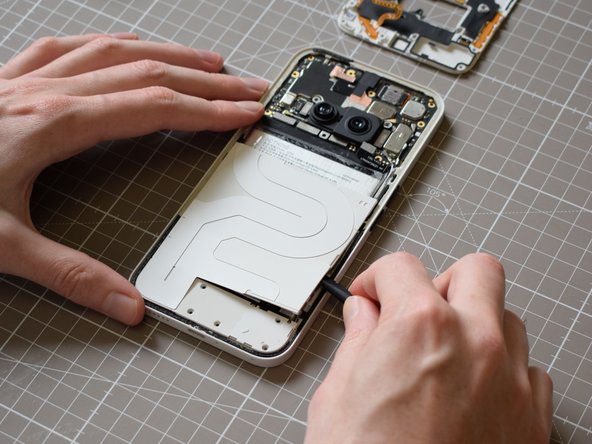
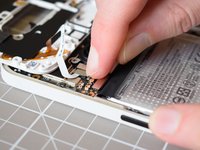
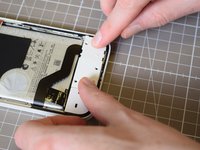
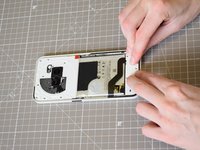
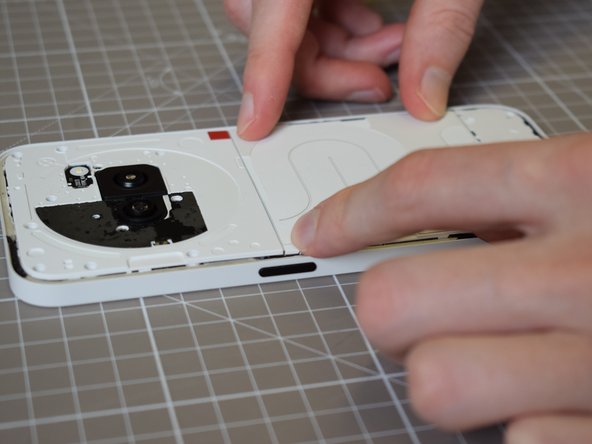
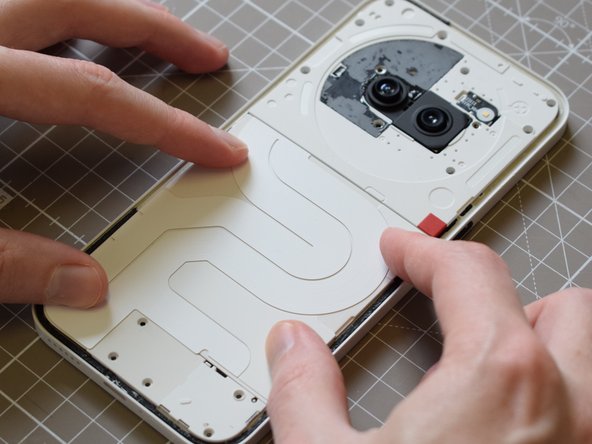
  7. Nothing Phone (2a) Battery Replacement, Pry off the upper aesthetics panel: шаг 7, изображение 1 из 3 Nothing Phone (2a) Battery Replacement, Pry off the upper aesthetics panel: шаг 7, изображение 2 из 3 Nothing Phone (2a) Battery Replacement, Pry off the upper aesthetics panel: шаг 7, изображение 3 из 3
    • The white plate in the upper section of the phone is for aesthetics, yes... it is a purely cosmetic component, it must be removed to access the motherboard.

    • To do this, use the opening pick or spudger to pop the clips around its perimeter.

    • Do this lightly to avoid breakage.

    Спросите у FixBot

    Добавить комментарий

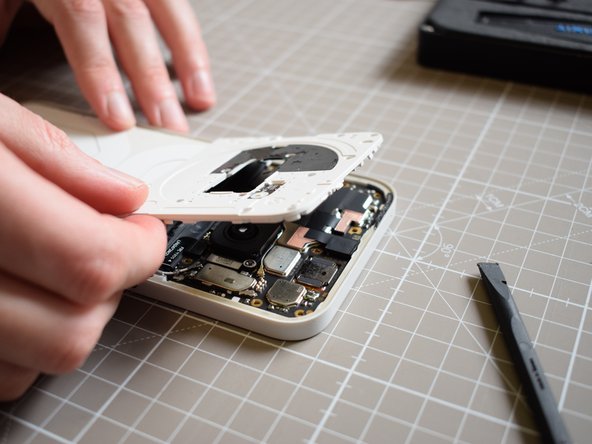
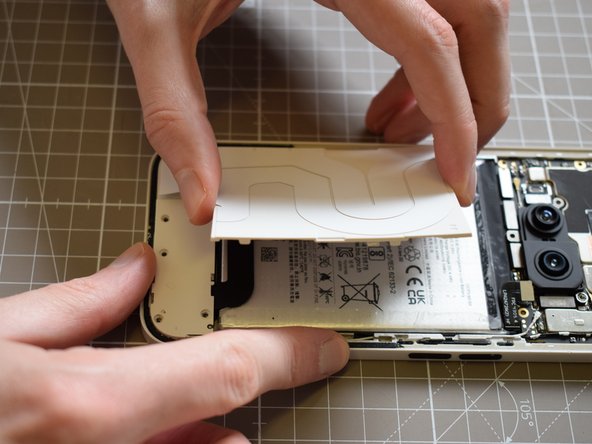
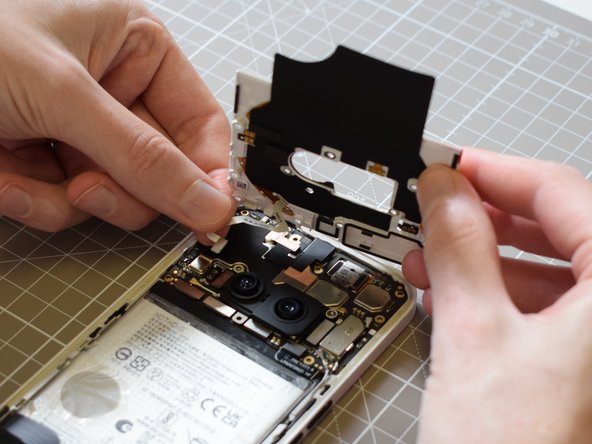
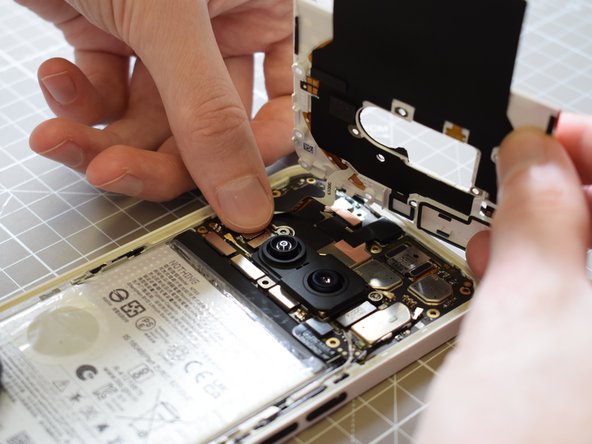
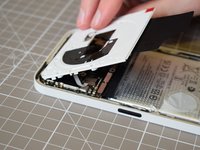
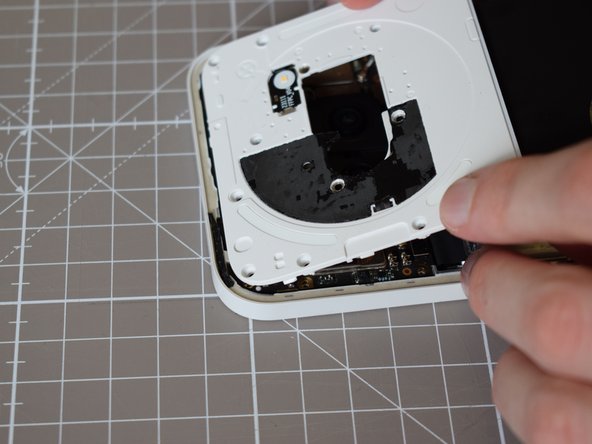
  8. Nothing Phone (2a) Battery Replacement, Lift off the upper aesthetics panel: шаг 8, изображение 1 из 3 Nothing Phone (2a) Battery Replacement, Lift off the upper aesthetics panel: шаг 8, изображение 2 из 3 Nothing Phone (2a) Battery Replacement, Lift off the upper aesthetics panel: шаг 8, изображение 3 из 3
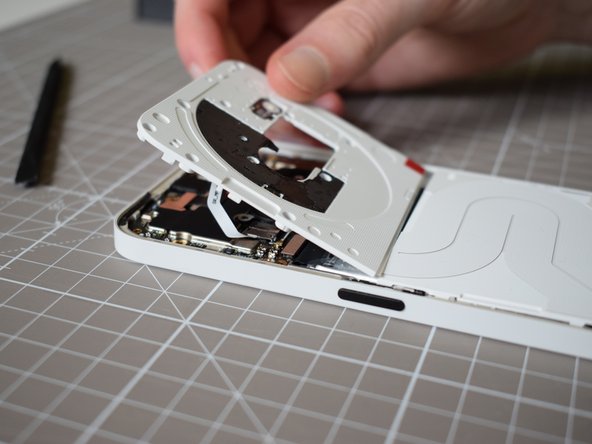
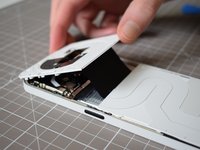
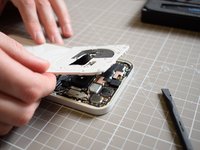
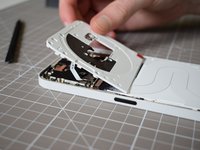
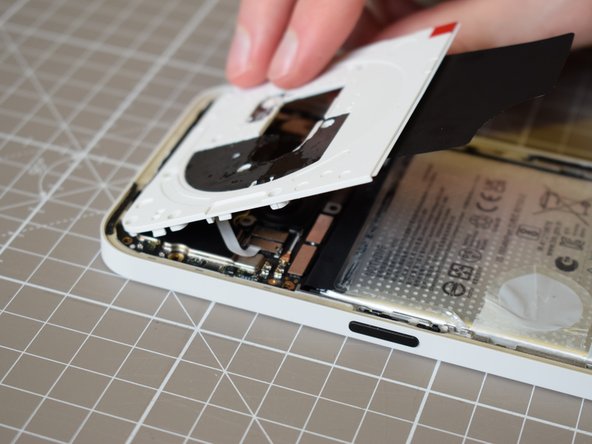
    • This panel can be lifted out bottom first.

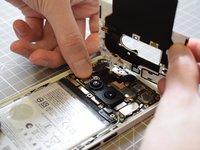
    • Be careful here, for two reasons, firstly, this panel has graphite paper attached to the bottom, which stretches into the lower section, and must therefore be slid out first.

    • Secondly, there. is a small flex cable holding the panel to the motherboard, which connects the Glyph interface, be gentle... we will deal with the flex cable in the next step.

    Спросите у FixBot

    Добавить комментарий

  9. Nothing Phone (2a) Battery Replacement, Pop out the metal cover on the Glyph flex cable: шаг 9, изображение 1 из 3 Nothing Phone (2a) Battery Replacement, Pop out the metal cover on the Glyph flex cable: шаг 9, изображение 2 из 3 Nothing Phone (2a) Battery Replacement, Pop out the metal cover on the Glyph flex cable: шаг 9, изображение 3 из 3
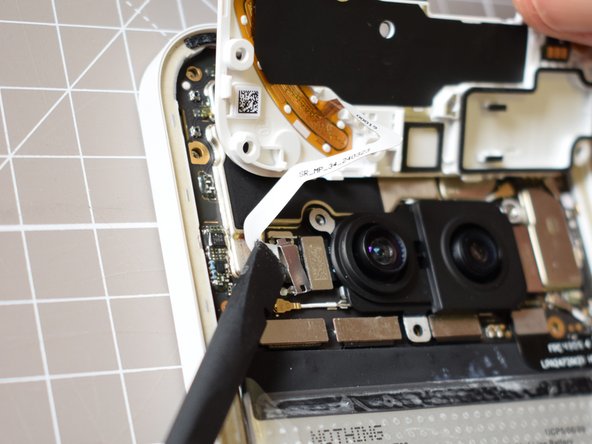
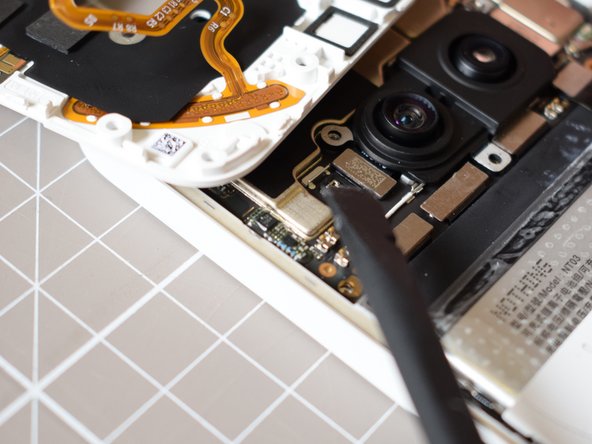
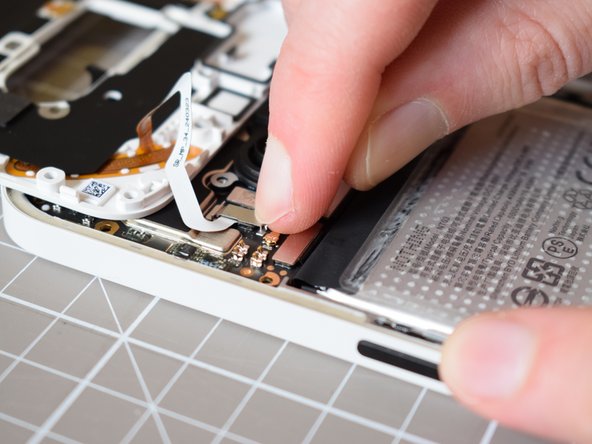
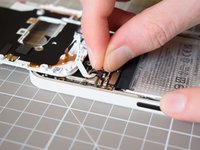
    • Using a spudger, pop off the metal cover that holds the flex cable to the motherboard.

    • Do this very slowly, because it has a tendency to ping off and go flying.

    • This metal cover has a lip on one side and is clipped to the motherboard on the other. Place the spudger under the clipped side and lightly pry until it pops off.

    Спросите у FixBot

    Добавить комментарий

  10. Nothing Phone (2a) Battery Replacement, Pry off the Glyph flex cable: шаг 10, изображение 1 из 1
    • Using the spudger, pry off the flex cable connection that sits below the metal cover.

    • This then completely disconnects the upper aesthetics panel, which can now be placed to one side.

    Спросите у FixBot

    Добавить комментарий

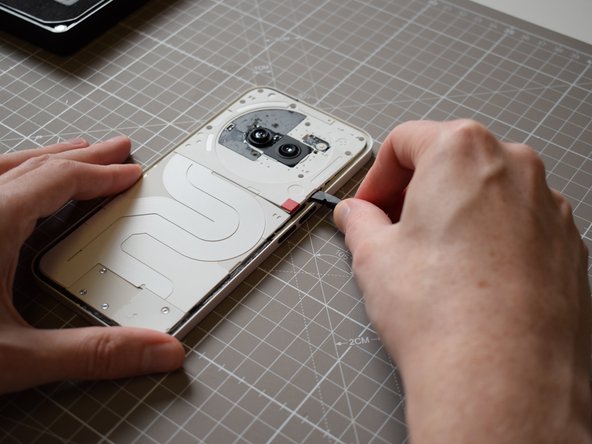
  11. Nothing Phone (2a) Battery Replacement, Disconnect the flex cable connecting the battery to the mainboard: шаг 11, изображение 1 из 2 Nothing Phone (2a) Battery Replacement, Disconnect the flex cable connecting the battery to the mainboard: шаг 11, изображение 2 из 2
    • Locate the flex cable connection that serves the battery, connecting the battery to the mainboard.

    • Pry it off using a spudger.

    Спросите у FixBot

    Добавить комментарий

  12. Nothing Phone (2a) Battery Replacement, Remove x4 T5 screws at the bottom: шаг 12, изображение 1 из 3 Nothing Phone (2a) Battery Replacement, Remove x4 T5 screws at the bottom: шаг 12, изображение 2 из 3 Nothing Phone (2a) Battery Replacement, Remove x4 T5 screws at the bottom: шаг 12, изображение 3 из 3
    Инструмент, используемый на этом этапе:
    Anti-Static Project Tray
    $6.95
    • Now we will turn our attention to the lower aesthetics panel, the one that looks like it has functional wires on. Again, these are non functional, this panel is purely cosmetic, and must be removed to access the battery.

    • We will start by removing the 4 T5 screws at the bottom.

    • It is helpful to place screws that have been removed in a labelled tub, like an anti-static project tray or use the FixMat to ensure they can be replaced correctly.

    Спросите у FixBot

    Добавить комментарий

  13. Nothing Phone (2a) Battery Replacement, Remove sticker in the bottom right corner: шаг 13, изображение 1 из 1
    • Again, to remove the sticker in the bottom right corner, we will use the same process as before.

    • Apply heat to the sticker using a hair dryer or heat gun, lightly and gradually.

    • Use an opening pick to pry up one of the edges, then grab it and remove it.

    Спросите у FixBot

    Добавить комментарий

  14. Nothing Phone (2a) Battery Replacement, Undo x1 Phillips 00 Screw: шаг 14, изображение 1 из 2 Nothing Phone (2a) Battery Replacement, Undo x1 Phillips 00 Screw: шаг 14, изображение 2 из 2
    • It is hard to see, because it has another one of those pesky tiny weeny stickers on its head, but there is a phillips screw beneath the sticker we have just removed in the previous step.

    • Locate it, and use a phillips screwdriver to remove.

    • You can just use the screwdriver directly on top of the small sticker on the screw's head.

    Спросите у FixBot

    Добавить комментарий

  15. Nothing Phone (2a) Battery Replacement, Remove main aesthetics panel: шаг 15, изображение 1 из 3 Nothing Phone (2a) Battery Replacement, Remove main aesthetics panel: шаг 15, изображение 2 из 3 Nothing Phone (2a) Battery Replacement, Remove main aesthetics panel: шаг 15, изображение 3 из 3
    • We will now remove the main aesthetics panel, in a similar fashion to the way we removed the upper aesthetics panel.

    • Unclip the push fittings on the sides one by one, it is helpful to go top down on one side, then unclip the other side.

    • Once all the side push fits have been released, you can lift the panel away from the main body, but be wary of the sticky section in the bottom left corner.

    Спросите у FixBot

    Добавить комментарий

  16. Nothing Phone (2a) Battery Replacement, Remove bottom aesthetics panel: шаг 16, изображение 1 из 2 Nothing Phone (2a) Battery Replacement, Remove bottom aesthetics panel: шаг 16, изображение 2 из 2
    • And finally there is one more aesthetics panel to remove, the small one at the bottom which covers the sister board.

    • The same process as the other aesthetic panels, using a spudger, pry off the the push fittings around the edges, then remove and place to one side for later.

    Спросите у FixBot

    Добавить комментарий

  17. Nothing Phone (2a) Battery Replacement, Disconnect the flex cable on top leading to the sub board: шаг 17, изображение 1 из 2 Nothing Phone (2a) Battery Replacement, Disconnect the flex cable on top leading to the sub board: шаг 17, изображение 2 из 2
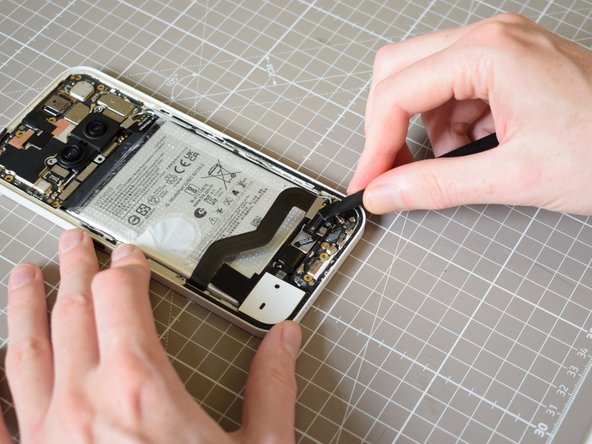
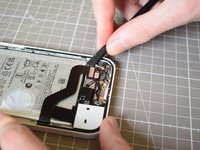
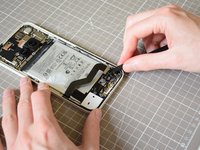
    • Next we will remove the large super obvious flex cable leading to the sub board.

    • Again, same process as removing any flex cable, pry it off with the spudger.

    Спросите у FixBot

    Добавить комментарий

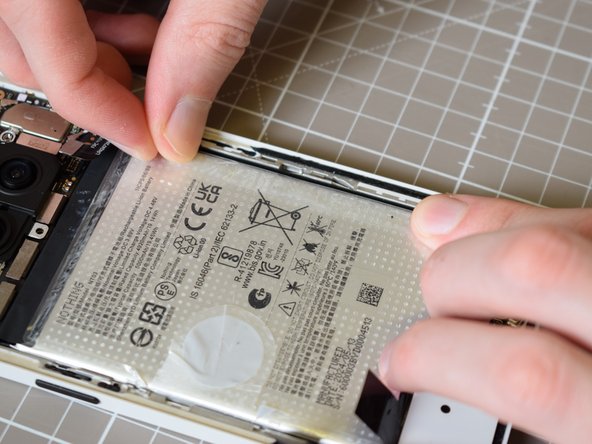
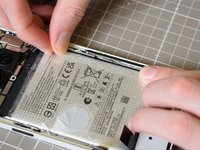
  18. Nothing Phone (2a) Battery Replacement, Pull all stickers surrounding the battery, in order: шаг 18, изображение 1 из 3 Nothing Phone (2a) Battery Replacement, Pull all stickers surrounding the battery, in order: шаг 18, изображение 2 из 3 Nothing Phone (2a) Battery Replacement, Pull all stickers surrounding the battery, in order: шаг 18, изображение 3 из 3
    • Now, ensure that the large flex cable that we have just removed is out of the way.

    • We will now focus on removing the battery.

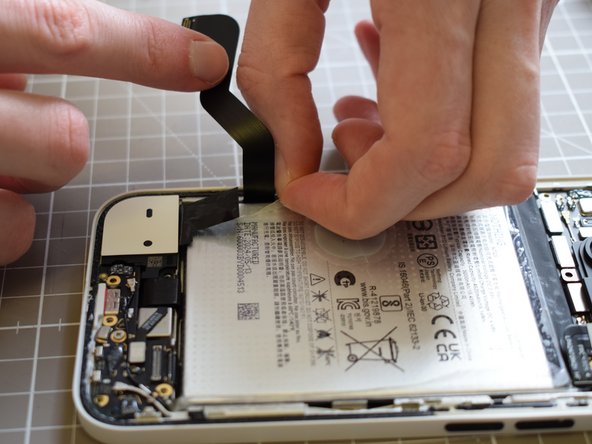
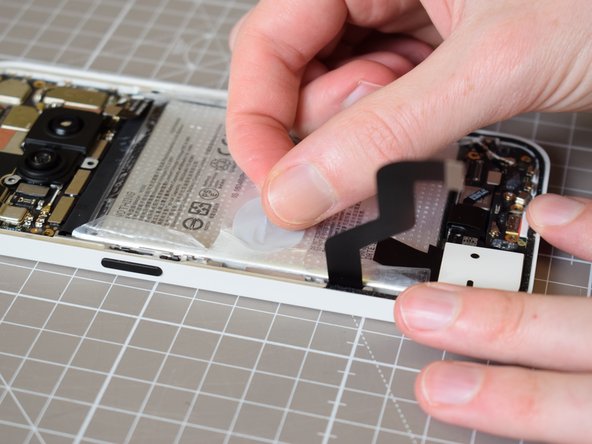
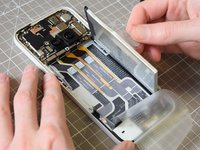
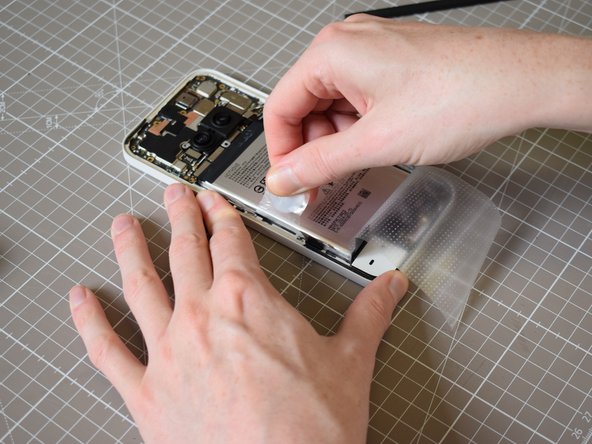
    • To do this, pull all the stickers off that keep the battery in.Nothing has kindly labelled these, 1, 2, 3.

    • Remove the sticker up the right side first, then the small tabs up the left, then the big tab on the left.

    • Fold them outwards to make space for you to pull the 3rd sticker back from top to bottom.

    Спросите у FixBot

    Добавить комментарий

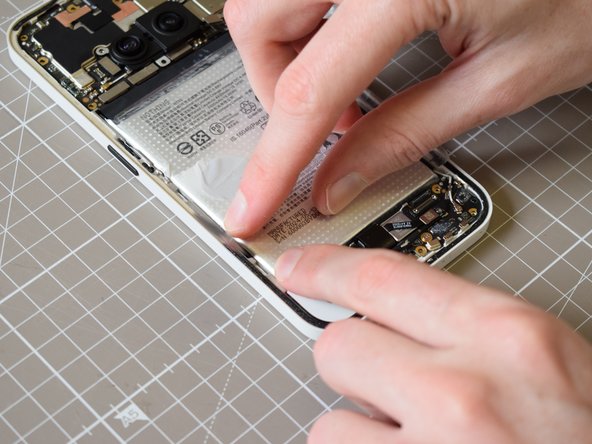
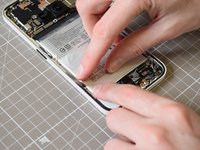
  19. Nothing Phone (2a) Battery Replacement, Lift the battery out left side first: шаг 19, изображение 1 из 3 Nothing Phone (2a) Battery Replacement, Lift the battery out left side first: шаг 19, изображение 2 из 3 Nothing Phone (2a) Battery Replacement, Lift the battery out left side first: шаг 19, изображение 3 из 3
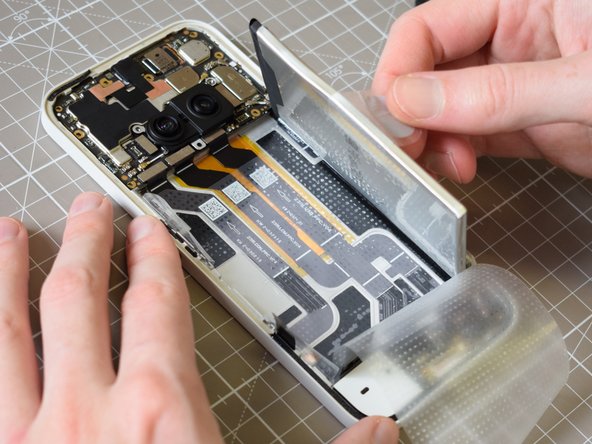
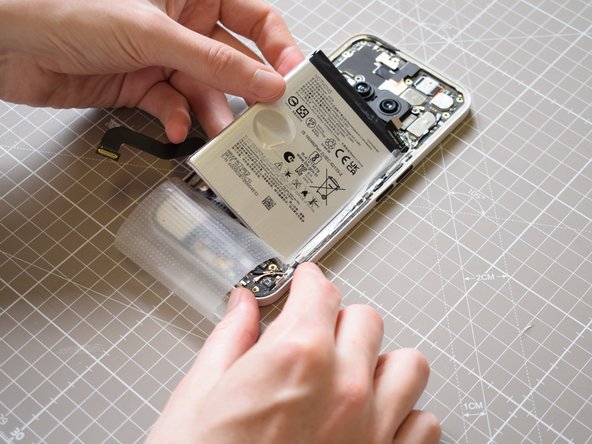
    • Once all the stickers have been peeled back, make sure they are out of the way, folded away from the battery.

    • Pull the big tab (number 2) and pull the battery out left edge first.

    Спросите у FixBot

    Добавить комментарий

  20. Nothing Phone (2a) Battery Replacement, Place new battery: шаг 20, изображение 1 из 3 Nothing Phone (2a) Battery Replacement, Place new battery: шаг 20, изображение 2 из 3 Nothing Phone (2a) Battery Replacement, Place new battery: шаг 20, изображение 3 из 3
    • Now we will insert the new battery.

    • Leading with the right edge, making sure all the sticker flaps are folded outwards and do not get caught under the new battery.

    Спросите у FixBot

    Добавить комментарий

  21. Nothing Phone (2a) Battery Replacement, Restick the battery stickers: шаг 21, изображение 1 из 3 Nothing Phone (2a) Battery Replacement, Restick the battery stickers: шаг 21, изображение 2 из 3 Nothing Phone (2a) Battery Replacement, Restick the battery stickers: шаг 21, изображение 3 из 3
    • Next we will reapply all the stickers that hold in the battery. In reverse order.

    • Making sure 1 and 2 on the left and right are folded outwards to allow 3 to be stuck from bottom to top, press sticker 3 down.

    • Then reapply stickers 2 then 1.

    • The new battery should now feel secure.

    Спросите у FixBot

    Добавить комментарий

  22. Nothing Phone (2a) Battery Replacement, Reconnect the flex cable on top leading to the sub board: шаг 22, изображение 1 из 3 Nothing Phone (2a) Battery Replacement, Reconnect the flex cable on top leading to the sub board: шаг 22, изображение 2 из 3 Nothing Phone (2a) Battery Replacement, Reconnect the flex cable on top leading to the sub board: шаг 22, изображение 3 из 3
    • As you can tell by now, we are reassembling the phone, in reverse order.

    • So as you might have guessed, the next step is to reconnect the large, super obsious flex cable back to the sub board.

    • Simply do this by aligning it and pressing it down, listening out for an audible click.

    Спросите у FixBot

    Добавить комментарий

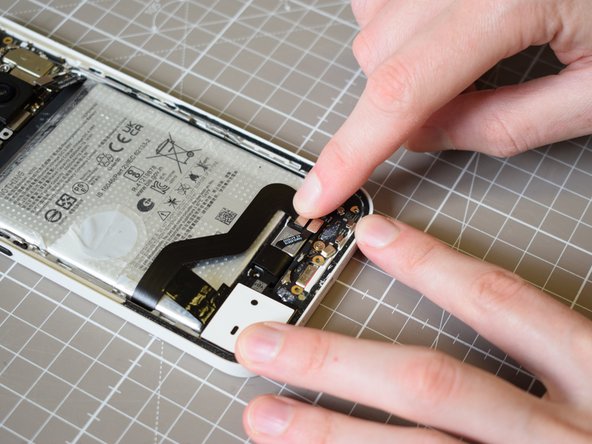
  23. Nothing Phone (2a) Battery Replacement, Connect the flex cable connecting the battery to the mainboard: шаг 23, изображение 1 из 1
    • Here is where the reassembly process diverts from the exact reverse order to the disassembly process.

    • The reason for this is the need to get the upper aesthetics panel on before the lower aesthetics panel, so that the graphite paper can sit in the right place, below the lower aesthetics panel.

    • So we start by reconnecting the flex cable connecting the battery to the mainboard.

    • Again, we do this in the same way as reconnecting any flex cable, align, press down with your finger, and listen for an audible click.

    Спросите у FixBot

    Добавить комментарий

  24. Nothing Phone (2a) Battery Replacement, Reconnect the Glyph flex cable: шаг 24, изображение 1 из 3 Nothing Phone (2a) Battery Replacement, Reconnect the Glyph flex cable: шаг 24, изображение 2 из 3 Nothing Phone (2a) Battery Replacement, Reconnect the Glyph flex cable: шаг 24, изображение 3 из 3
    • This part can be a bit fiddly.

    • Holding the upper aesthetics panel in one hand, reconnect the Glyph flex cable back to the mainboard with the other hand.

    • Again, reconnecting like any other flex cable, aligning, pressing with the finger and listening for an audible click.

    Спросите у FixBot

    Добавить комментарий

  25. Nothing Phone (2a) Battery Replacement, Replace the metal cover on the Glyph flex cable: шаг 25, изображение 1 из 3 Nothing Phone (2a) Battery Replacement, Replace the metal cover on the Glyph flex cable: шаг 25, изображение 2 из 3 Nothing Phone (2a) Battery Replacement, Replace the metal cover on the Glyph flex cable: шаг 25, изображение 3 из 3
    • Next we will replace the tiny metal cover on the Glyph flex cable.

    • Now this one is a fiddly one!

    • Placing the narrower side pointing towards the top of the phone into the slot first, click the other end down.

    • This might be possible with your fingers, however, tweezers make the operation more precise.

    • Be careful where you are placing the upper aesthetics panel during this process, focusing on not damaging the flex cable.

    Спросите у FixBot

    Добавить комментарий

  26. Nothing Phone (2a) Battery Replacement, Replace Upper Aesthetics Panel: шаг 26, изображение 1 из 3 Nothing Phone (2a) Battery Replacement, Replace Upper Aesthetics Panel: шаг 26, изображение 2 из 3 Nothing Phone (2a) Battery Replacement, Replace Upper Aesthetics Panel: шаг 26, изображение 3 из 3
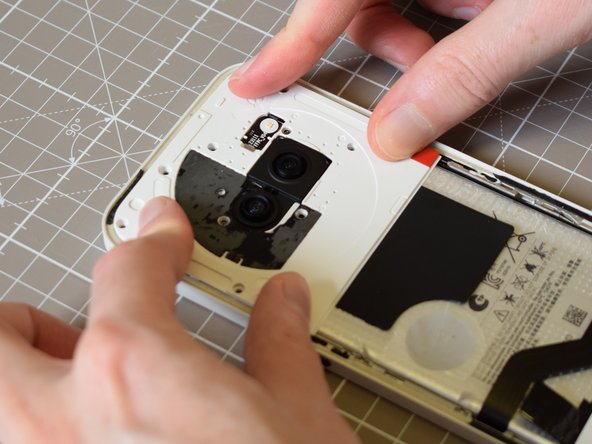
    • And the last thing to do to replace the upper aesthetics panel is to clip the panel into the main body.

    • Push fit the top in first, ensuring the small tabs go under the frame, then clip the sides in.

    • You can do this with your fingers.

    Спросите у FixBot

    Добавить комментарий

  27. Nothing Phone (2a) Battery Replacement, Replace bottom aesthetics panel: шаг 27, изображение 1 из 2 Nothing Phone (2a) Battery Replacement, Replace bottom aesthetics panel: шаг 27, изображение 2 из 2
    • Next we will turn to replacing the bottom aesthetics panel that covers the sub board.

    • Again, this goes back in via push fittings surrounding its perimeter.

    • Use your fingers and align the panel before pressing it back into place, it can require some force to clip back in.

    Спросите у FixBot

    Добавить комментарий

  28. Nothing Phone (2a) Battery Replacement, Replace main aesthetics panel: шаг 28, изображение 1 из 3 Nothing Phone (2a) Battery Replacement, Replace main aesthetics panel: шаг 28, изображение 2 из 3 Nothing Phone (2a) Battery Replacement, Replace main aesthetics panel: шаг 28, изображение 3 из 3
    • Now, the last aesthetics panel to go back is of course the main panel.... yes, the one that looks functional, with wiring on it, but isn't.

    • This goes back in in a similar way to the others. Place one edge in first, ensuring the lips slot under the frame, then clip in the other side.

    • Lastly, press on the sticker part in the bottom left corner to ensure it is secure.

    Спросите у FixBot

    Добавить комментарий

  29. Nothing Phone (2a) Battery Replacement, Replace x1 Phillips 00 Screw: шаг 29, изображение 1 из 2 Nothing Phone (2a) Battery Replacement, Replace x1 Phillips 00 Screw: шаг 29, изображение 2 из 2
    • Locate the Phillips screw with the tiny white sticker on its head.

    • Replace this screw using a Phillips 00 screwdriver.

    Спросите у FixBot

    Добавить комментарий

  30. Nothing Phone (2a) Battery Replacement, Replace sticker in the bottom right corner: шаг 30, изображение 1 из 2 Nothing Phone (2a) Battery Replacement, Replace sticker in the bottom right corner: шаг 30, изображение 2 из 2
    • Align the sticker in the bottom right corner and press it down firmly.

    Спросите у FixBot

    Добавить комментарий

  31. Nothing Phone (2a) Battery Replacement, Redo x5 Phillips 00 Screw: шаг 31, изображение 1 из 3 Nothing Phone (2a) Battery Replacement, Redo x5 Phillips 00 Screw: шаг 31, изображение 2 из 3 Nothing Phone (2a) Battery Replacement, Redo x5 Phillips 00 Screw: шаг 31, изображение 3 из 3
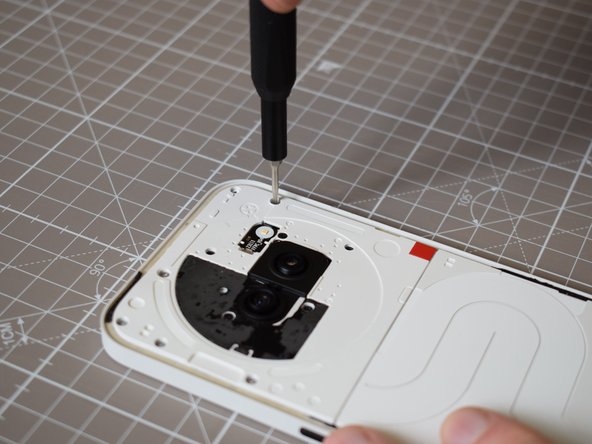
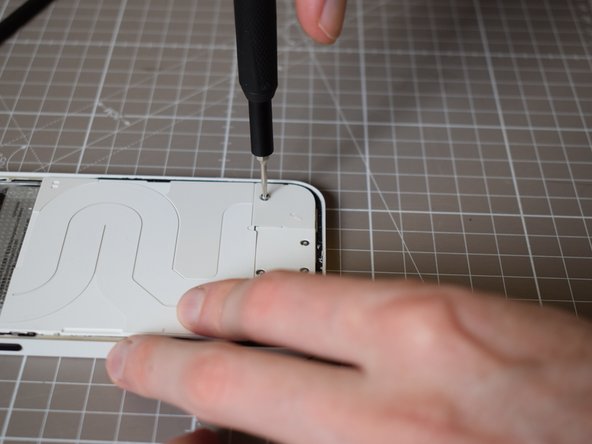
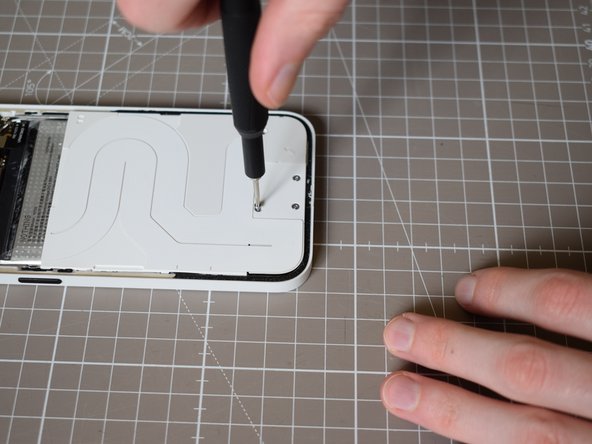
    • Now we will turn our attention to the top of the phone, and replace the 5 Phillips 00 screws

    • Using a Phillips 00 screwdriver, locate and replace all 5 screws.

    • Remembering to put the smaller one back in the hole under the flash unit.

    Спросите у FixBot

    Добавить комментарий

  32. Nothing Phone (2a) Battery Replacement, Redo screw with a sticker on its head: шаг 32, изображение 1 из 2 Nothing Phone (2a) Battery Replacement, Redo screw with a sticker on its head: шаг 32, изображение 2 из 2
    • Locate that Phillips 00 screw that we placed to one side earlier, the one with the tiny white sticker on its head.

    • Replace it using a Phillips 00 screwdriver.

    Спросите у FixBot

    Добавить комментарий

  33. Nothing Phone (2a) Battery Replacement, Replace silver sticker in the top right: шаг 33, изображение 1 из 2 Nothing Phone (2a) Battery Replacement, Replace silver sticker in the top right: шаг 33, изображение 2 из 2
    • Easy! Find the silver sticker, align it with its home, press it down firmly!

    Спросите у FixBot

    Добавить комментарий

  34. Nothing Phone (2a) Battery Replacement, Replace the sticker surrounding the camera units: шаг 34, изображение 1 из 2 Nothing Phone (2a) Battery Replacement, Replace the sticker surrounding the camera units: шаг 34, изображение 2 из 2
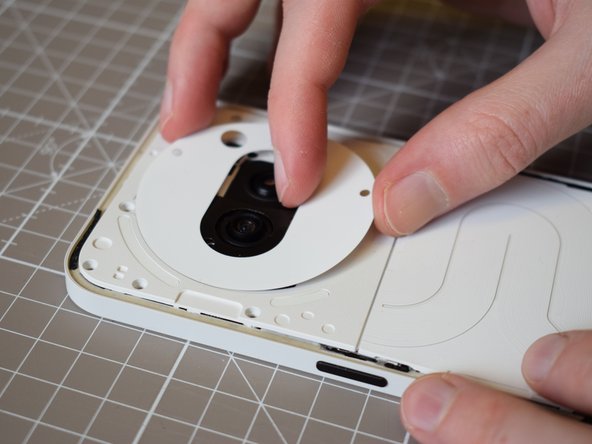
    • We will now replace the circular sticker surrounding the camera unit.

    • Another easy one! Align and press firmly!

    Спросите у FixBot

    Добавить комментарий

  35. Nothing Phone (2a) Battery Replacement, Redo x9 T5 screws: шаг 35, изображение 1 из 3 Nothing Phone (2a) Battery Replacement, Redo x9 T5 screws: шаг 35, изображение 2 из 3 Nothing Phone (2a) Battery Replacement, Redo x9 T5 screws: шаг 35, изображение 3 из 3
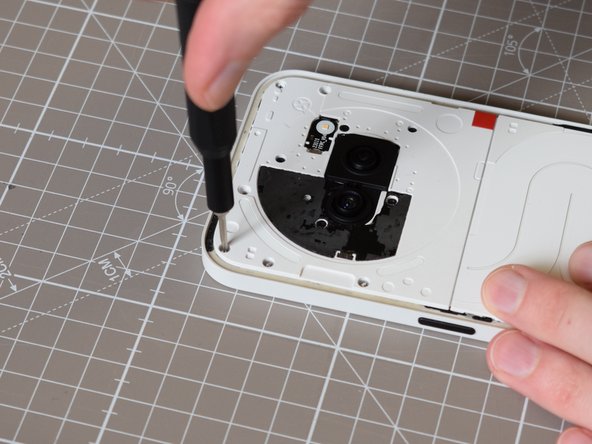
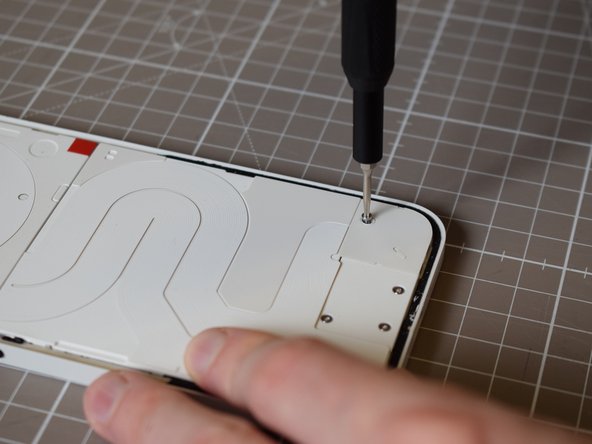
    • Rescrew the 9 T5 screws using.... You guessed it, a T5 screwdriver.

    Спросите у FixBot

    Добавить комментарий

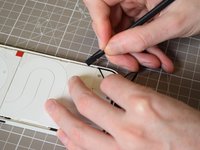
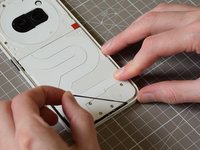
  36. Nothing Phone (2a) Battery Replacement, Remove residue glue: шаг 36, изображение 1 из 3 Nothing Phone (2a) Battery Replacement, Remove residue glue: шаг 36, изображение 2 из 3 Nothing Phone (2a) Battery Replacement, Remove residue glue: шаг 36, изображение 3 из 3
    • Now, finally, we will replace the back panel.

    • To do this we will first remove any residue glue that held the back panel in place previous to its removal.

    • Use a spudger to scrape out the residue glue, which looks like black stringy rubber.

    Спросите у FixBot

    Добавить комментарий

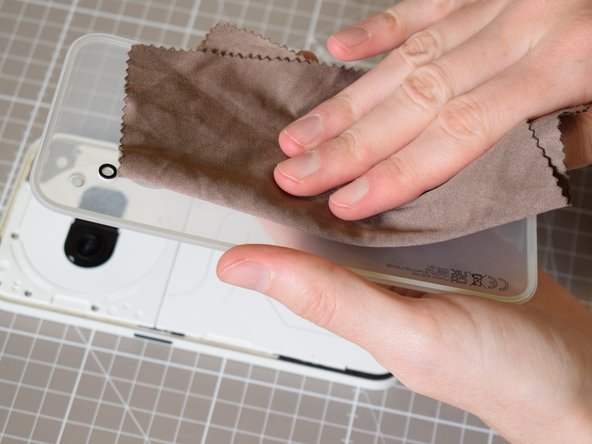
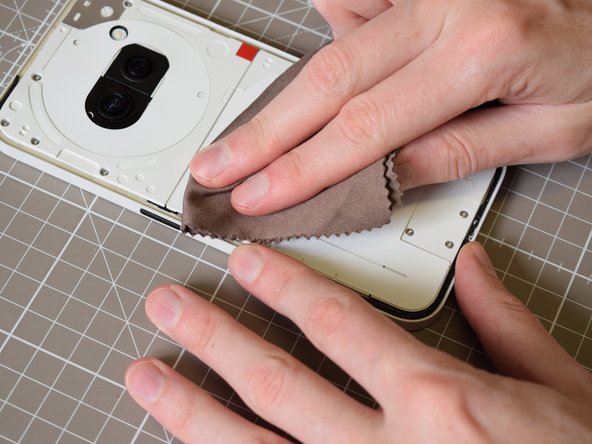
  37. Nothing Phone (2a) Battery Replacement, Clean gluing surface: шаг 37, изображение 1 из 3 Nothing Phone (2a) Battery Replacement, Clean gluing surface: шаг 37, изображение 2 из 3 Nothing Phone (2a) Battery Replacement, Clean gluing surface: шаг 37, изображение 3 из 3
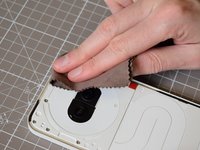
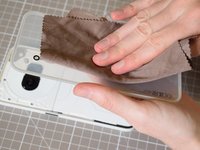
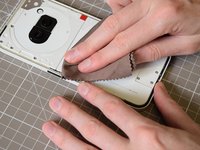
    • Before we apply the glue, we will clean the surfaces, using a microfibre cloth.

    • Pay special attention to cleaning the inside face of the back panel, as of course it is transparent, and we dont want any dust getting trapped inside our phone.

    Спросите у FixBot

    Добавить комментарий

  38. Nothing Phone (2a) Battery Replacement, Apply glue: шаг 38, изображение 1 из 3 Nothing Phone (2a) Battery Replacement, Apply glue: шаг 38, изображение 2 из 3 Nothing Phone (2a) Battery Replacement, Apply glue: шаг 38, изображение 3 из 3
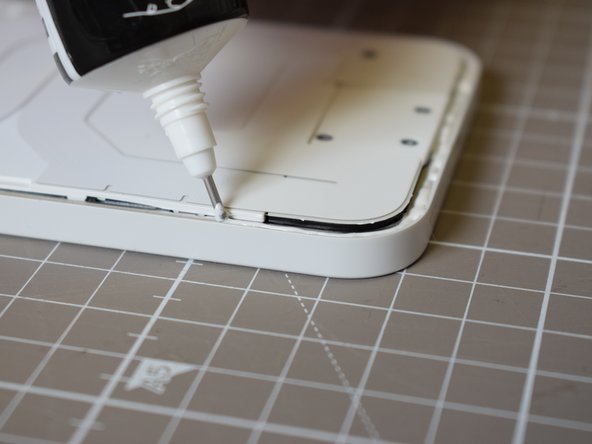
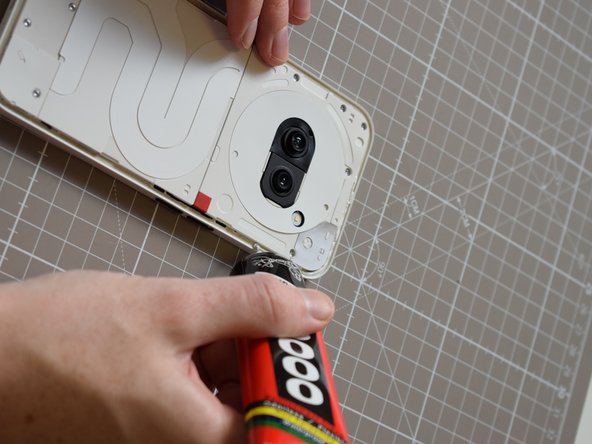
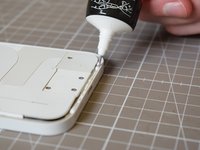
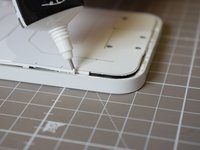
    • The glue we will be applying is B-7000 Glue, which is designed to stay flexible upon curing, which helps out with water and dust resistance. It can be bought on Amazon, or in most phone repair shops.

    • Direct the nozzle into the channel and lightly squeeze as you track the perimeter of the frame.

    • We don't want to squeeze too much glue out here. Any excess may seep out and will show up inside the transparent back panel.

    Спросите у FixBot

    Добавить комментарий

  39. Nothing Phone (2a) Battery Replacement, Replace back plate: шаг 39, изображение 1 из 3 Nothing Phone (2a) Battery Replacement, Replace back plate: шаг 39, изображение 2 из 3 Nothing Phone (2a) Battery Replacement, Replace back plate: шаг 39, изображение 3 из 3
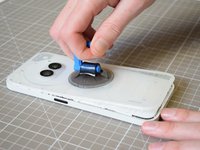
    • Very gradually align and place the back panel down, of course ensuring the correct orientation, and aligning the camera units with the lenses.

    • Be ready with a cloth to remove any excess that might seep out of the edges.

    • If you have one, you can use the suction cup to help guide the back panel back into the right place.

    Спросите у FixBot

    Добавить комментарий

  40. Nothing Phone (2a) Battery Replacement, Apply weight and leave to set: шаг 40, изображение 1 из 2 Nothing Phone (2a) Battery Replacement, Apply weight and leave to set: шаг 40, изображение 2 из 2
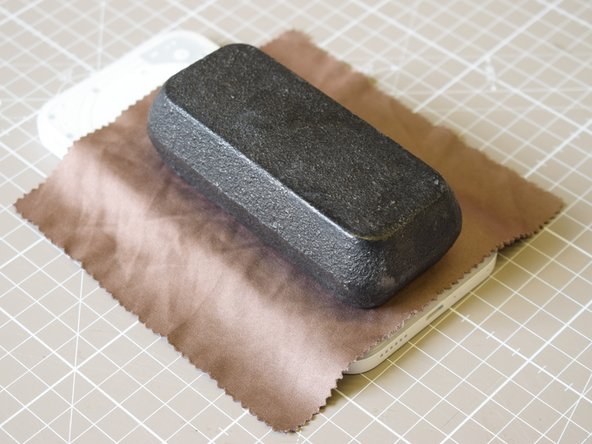
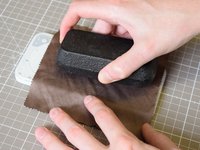
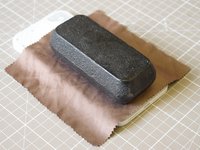
    • It is helpful to leave a small weight on the phone as the glue dries, which takes up to 24 hours.

    • I like to place the microfibre cloth over the phone before adding the weight, to avoid any scratches, we done want to damage our pretty transparent back panel!

    • 24hrs later, hey presto you have a Nothing Phone (2a) with a new battery!

    Спросите у FixBot

    Добавить комментарий

Финишная прямая

Отменить: Я не выполнил это руководство.

3 человек успешно провели ремонт по этому руководству.

Benjamin Hockings

Участник с: 02/02/25

628 Репутация

1 руководство автора

0 Комментарии к руководству

Добавить комментарий

Статистика просмотров:

За последние 24 часов: 10

За последние 7 дней: 127

За последние 30 дней: 510

За всё время: 6,693