Введение
You will need to replace the battery in your controller if it is not holding a charge or your controller is not turning on. When taking apart the controller, be careful as the buttons are not held in place by anything and can easily fall out.
Выберете то, что вам нужно
-
-
-
Remove the indicated six screws using the T6 Torx screwdriver.
 Спросите у FixBot
-
-
-
Use the plastic opening tool to pry the face of the controller away from the body.
-
-
-
-
Carefully remove the indicated ribbon wires from the face of the controller.
-
-
Инструмент, используемый на этом этапе:Tweezers$3.99
-
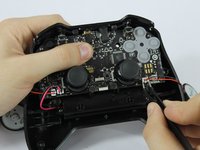
Use the angled tweezers to remove the vibration motor cable, moving it upward from its socket.
-
Lift the vibration motor out of the front case.
-
Repeat for the other side.
-
Use the angled tweezers to remove the battery cable, moving it upward from its socket.
-
-
-
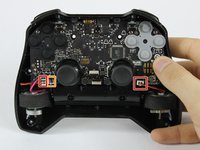
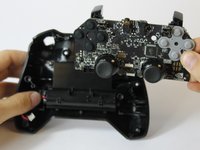
Using the T6 Torx screwdriver, remove the indicated eight screws from the logic board.
-
Lift the logic board away from the front case.
-
-
-
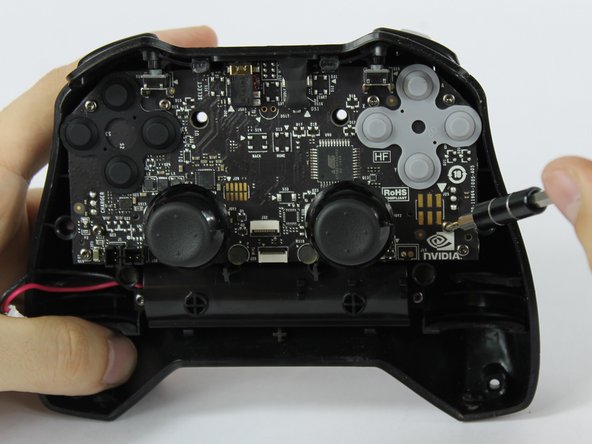
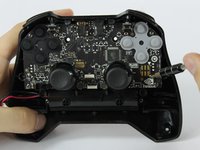
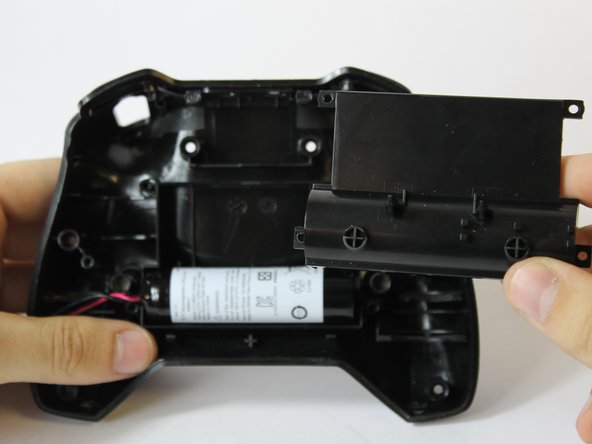
Using the T6 Torx screwdriver, remove the indicated four screws from the panel.
-
Remove the panel from the front case.
-
Lift the battery from the front case to remove it.
-
-


To reassemble your device, follow these instructions in reverse order.
Отменить: Я не выполнил это руководство.
12 человек успешно провели ремонт по этому руководству.
Команда

USF Tampa, Team S16-G6, Eyestone Fall 2017 Участник USF Tampa, Team S16-G6, Eyestone Fall 2017
USFT-EYESTONE-F17S16G6
3 членов
Автор 14 руководств
8 Комментарии к руководству
Where can i buy the replacement Battery? What tags should i use to find it?
LC18650 Remote Control accu
Are battery packs available for the 2017 controller?
Simply reconnecting the battery fixed my issues