Перейти к основному содержанию
Присоединяйся к сообществу ремонтников - Создай аккаунт

Olympus FE-210 Lens Assembly Replacement

Выберете то, что вам нужно

  1. Olympus FE-210 Lens Assembly Replacement, Battery: шаг 1, изображение 1 из 2 Olympus FE-210 Lens Assembly Replacement, Battery: шаг 1, изображение 2 из 2
    • The battery compartment is located on the bottom side of the camera. Push the button in, and slide the cover to get access to the batteries.

    Спросите у FixBot
  2. Olympus FE-210 Lens Assembly Replacement: шаг 2, изображение 1 из 2 Olympus FE-210 Lens Assembly Replacement: шаг 2, изображение 2 из 2
    • The batteries will slide right out.

    • When putting new batteries in, make sure they are pointing the right direction.

    Спросите у FixBot
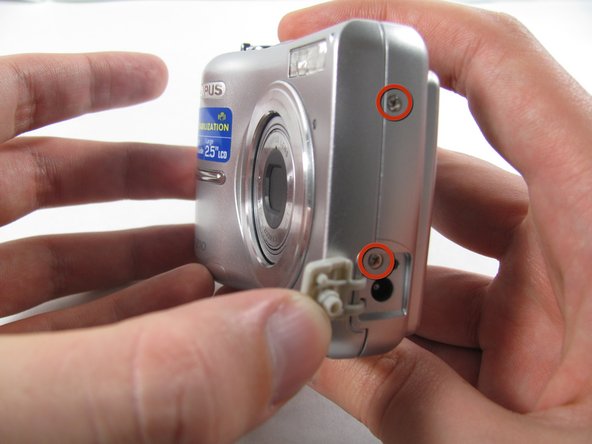
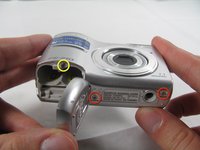
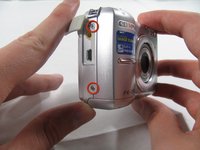
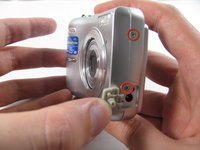
  3. Olympus FE-210 Lens Assembly Replacement, Front Casing: шаг 3, изображение 1 из 3 Olympus FE-210 Lens Assembly Replacement, Front Casing: шаг 3, изображение 2 из 3 Olympus FE-210 Lens Assembly Replacement, Front Casing: шаг 3, изображение 3 из 3
    • Remove the seven screws holding the front case in place, with a #00 screwdriver.

    • Six screws are 3.6 mm.

    • The seventh screw is 3.2 mm.

    Спросите у FixBot
  4. Olympus FE-210 Lens Assembly Replacement: шаг 4, изображение 1 из 3 Olympus FE-210 Lens Assembly Replacement: шаг 4, изображение 2 из 3 Olympus FE-210 Lens Assembly Replacement: шаг 4, изображение 3 из 3
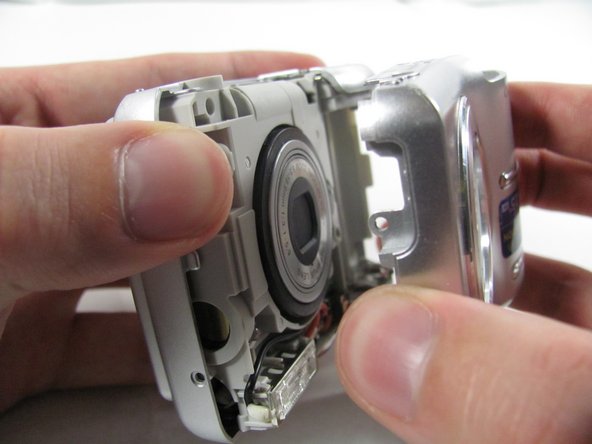
    • Apply enough pressure at the three snappable places to pull the front case off.

    • These three places are located:

    • At the top and bottom of the battery side (opposite of side pictured) of the case.

    • Right in the middle of the DC-in side (side pictured) of the case.

    • Top of the camera, to the left of the power button.

    • Once those places are disconnected, the front case will pop right off.

    • The camera in the first two pictures is upside down. This is the best position to place your thumbs to remove the case.

    Спросите у FixBot
  5. Olympus FE-210 Lens Assembly Replacement, Rear Casing: шаг 5, изображение 1 из 1
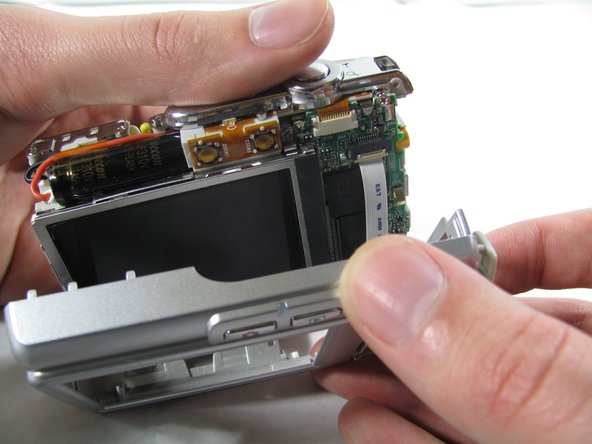
    • Remove the 3.2 mm screw in the battery compartment using a #00 screwdriver.

    • After removal of the screw the case will be loose, but do not tug it off. There is a cord connecting the rear controls to the motherboard.

    Спросите у FixBot
  6. Olympus FE-210 Lens Assembly Replacement: шаг 6, изображение 1 из 3 Olympus FE-210 Lens Assembly Replacement: шаг 6, изображение 2 из 3 Olympus FE-210 Lens Assembly Replacement: шаг 6, изображение 3 из 3
    • Carefully pull the rear case away from the camera until you have access to the cord connected to the motherboard.

    • Lift the white latch using a fingernail or a spudger.

    • Pull the cord from its connector.

    Спросите у FixBot
  7. Olympus FE-210 Lens Assembly Replacement, Motherboard: шаг 7, изображение 1 из 2 Olympus FE-210 Lens Assembly Replacement, Motherboard: шаг 7, изображение 2 из 2
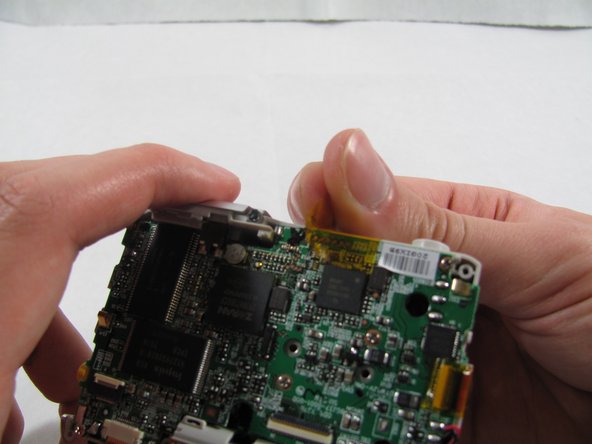
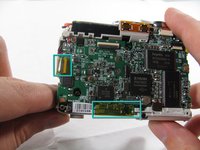
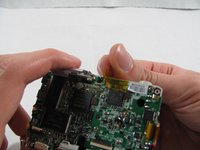
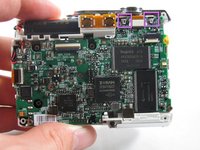
    • Remove the 2 pieces of translucent yellow tape.

    • Removing these pieces of tape will void the camera warranty. They serve no functional purpose and do not need to be replaced during reassembly.

    Спросите у FixBot
  8. Olympus FE-210 Lens Assembly Replacement: шаг 8, изображение 1 из 2 Olympus FE-210 Lens Assembly Replacement: шаг 8, изображение 2 из 2
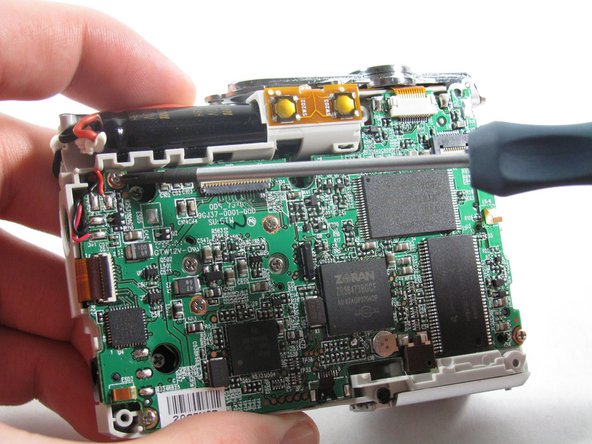
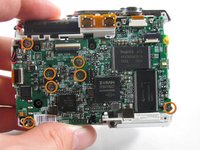
    • Remove the seven 2.7 mm using a #00 screwdriver.

    Спросите у FixBot
  9. Olympus FE-210 Lens Assembly Replacement: шаг 9, изображение 1 из 1
    Инструмент, используемый на этом этапе:
    Tweezers
    $4.99
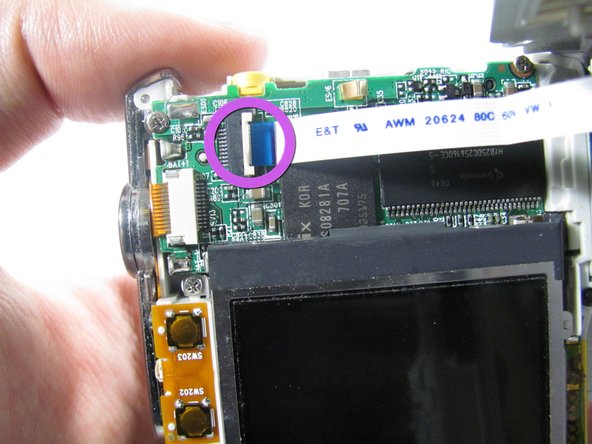
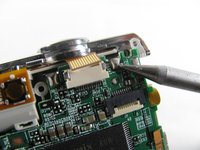
    • Remove the ribbon cord located near the top right corner of the motherboard. Do this by carefully pulling the cord out of the socket using a pair of tweezers.

    Спросите у FixBot
  10. Olympus FE-210 Lens Assembly Replacement: шаг 10, изображение 1 из 1
    • Disconnect the ribbon cord located on the left side of the motherboard.

    • Use tweezers or a spudger to lift the latch on the connector.

    • Carefully remove the cord from the connector.

    Спросите у FixBot
  11. Olympus FE-210 Lens Assembly Replacement: шаг 11, изображение 1 из 2 Olympus FE-210 Lens Assembly Replacement: шаг 11, изображение 2 из 2
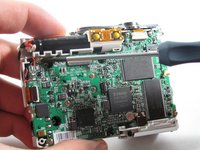
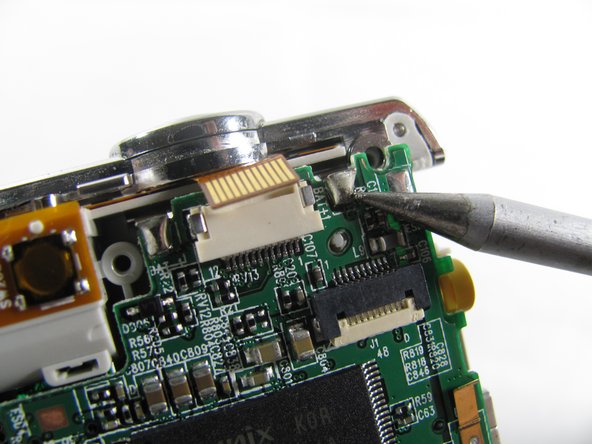
    • De-solder the 2 connection points.

    • Be careful to not damage any part of the circuit board with the soldering iron.

    Спросите у FixBot
  12. Olympus FE-210 Lens Assembly Replacement: шаг 12, изображение 1 из 1
    • Remove the motherboard from the camera casing.

    Спросите у FixBot
  13. Olympus FE-210 Lens Assembly Replacement, Lens Assembly: шаг 13, изображение 1 из 1
    • Remove the three 3.6 mm screws using a #00 screwdriver.

    Спросите у FixBot
  14. Olympus FE-210 Lens Assembly Replacement: шаг 14, изображение 1 из 2 Olympus FE-210 Lens Assembly Replacement: шаг 14, изображение 2 из 2
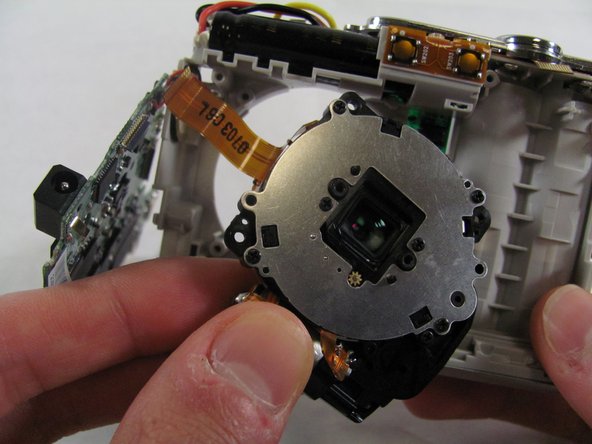
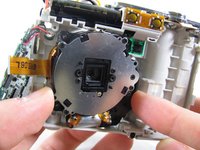
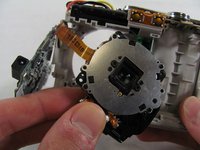
    • Slide the lens to the left and pull up. The lens should easily come loose and slide right out.

    Спросите у FixBot
Заключение

To reassemble your device, follow these instructions in reverse order.

Matt

Участник с: 01/25/11

826 Репутация

Автор 6 руководств

Команда

Cal Poly, Team 4-36, Regan Winter 2011 Участник Cal Poly, Team 4-36, Regan Winter 2011

CPSU-REGAN-W11S4G36

3 членов

Автор 14 руководств

1 Комментарий к руководству

This is also applicable to the Olympus FE170. I dismantled and repaired mine using this guide. Excellent!

Alan Shaw - Ответить Поделиться

Добавить комментарий

Статистика просмотров:

За последние 24 часов: 4

За последние 7 дней: 20

За последние 30 дней: 101

За всё время: 7,127