Перейти к основному содержанию
Присоединяйся к сообществу ремонтников - Создай аккаунт

Olympus Stylus 1030 SW Camera Disassembly

Выберете то, что вам нужно

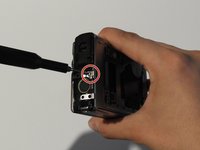
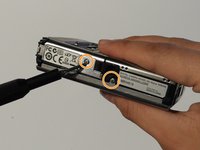
    1. Olympus Stylus 1030 SW Camera Disassembly, Olympus Stylus 1030 SW Camera Disassembly: шаг 1, изображение 1 из 3 Olympus Stylus 1030 SW Camera Disassembly, Olympus Stylus 1030 SW Camera Disassembly: шаг 1, изображение 2 из 3 Olympus Stylus 1030 SW Camera Disassembly, Olympus Stylus 1030 SW Camera Disassembly: шаг 1, изображение 3 из 3
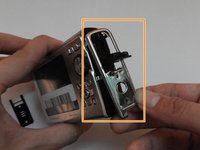
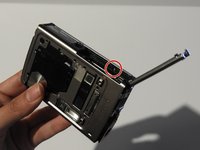
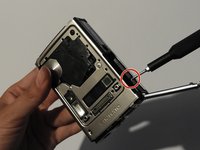
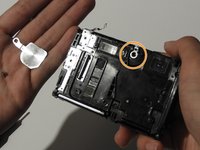
      • Using the iFixit Opening Tool, pry off the plastic part of the lens.

      • Using the T6 Torx screwdriver, unscrew the three screws.

      Спросите у FixBot

      Добавить комментарий

    2. Olympus Stylus 1030 SW Camera Disassembly: шаг 2, изображение 1 из 3 Olympus Stylus 1030 SW Camera Disassembly: шаг 2, изображение 2 из 3 Olympus Stylus 1030 SW Camera Disassembly: шаг 2, изображение 3 из 3
      Инструмент, используемый на этом этапе:
      Tweezers
      $4.99
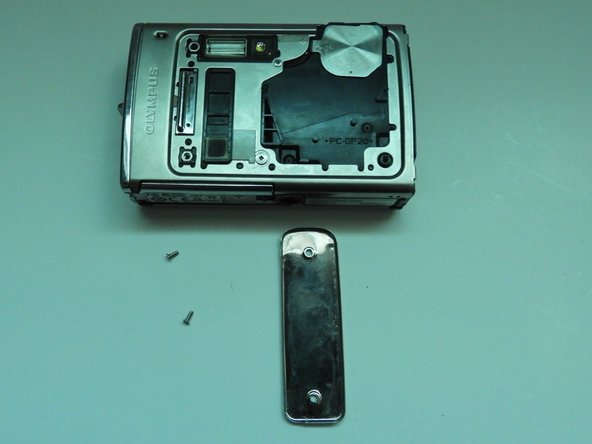
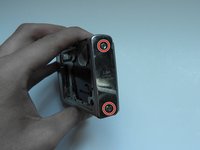
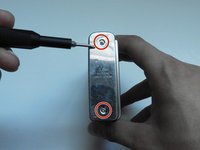
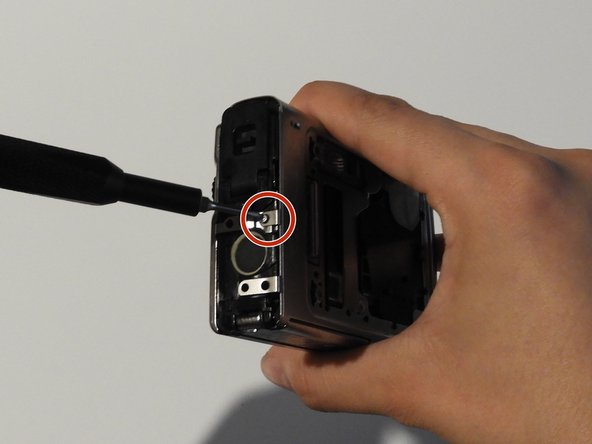
      • Using the Phillips #00 screwdriver, unscrew the three screws.

      • Carefully swivel the metal cover out towards you.

      • Using tweezers, remove the metal washer.

      Спросите у FixBot

      Добавить комментарий

    3. Olympus Stylus 1030 SW Camera Disassembly: шаг 3, изображение 1 из 2 Olympus Stylus 1030 SW Camera Disassembly: шаг 3, изображение 2 из 2
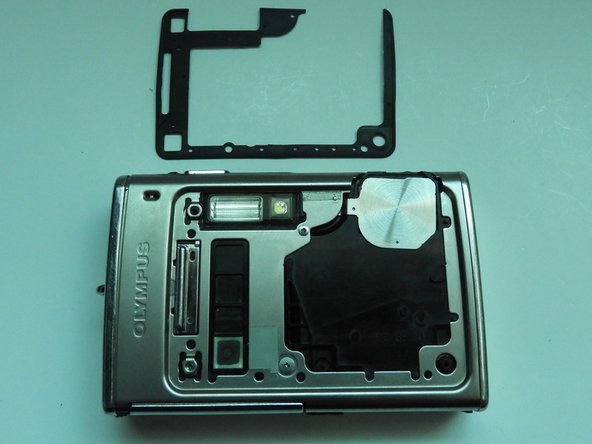
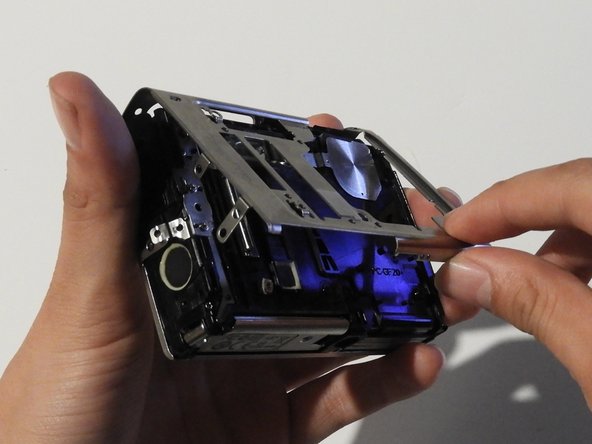
      • Using the tweezers, slowly peel off the plate.

      Спросите у FixBot

      Добавить комментарий

    4. Olympus Stylus 1030 SW Camera Disassembly: шаг 4, изображение 1 из 3 Olympus Stylus 1030 SW Camera Disassembly: шаг 4, изображение 2 из 3 Olympus Stylus 1030 SW Camera Disassembly: шаг 4, изображение 3 из 3
      • Using the Phillips #00 screwdriver, unscrew the two screws on the side of the camera.

      Спросите у FixBot

      Добавить комментарий

    5. Olympus Stylus 1030 SW Camera Disassembly: шаг 5, изображение 1 из 3 Olympus Stylus 1030 SW Camera Disassembly: шаг 5, изображение 2 из 3 Olympus Stylus 1030 SW Camera Disassembly: шаг 5, изображение 3 из 3
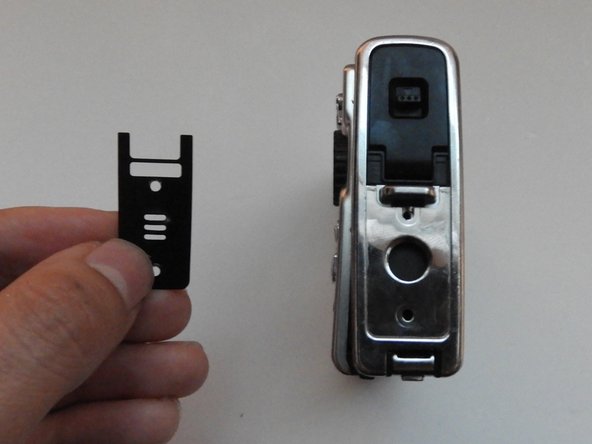
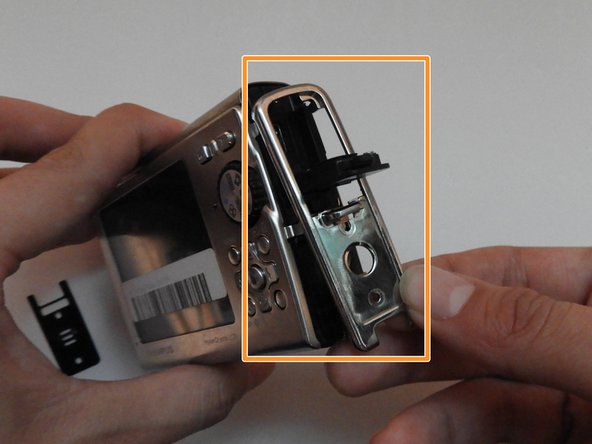
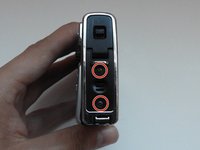
      • On the opposite side, use the Phillips #00 screwdriver to unscrew both screws.

      • Take out the speaker plate.

      • Open the multi-connector cover and slide off the side panel.

      Спросите у FixBot

      Добавить комментарий

    6. Olympus Stylus 1030 SW Camera Disassembly: шаг 6, изображение 1 из 3 Olympus Stylus 1030 SW Camera Disassembly: шаг 6, изображение 2 из 3 Olympus Stylus 1030 SW Camera Disassembly: шаг 6, изображение 3 из 3
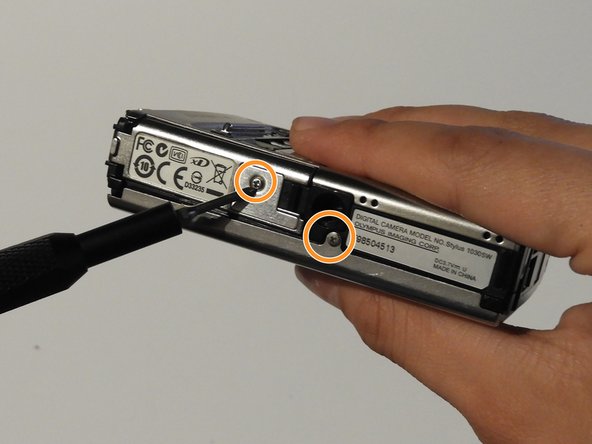
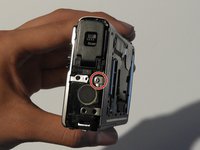
      • Using the Phillips #00 screwdriver, unscrew the screw above the speaker.

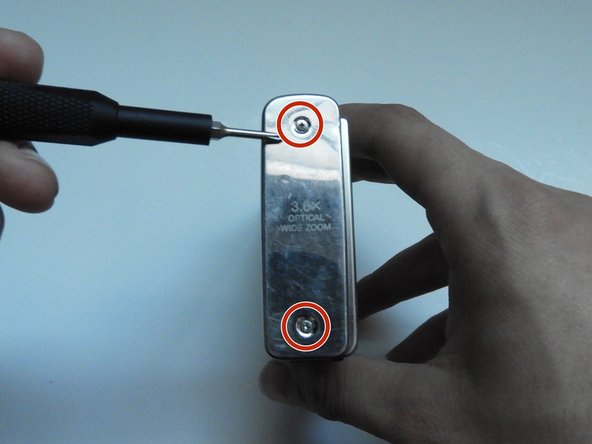
      • On the bottom side of the camera, unscrew the two screws.

      Спросите у FixBot

      Добавить комментарий

    7. Olympus Stylus 1030 SW Camera Disassembly: шаг 7, изображение 1 из 3 Olympus Stylus 1030 SW Camera Disassembly: шаг 7, изображение 2 из 3 Olympus Stylus 1030 SW Camera Disassembly: шаг 7, изображение 3 из 3
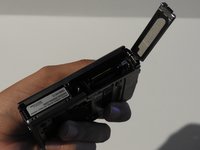
      • Open the battery compartment cover.

      • Use the Phillips #00 screwdriver to unscrew the screw in the battery compartment.

      Спросите у FixBot

      Добавить комментарий

    8. Olympus Stylus 1030 SW Camera Disassembly: шаг 8, изображение 1 из 3 Olympus Stylus 1030 SW Camera Disassembly: шаг 8, изображение 2 из 3 Olympus Stylus 1030 SW Camera Disassembly: шаг 8, изображение 3 из 3
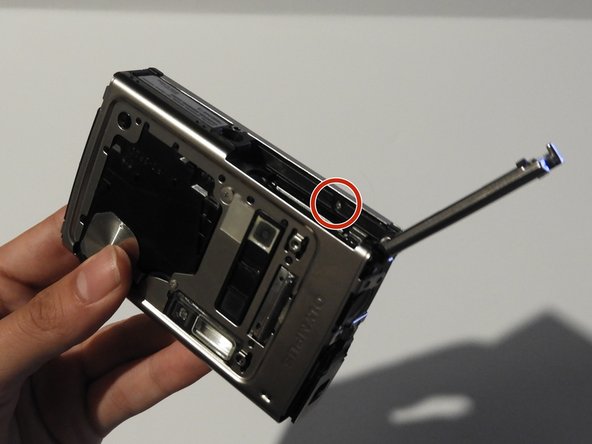
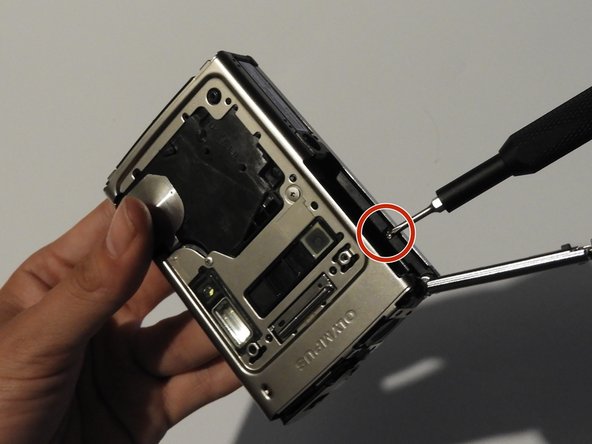
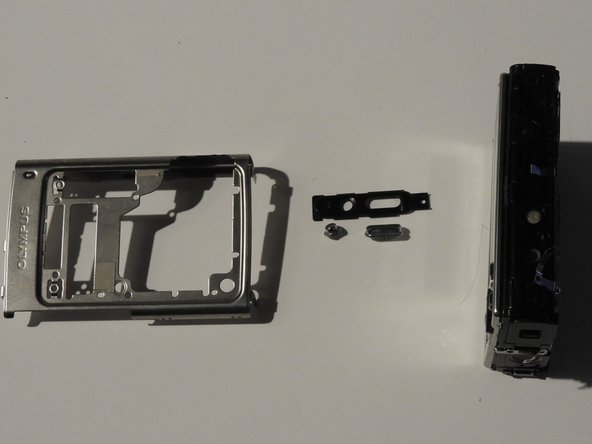
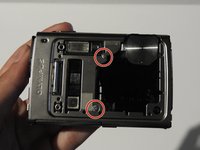
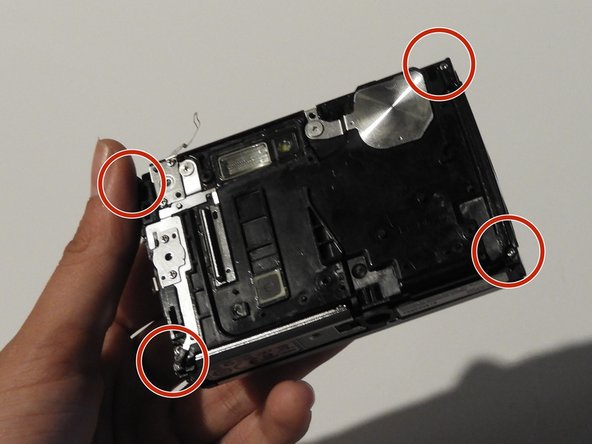
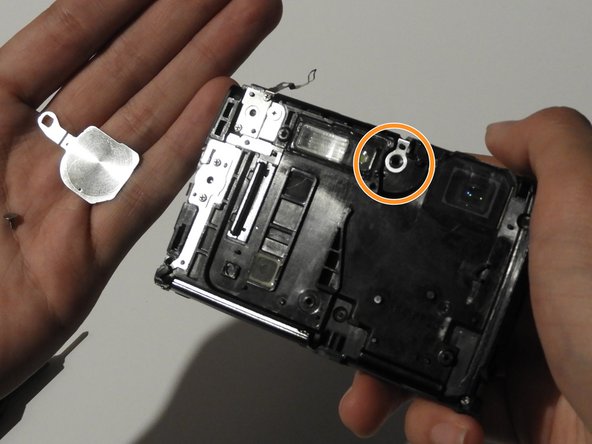
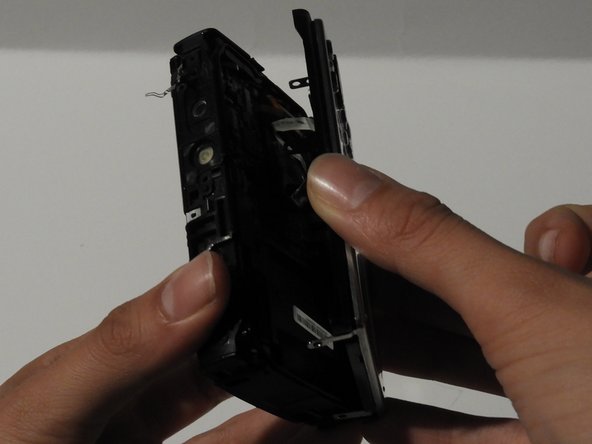
      • On the front of the camera, unscrew the two screws shown.

      • Gently pull on the side until the camera is separated from the back panel.

      • Remove the shutter and power button.

      Спросите у FixBot

      Добавить комментарий

    9. Olympus Stylus 1030 SW Camera Disassembly: шаг 9, изображение 1 из 3 Olympus Stylus 1030 SW Camera Disassembly: шаг 9, изображение 2 из 3 Olympus Stylus 1030 SW Camera Disassembly: шаг 9, изображение 3 из 3
      • Use the Phillips #00 screwdriver to unscrew the four screws on the front of the camera.

      • Unscrew the shutter using the Phillips #00 screwdriver.

      Спросите у FixBot

      Добавить комментарий

    10. Olympus Stylus 1030 SW Camera Disassembly: шаг 10, изображение 1 из 2 Olympus Stylus 1030 SW Camera Disassembly: шаг 10, изображение 2 из 2
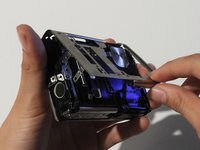
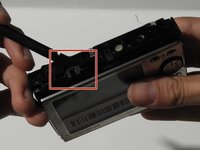
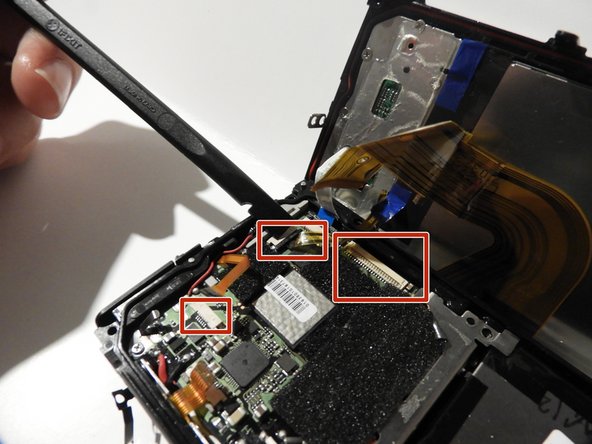
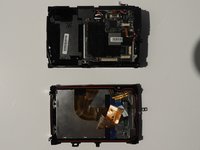
      • Release the top holding using a spudger.

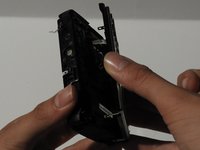
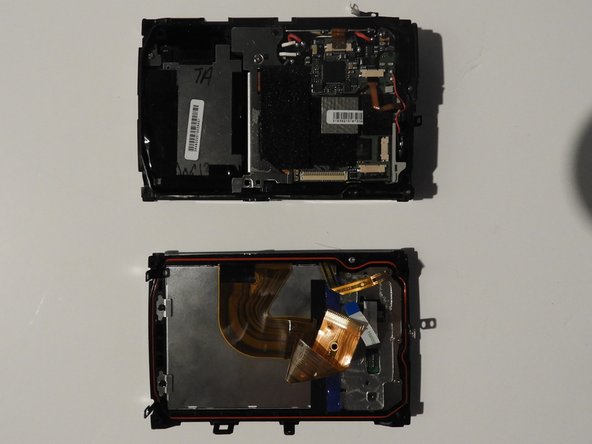
      • Slowly and carefully separate the front and back of the camera, exposing the electrical ribbons.

      Спросите у FixBot

      Добавить комментарий

    11. Olympus Stylus 1030 SW Camera Disassembly: шаг 11, изображение 1 из 3 Olympus Stylus 1030 SW Camera Disassembly: шаг 11, изображение 2 из 3 Olympus Stylus 1030 SW Camera Disassembly: шаг 11, изображение 3 из 3
      • Using the spudger and tweezers if needed, remove the ribbons from the computer chips.

      Спросите у FixBot

      Добавить комментарий

Заключение

To reassemble your device, follow these instructions in reverse order.

Отменить: Я не выполнил это руководство.

Еще один человек закончил это руководство.

Shanmei Zheng

Участник с: 02/17/14

331 Репутация

Автор 3 руководств

Команда

0 Комментарии к руководству

Добавить комментарий

Статистика просмотров:

За последние 24 часов: 2

За последние 7 дней: 8

За последние 30 дней: 40

За всё время: 3,509