Перейти к основному содержанию
Присоединяйся к сообществу ремонтников - Создай аккаунт

Olympus VR-350 Lens Box Unit Replacement

Выберете то, что вам нужно

    1. Olympus VR-350 Lens Box Unit Replacement, Front Plate: шаг 1, изображение 1 из 2 Olympus VR-350 Lens Box Unit Replacement, Front Plate: шаг 1, изображение 2 из 2
      • Remove the two 4mm screws from each side of the camera with a Phillips PH000 screwdriver.

      Спросите у FixBot

      Добавить комментарий

    2. Olympus VR-350 Lens Box Unit Replacement: шаг 2, изображение 1 из 1
      • Remove the four 4mm screws from the bottom of the camera with a Phillips PH000 screwdriver.

      Спросите у FixBot

      Добавить комментарий

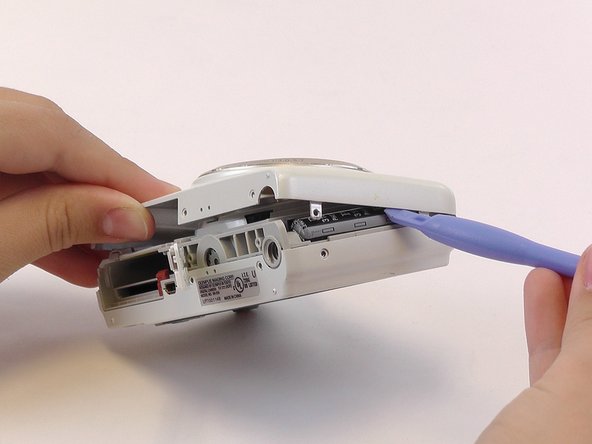
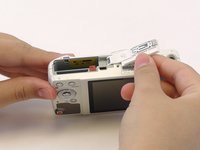
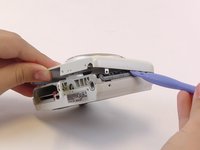
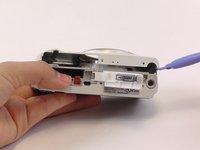
    3. Olympus VR-350 Lens Box Unit Replacement: шаг 3, изображение 1 из 3 Olympus VR-350 Lens Box Unit Replacement: шаг 3, изображение 2 из 3 Olympus VR-350 Lens Box Unit Replacement: шаг 3, изображение 3 из 3
      • Use the plastic opening tools and your fingers to pry the front plate from the camera.

      • You might need to open the battery cover to remove the front plate.

      Спросите у FixBot

      Добавить комментарий

    1. Olympus VR-350 Lens Box Unit Replacement, Back Plate: шаг 4, изображение 1 из 2 Olympus VR-350 Lens Box Unit Replacement, Back Plate: шаг 4, изображение 2 из 2
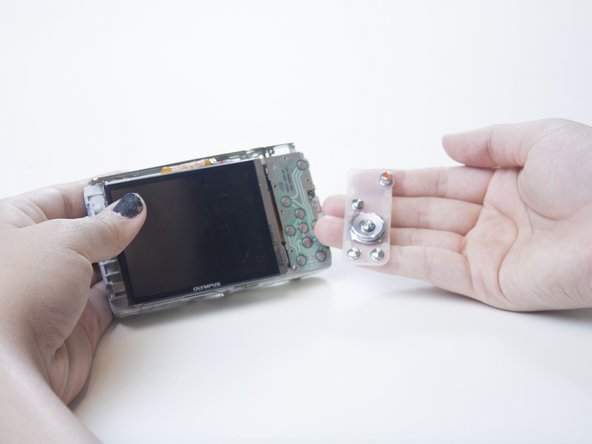
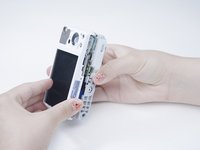
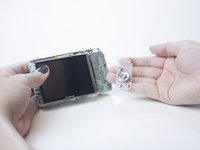
      • Use your fingers to pry open the back cover.

      • When you remove the back of the camera, the button membrane might fall out. Don’t lose this sheet.

      • The LCD screen is connected to the body of the camera by an orange ribbon cable. Don’t pull this ribbon cable out.

      Спросите у FixBot

      Добавить комментарий

    1. Olympus VR-350 Lens Box Unit Replacement, LCD Screen: шаг 5, изображение 1 из 2 Olympus VR-350 Lens Box Unit Replacement, LCD Screen: шаг 5, изображение 2 из 2
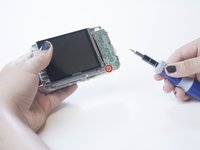
      • Using the Phillips PH000 screwdriver, remove the 4mm screw from the bottom left corner of the button plate located under the button membrane.

      Спросите у FixBot

      Добавить комментарий

    2. Olympus VR-350 Lens Box Unit Replacement: шаг 6, изображение 1 из 1
      • Pull the button pad up to fully reveal the visible ribbon cable.

      • You might need to bend the button pad out of the way.

      Спросите у FixBot

      Добавить комментарий

    3. Olympus VR-350 Lens Box Unit Replacement: шаг 7, изображение 1 из 1
      • Pull out the LCD screen and the ribbon cable.

      • The ribbon cable should be easy to pull out.

      Спросите у FixBot

      Добавить комментарий

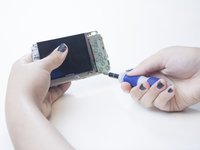
    1. Olympus VR-350 Lens Box Unit Replacement, Lens Box Unit: шаг 8, изображение 1 из 1
      • Remove the metal plate that was underneath the LCD screen by removing the four 4 mm screws with the Phillips PH000 screwdriver.

      Спросите у FixBot

      Добавить комментарий

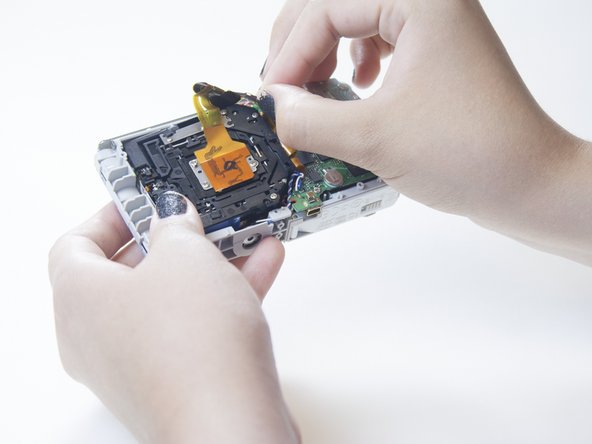
    2. Olympus VR-350 Lens Box Unit Replacement: шаг 9, изображение 1 из 2 Olympus VR-350 Lens Box Unit Replacement: шаг 9, изображение 2 из 2
      • Remove the orange ribbon cable from the connector on the left side of the motherboard.

      • To do this, gently lift up the small grey clasp and pull the cable ribbon.

      Спросите у FixBot

      Добавить комментарий

    3. Olympus VR-350 Lens Box Unit Replacement: шаг 10, изображение 1 из 1
      • There are two other small ribbon cables under the motherboard connected to the lens box. Pull them out from the motherboard.

      • You may need to use force to pull out the ribbon cables.

      Спросите у FixBot

      Добавить комментарий

    4. Olympus VR-350 Lens Box Unit Replacement: шаг 11, изображение 1 из 1
      • Pull the lens box up and out to remove it.

      Спросите у FixBot

      Добавить комментарий

Заключение

To reassemble your device, follow these instructions in reverse order.

Отменить: Я не выполнил это руководство.

5 человек успешно провели ремонт по этому руководству.

Brooke

Участник с: 02/23/15

278 Репутация

1 руководство автора

Команда

USF Tampa, Team 1-3, Leahy Winter 2015 Участник USF Tampa, Team 1-3, Leahy Winter 2015

USFT-LEAHY-W15S1G3

3 членов

Автор 10 руководств

1 Комментарий к руководству

Worked for a SH-21, with a couple of extra screws to remove. Thank you!

Rick Allies - Ответить Поделиться

Добавить комментарий

Статистика просмотров:

За последние 24 часов: 2

За последние 7 дней: 10

За последние 30 дней: 46

За всё время: 2,359