Перейти к основному содержанию
Присоединяйся к сообществу ремонтников - Создай аккаунт

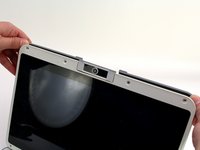
One Education Infinity Upper Hinge Assembly Replacement

Абсолютно необходимое руководство
Это руководство только для предварительной подготовки! Этот гайд является частью другой процедуры и не предназначен для самостоятельного использования.

Выберете то, что вам нужно

    1. One Education Infinity Upper Hinge Assembly Replacement, Back Case: шаг 1, изображение 1 из 3 One Education Infinity Upper Hinge Assembly Replacement, Back Case: шаг 1, изображение 2 из 3 One Education Infinity Upper Hinge Assembly Replacement, Back Case: шаг 1, изображение 3 из 3
      • Always power off your device before beginning disassembly.

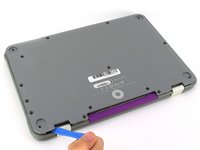
      • Remove the screw covers and rubber feet from the bottom of the laptop with a metal spudger.

      Спросите у FixBot

      Добавить комментарий

    2. One Education Infinity Upper Hinge Assembly Replacement: шаг 2, изображение 1 из 2 One Education Infinity Upper Hinge Assembly Replacement: шаг 2, изображение 2 из 2
      • Using a Phillips #00 screwdriver, remove the sixteen 5.0 mm black screws from the back panel.

      Спросите у FixBot

      Добавить комментарий

    3. One Education Infinity Upper Hinge Assembly Replacement: шаг 3, изображение 1 из 3 One Education Infinity Upper Hinge Assembly Replacement: шаг 3, изображение 2 из 3 One Education Infinity Upper Hinge Assembly Replacement: шаг 3, изображение 3 из 3
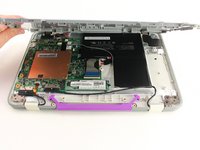
      • Using the iFixit plastic opening tool or spudger, start near the white hinge of the device and lift along the outer edges of the device until all clips are released.

      • Lift the back case off of the device.

      • Removing the back may create a loud snapping noise.

      Спросите у FixBot

      Добавить комментарий

    1. One Education Infinity Upper Hinge Assembly Replacement, Battery: шаг 4, изображение 1 из 3 One Education Infinity Upper Hinge Assembly Replacement, Battery: шаг 4, изображение 2 из 3 One Education Infinity Upper Hinge Assembly Replacement, Battery: шаг 4, изображение 3 из 3
      • There may be black tape inside your device covering components or holding down wires. This tape is unimportant for the function of the device, and can be removed.

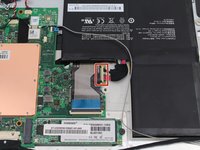
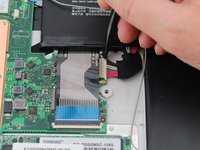
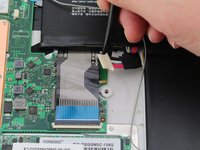
      • Carefully wiggle the battery cable to the right and out of the port with a plastic spudger.

      Спросите у FixBot

      Добавить комментарий

    2. One Education Infinity Upper Hinge Assembly Replacement: шаг 5, изображение 1 из 3 One Education Infinity Upper Hinge Assembly Replacement: шаг 5, изображение 2 из 3 One Education Infinity Upper Hinge Assembly Replacement: шаг 5, изображение 3 из 3
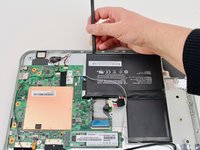
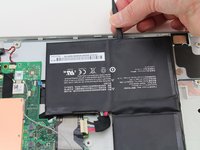
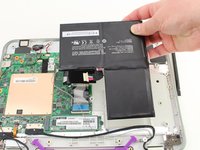
      • Wedge a plastic spudger underneath the battery from the upper edge and slide it carefully along the length of the battery to separate it from the case.

      • There is a mild adhesive holding down the battery. Take care not to puncture or excessively bend the battery while freeing it from the adhesive.

      • Lift the battery out from the internal case.

      Спросите у FixBot

      Добавить комментарий

    1. One Education Infinity Upper Hinge Assembly Replacement, Upper Case: шаг 6, изображение 1 из 3 One Education Infinity Upper Hinge Assembly Replacement, Upper Case: шаг 6, изображение 2 из 3 One Education Infinity Upper Hinge Assembly Replacement, Upper Case: шаг 6, изображение 3 из 3
      • Flip open the laptop so that the screen is exposed.

      • We found it convenient to flip the laptop into tablet mode for added support.

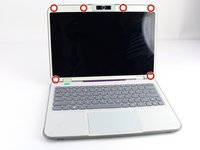
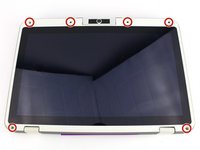
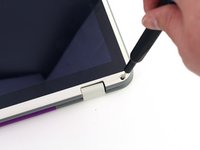
      • Using a spudger, remove the six screw covers along the bezel of the screen.

      Спросите у FixBot

      Добавить комментарий

    2. One Education Infinity Upper Hinge Assembly Replacement: шаг 7, изображение 1 из 2 One Education Infinity Upper Hinge Assembly Replacement: шаг 7, изображение 2 из 2
      • Remove the six 2.8 mm Phillips #00 screws along the bezel.

      Спросите у FixBot

      Добавить комментарий

    3. One Education Infinity Upper Hinge Assembly Replacement: шаг 8, изображение 1 из 3 One Education Infinity Upper Hinge Assembly Replacement: шаг 8, изображение 2 из 3 One Education Infinity Upper Hinge Assembly Replacement: шаг 8, изображение 3 из 3
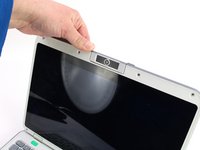
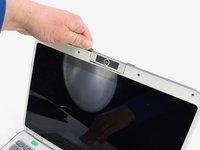
      • Use the two tabs on the top edge of the screen to pry the case apart.

      • Once the two top clips have been disengaged, start to work your way around the rest of the screen.

      Спросите у FixBot

      Добавить комментарий

    4. One Education Infinity Upper Hinge Assembly Replacement: шаг 9, изображение 1 из 1
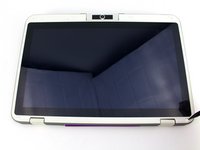
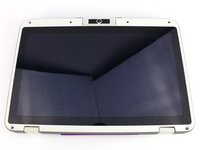
      • Once all the clips have been popped off, remove the upper case from the back of the display assembly.

      • You may want to close the laptop while disconnecting the hinge-side edge, as it will give you extra clearance for the upper case.

      Спросите у FixBot

      Добавить комментарий

    1. One Education Infinity Upper Hinge Assembly Replacement, Upper Hinge Assembly: шаг 10, изображение 1 из 2 One Education Infinity Upper Hinge Assembly Replacement, Upper Hinge Assembly: шаг 10, изображение 2 из 2
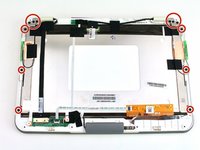
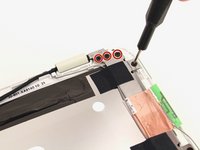
      • Remove the twelve 3.8 mm Phillips #00 screws from the hinge brackets extending along the height of the display.

      Спросите у FixBot

      Добавить комментарий

    2. One Education Infinity Upper Hinge Assembly Replacement: шаг 11, изображение 1 из 3 One Education Infinity Upper Hinge Assembly Replacement: шаг 11, изображение 2 из 3 One Education Infinity Upper Hinge Assembly Replacement: шаг 11, изображение 3 из 3
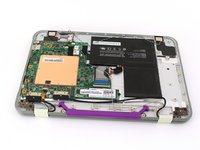
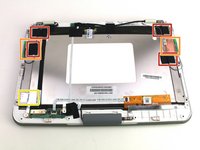
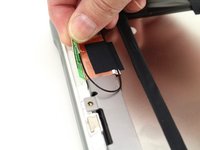
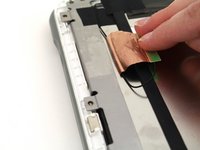
      • Peel back the four pieces of black tape.

      • Peel back the antenna cable boards off of the display hinges.

      • Peel off the silver tape from the display hinges.

      Спросите у FixBot

      Добавить комментарий

    3. One Education Infinity Upper Hinge Assembly Replacement: шаг 12, изображение 1 из 3 One Education Infinity Upper Hinge Assembly Replacement: шаг 12, изображение 2 из 3 One Education Infinity Upper Hinge Assembly Replacement: шаг 12, изображение 3 из 3
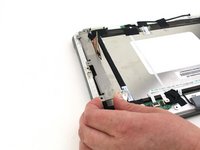
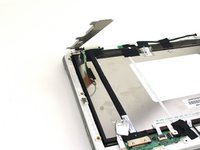
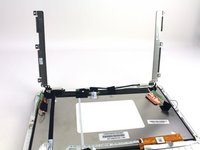
      • Lift up both hinges, ensuring that they clear all tape and wires.

      Спросите у FixBot

      Добавить комментарий

Заключение

To reassemble your device, follow these instructions in reverse order.

Отменить: Я не выполнил это руководство.

Austin Blakely

Участник с: 03/11/19

23 132 Репутация

Автор 53 руководств

Команда

iFixit Участник iFixit

Staff

123 членов

Автор 51 747 руководств

0 Комментарии к руководству

Добавить комментарий

Статистика просмотров:

За последние 24 часов: 1

За последние 7 дней: 4

За последние 30 дней: 15

За всё время: 178