Перейти к основному содержанию
Присоединяйся к сообществу ремонтников - Создай аккаунт

OnePlus 7T Screen Replacement

Выберете то, что вам нужно

Видеообзор

OnePlus 7T Screen Replacement

  1. OnePlus 7T Screen Replacement, OnePlus 7T Screen Replacement: шаг 1, изображение 1 из 3 OnePlus 7T Screen Replacement, OnePlus 7T Screen Replacement: шаг 1, изображение 2 из 3 OnePlus 7T Screen Replacement, OnePlus 7T Screen Replacement: шаг 1, изображение 3 из 3
    • Insert and gently push the SIM card ejector tool (or an unfolded paperclip) into the small hole on the left side of the top edge of the phone.

    • Press gently to eject the SIM tray.

    • Remove the SIM card tray from the device.

    • To reinsert the SIM card tray, orient the SIM card with the gold contacts facing up and the notch to the bottom right. Reinsert the SIM card by pressing the card gently into the SIM tray slot.

    Спросите у FixBot

    Добавить комментарий

  2. OnePlus 7T Screen Replacement: шаг 2, изображение 1 из 2 OnePlus 7T Screen Replacement: шаг 2, изображение 2 из 2
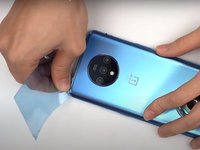
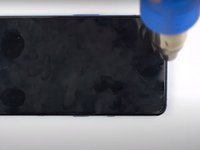
    • Use a heat gun to lightly heat the edges of the back to soften the adhesive that connects the back cover to the rest of the frame.

    • Using a heat gun, hair dryer, or hot plate will make the metal frame rather hot to the touch, so handle it with care.

    • Be careful not to overheat the device –the OLED display, battery and other internal parts can be damaged by excessive heat. Approximately one minute should be enough to soften the adhesive.

    • An iFixit iOpener, hairdryer, or hot plate can also be used to heat the edges. See the iOpener Heating guide for instructions on using the iOpener.

    Спросите у FixBot

    Добавить комментарий

  3. OnePlus 7T Screen Replacement: шаг 3, изображение 1 из 3 OnePlus 7T Screen Replacement: шаг 3, изображение 2 из 3 OnePlus 7T Screen Replacement: шаг 3, изображение 3 из 3
    Инструмент, используемый на этом этапе:
    Plastic Cards
    $2.99
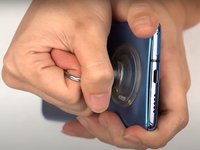
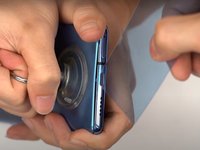
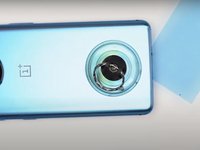
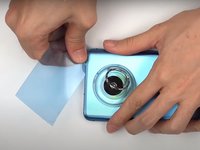
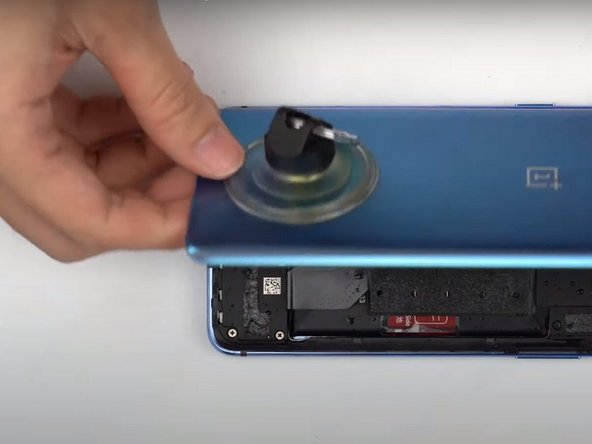
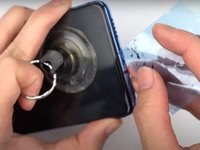
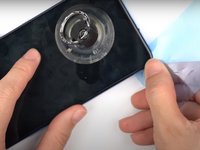
    • Apply a suction cup to the lower portion of the phone's backing and pull firmly to create a crack between the back cover and the rest of the phone.

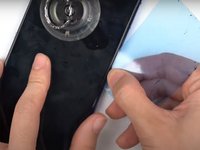
    • Insert a Jimmy tool, opening pick, or plastic card under the edge of the back cover.

    Спросите у FixBot

    Добавить комментарий

  4. OnePlus 7T Screen Replacement: шаг 4, изображение 1 из 2 OnePlus 7T Screen Replacement: шаг 4, изображение 2 из 2
    • Use a plastic card or Jimmy tool to slice around the phone's seam, cutting through the adhesive.

    Спросите у FixBot

    Добавить комментарий

  5. OnePlus 7T Screen Replacement: шаг 5, изображение 1 из 3 OnePlus 7T Screen Replacement: шаг 5, изображение 2 из 3 OnePlus 7T Screen Replacement: шаг 5, изображение 3 из 3
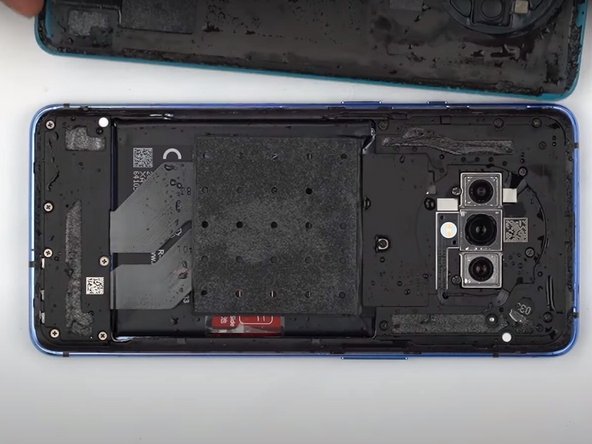
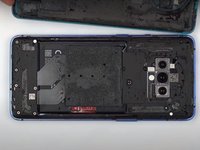
    • Remove the phone's back cover.

    • If you have replacement adhesive strips, remove any remaining adhesive from the device frame using the Jimmy tool.

    Спросите у FixBot

    Добавить комментарий

  6. OnePlus 7T Screen Replacement: шаг 6, изображение 1 из 1
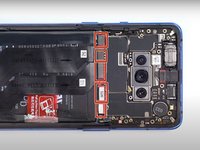
    • Use a Phillips screwdriver to remove the 11 screws from the plastic motherboard cover.

    Спросите у FixBot

    Добавить комментарий

  7. OnePlus 7T Screen Replacement: шаг 7, изображение 1 из 3 OnePlus 7T Screen Replacement: шаг 7, изображение 2 из 3 OnePlus 7T Screen Replacement: шаг 7, изображение 3 из 3
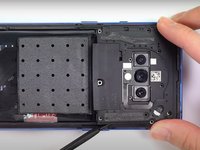
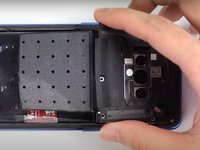
    • Use a spudger to pry up the plastic motherboard cover.

    • Remove the plastic motherboard cover.

    Спросите у FixBot

    Добавить комментарий

  8. OnePlus 7T Screen Replacement: шаг 8, изображение 1 из 2 OnePlus 7T Screen Replacement: шаг 8, изображение 2 из 2
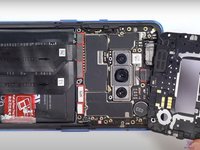
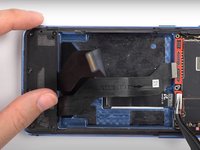
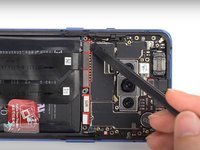
    • Use the flat end of a spudger to disconnect all flex cables leading to the motherboard.

    Спросите у FixBot

    Добавить комментарий

  9. OnePlus 7T Screen Replacement: шаг 9, изображение 1 из 3 OnePlus 7T Screen Replacement: шаг 9, изображение 2 из 3 OnePlus 7T Screen Replacement: шаг 9, изображение 3 из 3
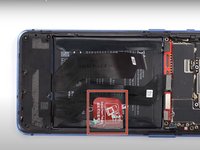
    • Grasp the red battery tab with your fingers.

    • Pull upwards on the tab and remove the battery.

    Спросите у FixBot

    Добавить комментарий

  10. OnePlus 7T Screen Replacement: шаг 10, изображение 1 из 3 OnePlus 7T Screen Replacement: шаг 10, изображение 2 из 3 OnePlus 7T Screen Replacement: шаг 10, изображение 3 из 3
    Инструмент, используемый на этом этапе:
    Tweezers
    $4.99
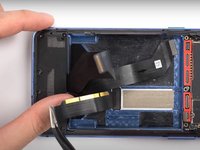
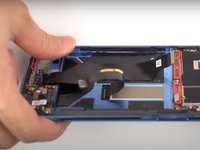
    • Use a pair of tweezers to grasp the end of the flex cables that were just disconnected.

    • Gently pull the cables backwards so that they remain bent back from the phone's motherboard area.

    Спросите у FixBot

    Добавить комментарий

  11. OnePlus 7T Screen Replacement: шаг 11, изображение 1 из 2 OnePlus 7T Screen Replacement: шаг 11, изображение 2 из 2
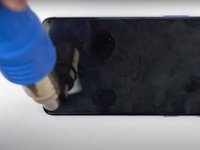
    • Use a heat gun to lightly heat the edges of the phone's screen to soften the adhesive that connects the display to the rest of the frame.

    • An iFixit iOpener, hair dryer, or hot plate can also be used to heat the edges. Using a heat gun, hair dryer, or hot plate will make the metal frame rather hot to the touch, so handle it with care.

    • Be careful not to overheat the device –the OLED display, battery and other internal parts can be damaged by excessive heat. Approximately one minute should be enough to soften the adhesive.

    • An iFixit iOpener, hair dryer, or hot plate can also be used to heat the edges. Follow the iOpener Heating guide for instructions on using the iOpener.

    Спросите у FixBot

    Добавить комментарий

  12. OnePlus 7T Screen Replacement: шаг 12, изображение 1 из 3 OnePlus 7T Screen Replacement: шаг 12, изображение 2 из 3 OnePlus 7T Screen Replacement: шаг 12, изображение 3 из 3
    • Apply a suction cup to the lower portion of the phone's display and pull firmly to create a crack between the screen and the rest of the phone.

    • Insert a Jimmy tool, opening pick, or plastic card under the edge of the phone's display.

    • Use a plastic card or Jimmy tool to slice around the phone's seam, cutting through the adhesive.

    Спросите у FixBot

    Добавить комментарий

  13. OnePlus 7T Screen Replacement: шаг 13, изображение 1 из 2 OnePlus 7T Screen Replacement: шаг 13, изображение 2 из 2
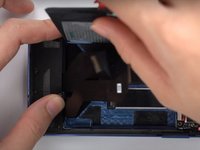
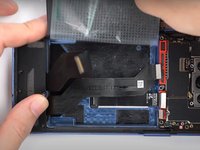
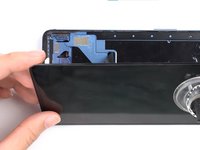
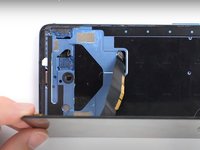
    • Carefully remove the phone's display.

    • A flex cable is still attached to the back of the phone's display. Make sure the cable does not become caught when removing the display.

    Спросите у FixBot

    Добавить комментарий

Заключение

To reassemble your device, follow these instructions in reverse order.

Отменить: Я не выполнил это руководство.

4 человек успешно провели ремонт по этому руководству.

Selena

Участник с: 12/15/19

2 968 Репутация

Автор 14 руководств

1 Комментарий к руководству

There needs to be steps on how to reseal the device after the replacement.

Asd - Ответить Поделиться
Добавить комментарий

Статистика просмотров:

За последние 24 часов: 5

За последние 7 дней: 28

За последние 30 дней: 131

За всё время: 14,208