Введение
Is your OnePlus Nord N20 5G (Model Number - CPH2459) screen damaged or malfunctioning? This guide will help you with a screen replacement.
Выберете то, что вам нужно
-
-
-
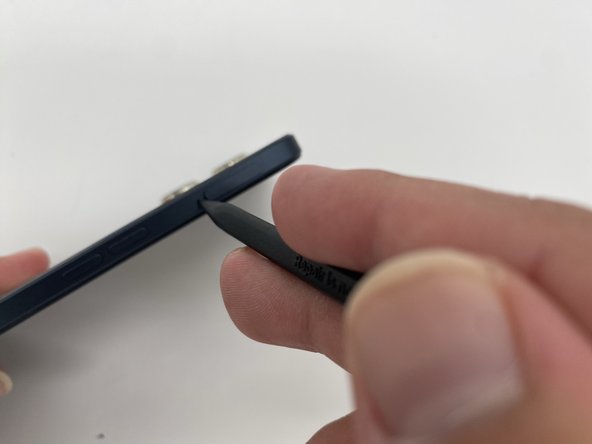
Insert the SIM ejection tool or a spudger in the small hole next to the SIM tray.
-
Push it gently until the tray pops out.
-
Remove the SIM card tray by sliding it outwards.
 Спросите у FixBot
-
-
-
Heat the iOpener in a microwave for about 30 seconds. If the iOpener isn’t hot enough, reheat it for another 10-30 seconds.
-
Apply the heated iOpener on the backside of the phone for a minute to loosen the adhesive.
-
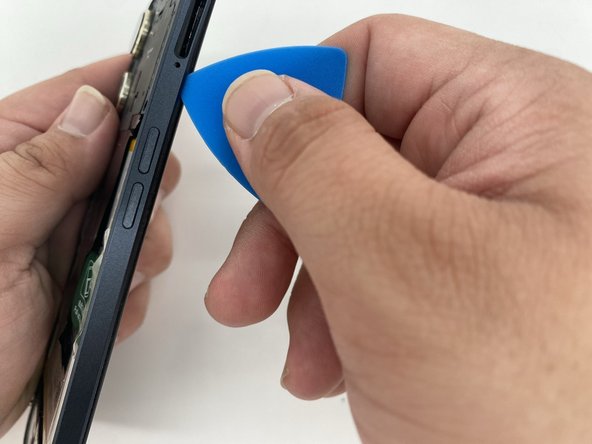
Use the iFixit opening tool and slide it along the edges of the phone to pry the back panel off.
-
-
-
-
-
Remove the 18 3.9 mm screws using a Phillips #0 screwdriver.
-
-
-
Take the iFixit opening tool and run it along the edges.
-
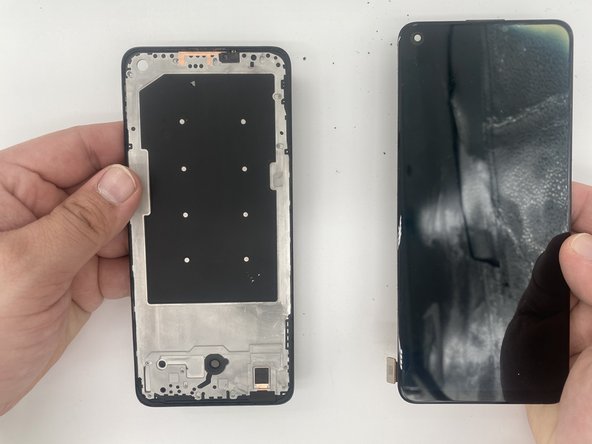
Separate the back housing from the frame of the screen.
-
-
-
-
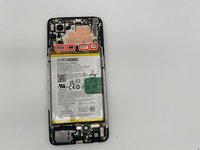
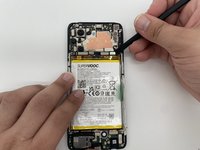
Disconnect the brackets attached to the motherboard using a spudger.
-
-
-
Disconnect the bracket attached to the daughterboard using a spudger.
-
-
-
Heat up an iOpener for 30 seconds.
-
Place it on the front of the screen until you are able to slide a Jimmy in between the screen and the phone.
-
-
-
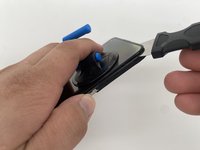
Use a suction tool to pull the screen while prying the screen with a Jimmy.
-
-






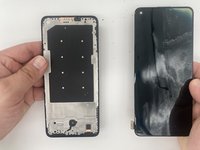
To reassemble your device, follow these instructions in reverse order.
Отменить: Я не выполнил это руководство.
4 человек успешно провели ремонт по этому руководству.

Команда

University of North Texas, Team 4-5, Harold Fall 2024 Участник University of North Texas, Team 4-5, Harold Fall 2024
UNT-HAROLD-F24S4G5
4 членов
Автор 42 руководств
2 Комментарии к руководству
Mayson, Thank you for that clear set of instructions. I am trying to perform a Screen Replacement on what I believe is a OnePlus Nord N20 5G Phone. But, when open, it does not look quite like the one in this or any repair instructional site/page I've gone to. My broken screen is now attached only by its flimsy cable, which seems to go in and in between the front and the center section and connects under the daughter card or remove any modular parts, to get to the connection. The battery looks the same but doesn't have that handy disconnect for its cable. That seems to attach under that same card. Do you have any suggestions for me? (Please?)
Why did you change to a single lens phone? The rest of this is no help.
