Перейти к основному содержанию
Присоединяйся к сообществу ремонтников - Создай аккаунт

Oregon Scientific RM318PA Power Switch Replacement

Выберете то, что вам нужно

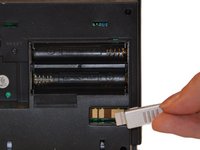
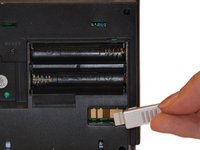
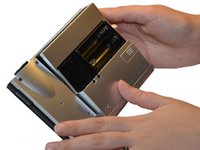
    1. Oregon Scientific RM318PA Power Switch Replacement, Battery Compartment Cover: шаг 1, изображение 1 из 3 Oregon Scientific RM318PA Power Switch Replacement, Battery Compartment Cover: шаг 1, изображение 2 из 3 Oregon Scientific RM318PA Power Switch Replacement, Battery Compartment Cover: шаг 1, изображение 3 из 3
      • Hold clock so that the clock face is facing away from you.

      • Using your thumbs, push up on the battery cover.

      • Once battery cover is removed, pull down on AC Adapter Jack.

      Спросите у FixBot

      Добавить комментарий

    2. Oregon Scientific RM318PA Power Switch Replacement, Batteries: шаг 2, изображение 1 из 1
      • Use one hand to stabilize the clock.

      • Using your other hand, push batteries toward spring and pull out at an angle.

      Спросите у FixBot

      Добавить комментарий

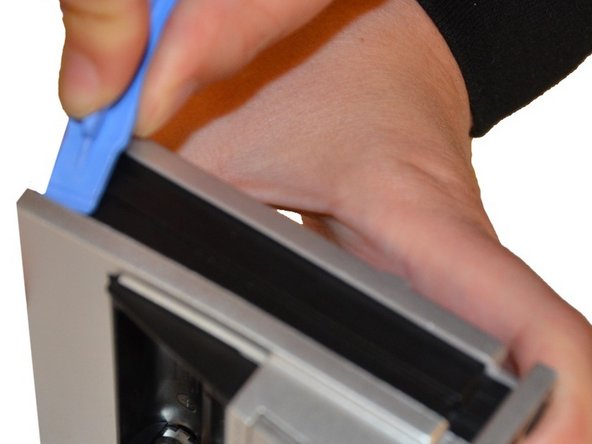
    3. Oregon Scientific RM318PA Power Switch Replacement, Back of Projection Clock: шаг 3, изображение 1 из 3 Oregon Scientific RM318PA Power Switch Replacement, Back of Projection Clock: шаг 3, изображение 2 из 3 Oregon Scientific RM318PA Power Switch Replacement, Back of Projection Clock: шаг 3, изображение 3 из 3
      • Use a Plastic Opening Tool to pry off the silver casing on the back.

      • Pry at the top of device.

      • Once the back is open at the top, pry at the side of the device closest to the battery compartment.

      • On/Off switch should come off with casing.

      Спросите у FixBot

      Добавить комментарий

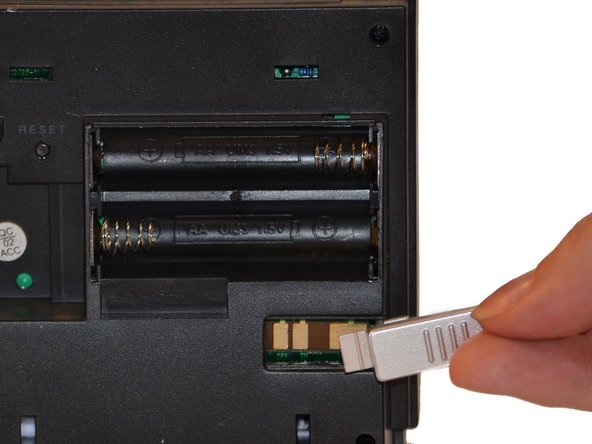
    4. Oregon Scientific RM318PA Power Switch Replacement, On/Off Switch: шаг 4, изображение 1 из 2 Oregon Scientific RM318PA Power Switch Replacement, On/Off Switch: шаг 4, изображение 2 из 2
      • Insert switch into slot as shown in picture. Push in until you hear a "click."

      • Replace the back of the clock by pressing cover back into place.

      Спросите у FixBot

      Добавить комментарий

Заключение

To reassemble your device, follow these instructions in reverse order.

Отменить: Я не выполнил это руководство.

3 человек успешно провели ремонт по этому руководству.

Maxine Holden

Участник с: 10/27/14

500 Репутация

Автор 4 руководств

0 Комментарии к руководству

Добавить комментарий

Статистика просмотров:

За последние 24 часов: 0

За последние 7 дней: 7

За последние 30 дней: 31

За всё время: 1,874