Перейти к основному содержанию
Присоединяйся к сообществу ремонтников - Создай аккаунт

Oster 3905 Lever Spring Replacement

Выберете то, что вам нужно

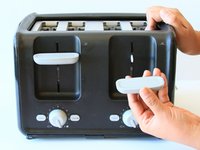
  1. Oster 3905 Lever Spring Replacement, Slot Levers: шаг 1, изображение 1 из 1
    • Firmly grip your hand around the slot lever.

    Спросите у FixBot
  2. Oster 3905 Lever Spring Replacement: шаг 2, изображение 1 из 1
    • Stabilize the toaster by placing your hand on top.

    Спросите у FixBot
  3. Oster 3905 Lever Spring Replacement: шаг 3, изображение 1 из 2 Oster 3905 Lever Spring Replacement: шаг 3, изображение 2 из 2
    • Forcefully pull the slot lever away from the toaster by keeping parallel to the table.

    Спросите у FixBot
  4. Oster 3905 Lever Spring Replacement: шаг 4, изображение 1 из 1
    • Both slot levers can be removed.

    Спросите у FixBot
  5. Oster 3905 Lever Spring Replacement, Outer Shell: шаг 5, изображение 1 из 1
    • Place the toaster upside down so the bottom is facing the ceiling.

    Спросите у FixBot
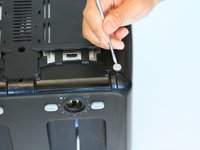
  6. Oster 3905 Lever Spring Replacement: шаг 6, изображение 1 из 2 Oster 3905 Lever Spring Replacement: шаг 6, изображение 2 из 2
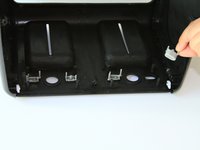
    • Take off both rubber feet using a small metal spudger.

    • Wedge a spudger under the feet and pull up to pop off.

    Спросите у FixBot
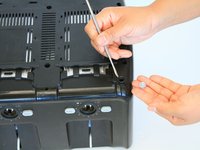
  7. Oster 3905 Lever Spring Replacement: шаг 7, изображение 1 из 1
    • Use a PH#2 screw bit to remove eight 12mm screws that are located around the perimeter.

    • There are two screws under the rubber feet.

    Спросите у FixBot
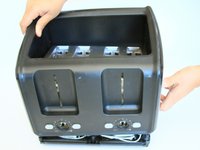
  8. Oster 3905 Lever Spring Replacement: шаг 8, изображение 1 из 1
    • Place the toaster right side up.

    Спросите у FixBot
  9. Oster 3905 Lever Spring Replacement: шаг 9, изображение 1 из 2 Oster 3905 Lever Spring Replacement: шаг 9, изображение 2 из 2
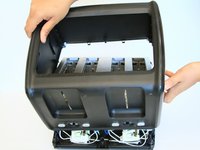
    • Grab the outer shell firmly and pull up towards the face of the toaster.

    Спросите у FixBot
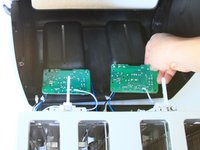
  10. Oster 3905 Lever Spring Replacement: шаг 10, изображение 1 из 1
    • For this part, you might need to wiggle the toaster to get the outer shell off.

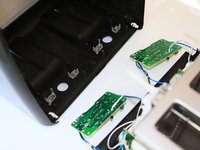
    • The shell will not completely come off until the motherboard is removed in the next step.

    Спросите у FixBot
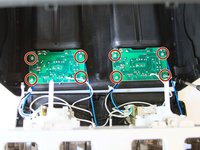
  11. Oster 3905 Lever Spring Replacement: шаг 11, изображение 1 из 3 Oster 3905 Lever Spring Replacement: шаг 11, изображение 2 из 3 Oster 3905 Lever Spring Replacement: шаг 11, изображение 3 из 3
    • Use a J1 screw bit to unscrew eight 8mm screws from the motherboard.

    Спросите у FixBot
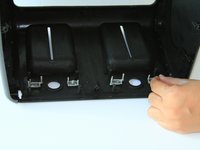
  12. Oster 3905 Lever Spring Replacement: шаг 12, изображение 1 из 2 Oster 3905 Lever Spring Replacement: шаг 12, изображение 2 из 2
    • Take out the grey “cancel” and “bagel” buttons from the shell.

    Спросите у FixBot
  13. Oster 3905 Lever Spring Replacement, Lever Spring: шаг 13, изображение 1 из 2 Oster 3905 Lever Spring Replacement, Lever Spring: шаг 13, изображение 2 из 2
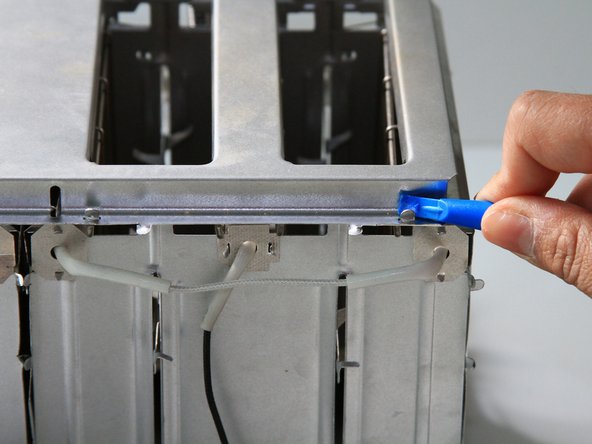
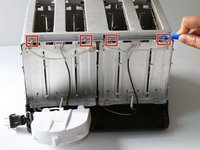
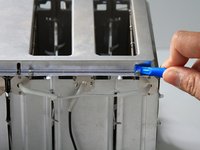
    • Use the plastic opening tool to remove the top metal panel by prying the 4 top metal tabs upwards. They will be able to slide through the openings and be pulled upwards.

    Спросите у FixBot
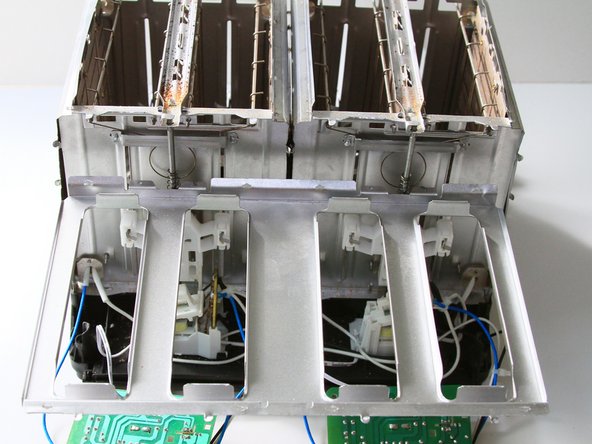
  14. Oster 3905 Lever Spring Replacement: шаг 14, изображение 1 из 2 Oster 3905 Lever Spring Replacement: шаг 14, изображение 2 из 2
    • Once the top metal panel is unhooked, lift and let it hang off the side of the toaster.

    Спросите у FixBot
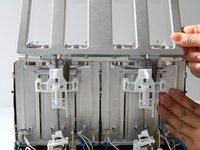
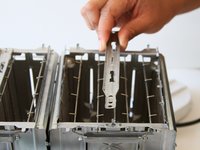
  15. Oster 3905 Lever Spring Replacement: шаг 15, изображение 1 из 3 Oster 3905 Lever Spring Replacement: шаг 15, изображение 2 из 3 Oster 3905 Lever Spring Replacement: шаг 15, изображение 3 из 3
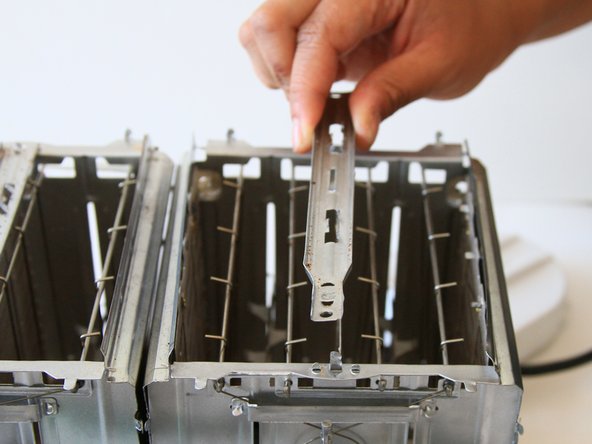
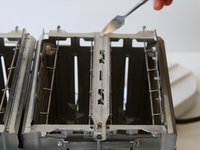
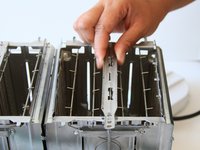
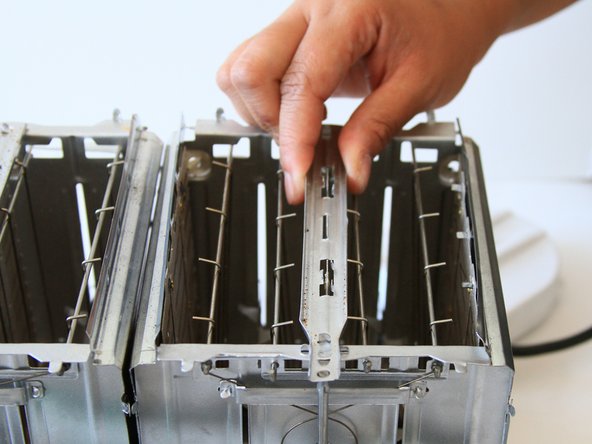
    • Use a metal spudger to pry the 8 tabs upwards along the metal that separates the two slots.

    • Pull the metal spacer upwards to release from the toaster.

    Спросите у FixBot
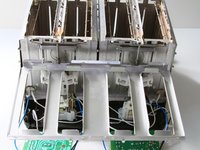
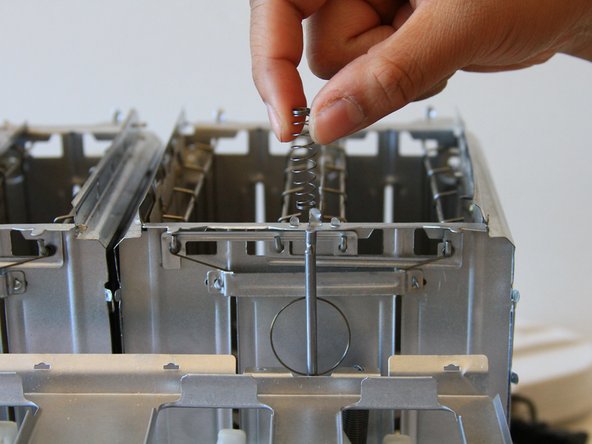
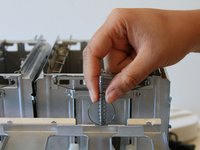
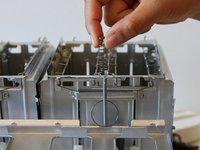
  16. Oster 3905 Lever Spring Replacement: шаг 16, изображение 1 из 2 Oster 3905 Lever Spring Replacement: шаг 16, изображение 2 из 2
    • Remove the spring wrapped around a metal rod at the front of the toaster, located behind the white plastic lever holder.

    Спросите у FixBot
Заключение

To reassemble your device, follow these instructions in reverse order.

Еще один человек закончил это руководство.

Sydney Alcaraz

Участник с: 09/12/16

601 Репутация

Автор 3 руководств

Команда

CSU Fullerton, Team 2-1, Bruce Fall 2016 Участник CSU Fullerton, Team 2-1, Bruce Fall 2016

CSUF-BRUCE-F16S2G1

5 членов

Автор 6 руководств

2 Комментарии к руководству

Where's the fix?

D Unger - Ответить Поделиться

Yeah. You just remove the spring? And then what? Surely removing the spring is not the fix.
kryshu - Ответить Поделиться

Добавить комментарий

Статистика просмотров:

За последние 24 часов: 0

За последние 7 дней: 10

За последние 30 дней: 51

За всё время: 3,381