Перейти к основному содержанию
Присоединяйся к сообществу ремонтников - Создай аккаунт

PDP Rematch Advanced Trigger Springs Replacement

Выберете то, что вам нужно

    1. PDP Rematch Advanced Trigger Springs Replacement, Trigger Springs: шаг 1, изображение 1 из 2 PDP Rematch Advanced Trigger Springs Replacement, Trigger Springs: шаг 1, изображение 2 из 2
      • Orient the controller so the back side is facing you.

      • Use a Phillips #000 screwdriver to remove the seven 9 mm screws that secure the back shell.

      Спросите у FixBot

      Добавить комментарий

    2. PDP Rematch Advanced Trigger Springs Replacement: шаг 2, изображение 1 из 3 PDP Rematch Advanced Trigger Springs Replacement: шаг 2, изображение 2 из 3 PDP Rematch Advanced Trigger Springs Replacement: шаг 2, изображение 3 из 3
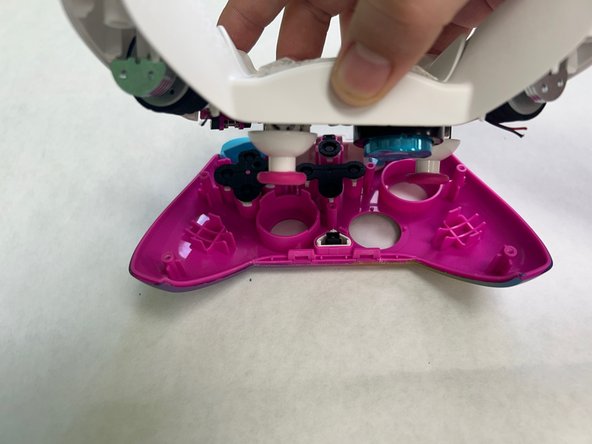
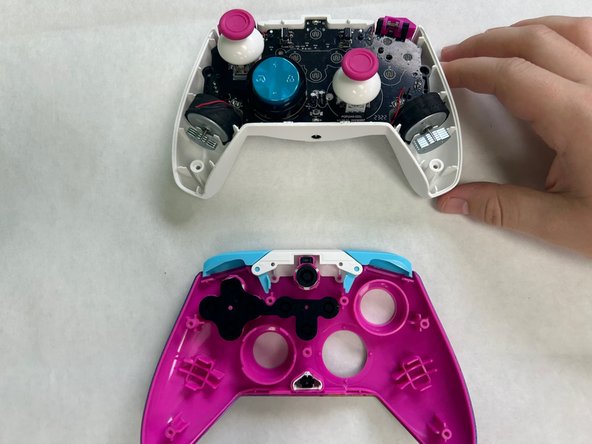
      • Pull apart the controller's front and back shells with moderate force.

      • Orient the controller so that the front shell is facing the floor to prevent the face buttons from falling out.

      Спросите у FixBot

      Добавить комментарий

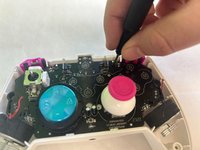
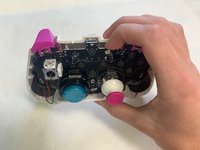
    3. PDP Rematch Advanced Trigger Springs Replacement: шаг 3, изображение 1 из 2 PDP Rematch Advanced Trigger Springs Replacement: шаг 3, изображение 2 из 2
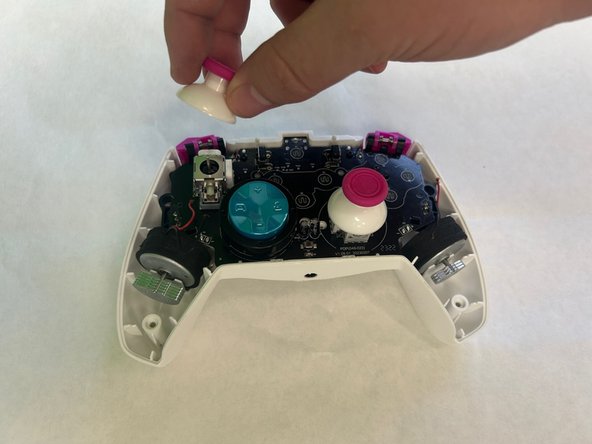
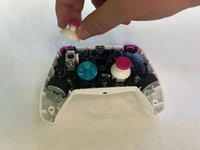
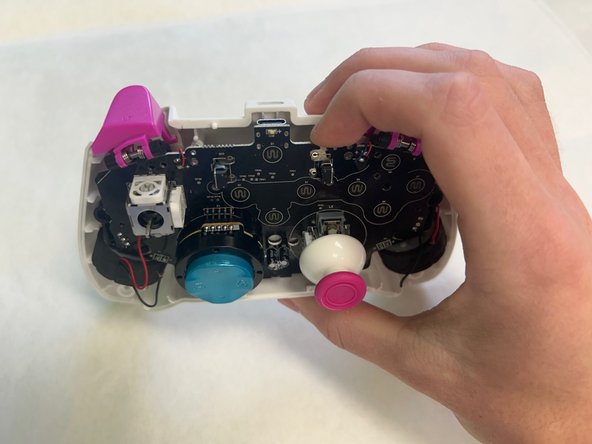
      • Twist the thumbstick to remove it from the motherboard.

      Спросите у FixBot

      Добавить комментарий

    4. PDP Rematch Advanced Trigger Springs Replacement: шаг 4, изображение 1 из 3 PDP Rematch Advanced Trigger Springs Replacement: шаг 4, изображение 2 из 3 PDP Rematch Advanced Trigger Springs Replacement: шаг 4, изображение 3 из 3
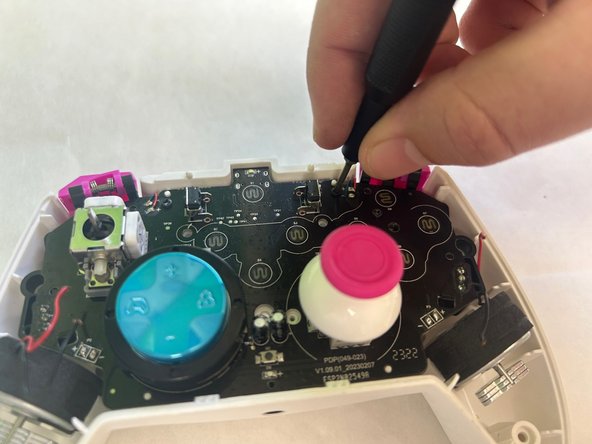
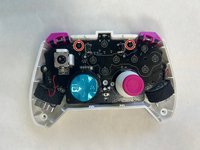
      • Use a Phillips #000 screwdriver to remove the two 5 mm screws that secure the motherboard.

      • Remove the motherboard from the back shell using moderate force.

      Спросите у FixBot

      Добавить комментарий

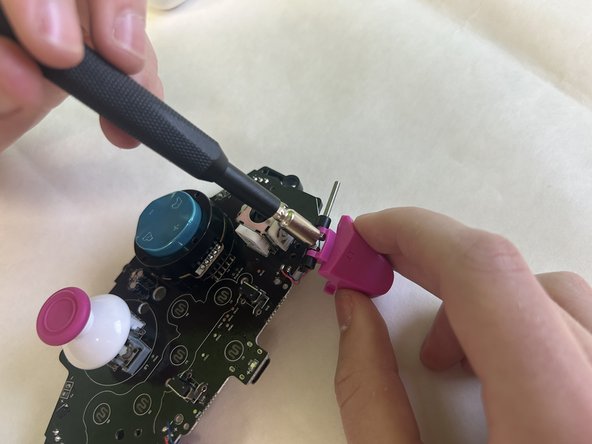
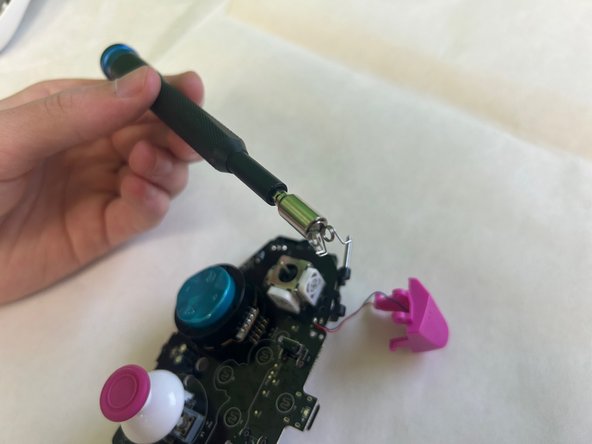
    5. PDP Rematch Advanced Trigger Springs Replacement: шаг 5, изображение 1 из 3 PDP Rematch Advanced Trigger Springs Replacement: шаг 5, изображение 2 из 3 PDP Rematch Advanced Trigger Springs Replacement: шаг 5, изображение 3 из 3
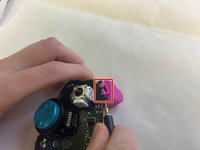
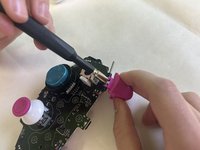
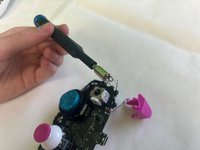
      • Punch out the metal pin holding in the trigger and the trigger spring. Repeat for both triggers.

      • Remove the trigger and the trigger springs.

      • Using a punch or a small tool allows pin removal to be easier.

      Спросите у FixBot

      Добавить комментарий

Заключение

To reassemble your device, follow these instructions in reverse order.

Отменить: Я не выполнил это руководство.

Jacob Thomas Wolgamott

Участник с: 09/23/24

121 Репутация

1 руководство автора

Команда

University of North Texas, Team 3-3, Coppersmith Fall 2024 Участник University of North Texas, Team 3-3, Coppersmith Fall 2024

UNT-COPPERSMITH-F24S3G3

3 членов

Автор 36 руководств

0 Комментарии к руководству

Добавить комментарий

Статистика просмотров:

За последние 24 часов: 0

За последние 7 дней: 10

За последние 30 дней: 35

За всё время: 657