Перейти к основному содержанию
Присоединяйся к сообществу ремонтников - Создай аккаунт

Palm Rest Disassembly

Выберете то, что вам нужно

    1. Palm Rest Disassembly, Battery: шаг 1, изображение 1 из 1
      • Turn power off using the power button located in the top left corner of the keyboard. Press and hold the power button for 3 seconds until it turns off.

      Спросите у FixBot

      Добавить комментарий

    2. Palm Rest Disassembly: шаг 2, изображение 1 из 2 Palm Rest Disassembly: шаг 2, изображение 2 из 2
      • Close the laptop and flip it over so that the HP cover logo is on the underside of the laptop.

      Спросите у FixBot

      Добавить комментарий

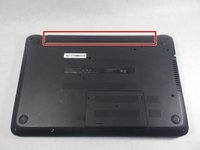
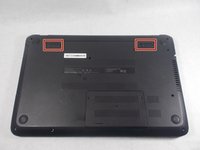
    3. Palm Rest Disassembly: шаг 3, изображение 1 из 2 Palm Rest Disassembly: шаг 3, изображение 2 из 2
      • Locate the battery and the two switches that release the battery when they are unlocked.

      Спросите у FixBot

      Добавить комментарий

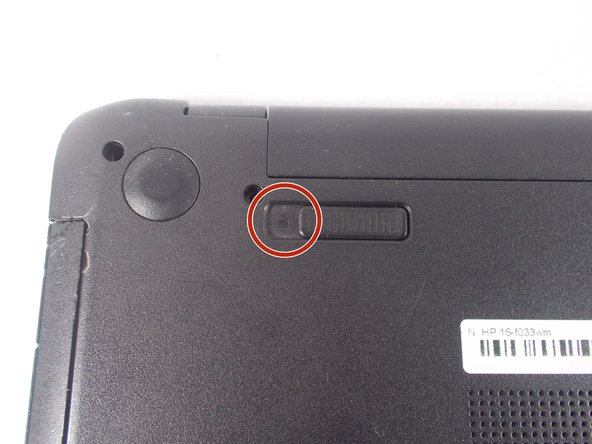
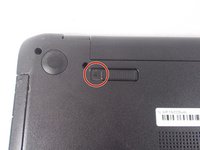
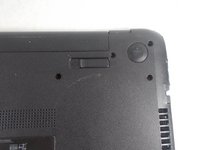
    4. Palm Rest Disassembly: шаг 4, изображение 1 из 2 Palm Rest Disassembly: шаг 4, изображение 2 из 2
      • Slide the left switch to the right so that the icon of a locked padlock is no longer visible and the icon of an unlocked padlock is now visible.

      Спросите у FixBot

      Добавить комментарий

    5. Palm Rest Disassembly: шаг 5, изображение 1 из 3 Palm Rest Disassembly: шаг 5, изображение 2 из 3 Palm Rest Disassembly: шаг 5, изображение 3 из 3
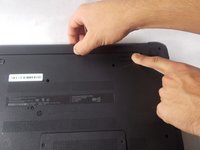
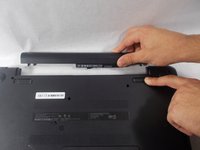
      • With your left hand, slide the right switch to the left and hold it in place. This will unlock the battery and allow you to easily slide it out of its port.

      • While holding the switch in place, use your right hand to gently remove the battery from its port.

      Спросите у FixBot

      Добавить комментарий

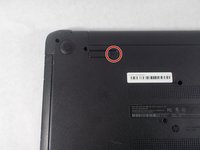
    1. Palm Rest Disassembly, Palm Rest Disassembly: шаг 6, изображение 1 из 1
      • Remove the thirteen 7 mm PH1 Phillips head screws from the bottom of the laptop.

      Спросите у FixBot

      Добавить комментарий

    2. Palm Rest Disassembly: шаг 7, изображение 1 из 1
      • Pry up and detach the keyboard. Starting at the top, slowly work the side and pull the keyboard away from you to unseat the bottom tabs.

      Спросите у FixBot

      Добавить комментарий

    3. Palm Rest Disassembly: шаг 8, изображение 1 из 1
      • Remove the keyboard connection from the laptop by flipping up the black tab on the ZIF connector.

      Спросите у FixBot

      Добавить комментарий

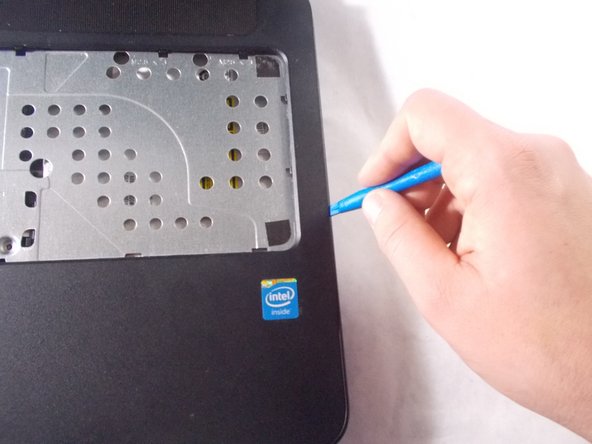
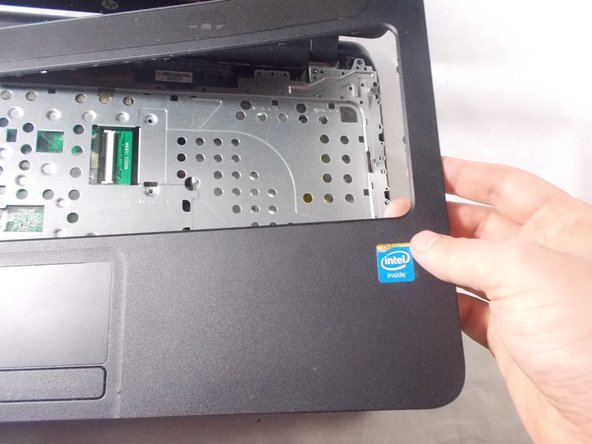
    4. Palm Rest Disassembly: шаг 9, изображение 1 из 2 Palm Rest Disassembly: шаг 9, изображение 2 из 2
      • Remove the palm rest using the blue spudger tool.

      Спросите у FixBot

      Добавить комментарий

    5. Palm Rest Disassembly: шаг 10, изображение 1 из 1
      • Remove the five 3 mm PH1 Phillips head screws underneath keyboard.

      Спросите у FixBot

      Добавить комментарий

    6. Palm Rest Disassembly: шаг 11, изображение 1 из 1
      • Remove metal keyboard underlayment.

      • There is no way to separate the palm rest from the keyboard. They both are removed as an assembly.

      Спросите у FixBot

      Добавить комментарий

Заключение

To reassemble your device, follow these instructions in reverse order.

Отменить: Я не выполнил это руководство.

Benjamin Poirier

Участник с: 10/17/17

503 Репутация

Автор 2 руководств

Команда

UMass Dartmouth, Team S1-G4, Simcock Fall 2017 Участник UMass Dartmouth, Team S1-G4, Simcock Fall 2017

UMASSD-SIMCOCK-F17S1G4

3 членов

Автор 54 руководств

0 Комментарии к руководству

Добавить комментарий

Статистика просмотров:

За последние 24 часов: 0

За последние 7 дней: 4

За последние 30 дней: 39

За всё время: 2,075