Перейти к основному содержанию
Присоединяйся к сообществу ремонтников - Создай аккаунт

Palm Treo 680 Back Panel Replacement

Выберете то, что вам нужно

    1. Palm Treo 680 Back Panel Replacement, Battery: шаг 1, изображение 1 из 2 Palm Treo 680 Back Panel Replacement, Battery: шаг 1, изображение 2 из 2
      • Remove the battery cover by pressing on the small rectangular button located on the back of the phone.

      Спросите у FixBot

      Добавить комментарий

    2. Palm Treo 680 Back Panel Replacement: шаг 2, изображение 1 из 1
      • Remove the battery by pulling it out towards you.

      Спросите у FixBot

      Добавить комментарий

    1. Palm Treo 680 Back Panel Replacement, Back Panel: шаг 3, изображение 1 из 2 Palm Treo 680 Back Panel Replacement, Back Panel: шаг 3, изображение 2 из 2
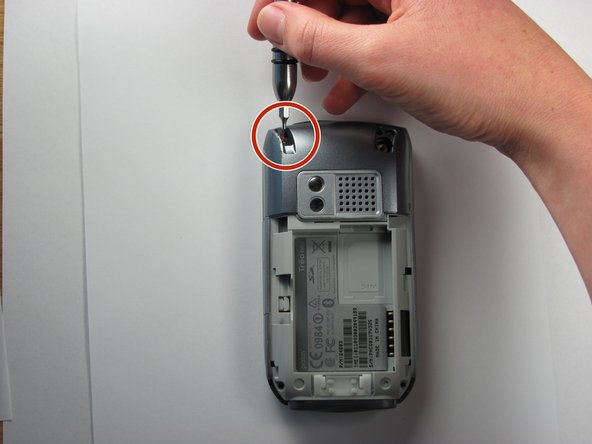
      • Remove the stylus in order to access the screw.

      • Remove the 27mm top-left screw using a T6 Torx screwdriver.

      Спросите у FixBot

      Добавить комментарий

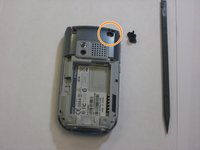
    2. Palm Treo 680 Back Panel Replacement: шаг 4, изображение 1 из 2 Palm Treo 680 Back Panel Replacement: шаг 4, изображение 2 из 2
      • Using the spudger, remove the rubber rectangular cover located in the upper rear, right-hand corner.

      • Remove the 27mm screw using the T6 Torx screwdriver.

      • If there is a red Palm sticker covering this screw, puncture it to access the screw.

      Спросите у FixBot

      Добавить комментарий

    3. Palm Treo 680 Back Panel Replacement: шаг 5, изображение 1 из 1
      • Remove the remaining two 27mm screws from the bottom using the T6 screwdriver.

      Спросите у FixBot

      Добавить комментарий

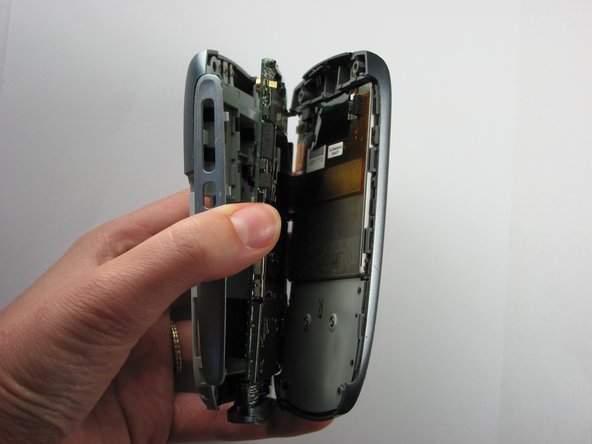
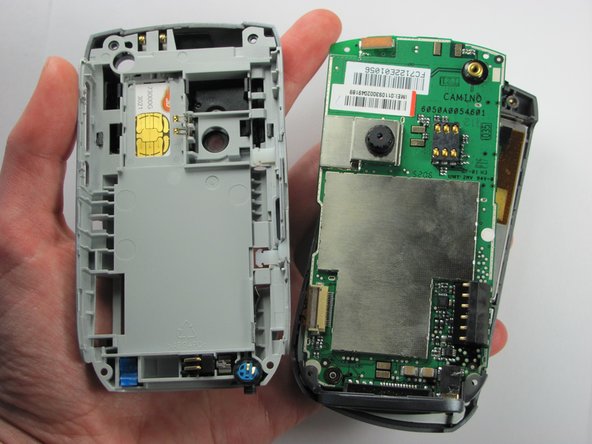
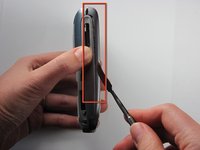
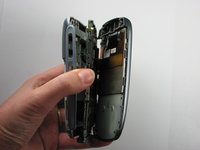
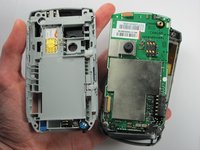
    4. Palm Treo 680 Back Panel Replacement: шаг 6, изображение 1 из 3 Palm Treo 680 Back Panel Replacement: шаг 6, изображение 2 из 3 Palm Treo 680 Back Panel Replacement: шаг 6, изображение 3 из 3
      • Turn the phone so the screen is facing the right side.

      • Use a spudger to carefully separate the back panel from the front panel to access components inside the phone.

      • Separate the covers from the left side of the device as indicated in the picture.

      • The right side contains orange ribbons that are easily damaged.

      Спросите у FixBot

      Добавить комментарий

Заключение

To reassemble your device, follow these instructions in reverse order.

Отменить: Я не выполнил это руководство.

2 человек успешно провели ремонт по этому руководству.

Maiya123

Участник с: 10/22/09

99 Репутация

Автор 6 руководств

Команда

Cal Poly, Team 6-4, Maness Fall 2009 Участник Cal Poly, Team 6-4, Maness Fall 2009

CPSU-MANESS-F09S6G4

4 членов

Автор 27 руководств

0 Комментарии к руководству

Добавить комментарий

Статистика просмотров:

За последние 24 часов: 3

За последние 7 дней: 47

За последние 30 дней: 82

За всё время: 3,573