Перейти к основному содержанию
Присоединяйся к сообществу ремонтников - Создай аккаунт

Palm Treo Pro Display Glass Replacement

Выберете то, что вам нужно

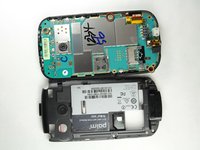
    1. Palm Treo Pro Display Glass Replacement, Battery: шаг 1, изображение 1 из 3 Palm Treo Pro Display Glass Replacement, Battery: шаг 1, изображение 2 из 3 Palm Treo Pro Display Glass Replacement, Battery: шаг 1, изображение 3 из 3
      • Press down on the back of the case and slide forward to remove it.

      Спросите у FixBot

      Добавить комментарий

    2. Palm Treo Pro Display Glass Replacement: шаг 2, изображение 1 из 1
      • Remove the battery by pulling up on the tab near the camera lens.

      • Insert the new battery into the open slot. Make sure the battery is oriented so that the Palm logo is in the upper-left corner opposite the camera lens.

      Спросите у FixBot

      Добавить комментарий

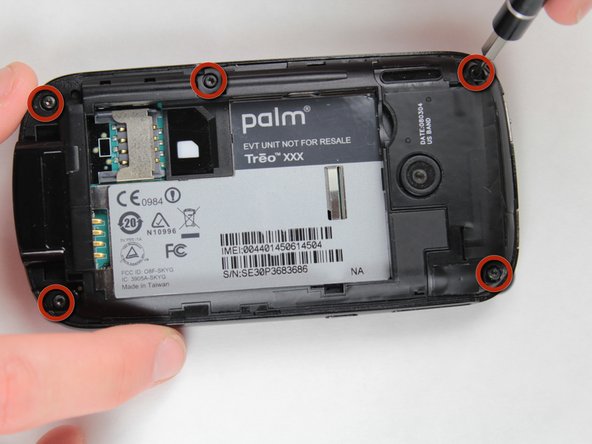
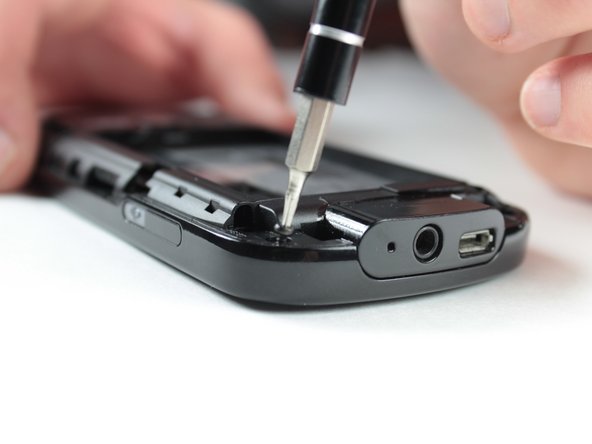
    1. Palm Treo Pro Display Glass Replacement, Motherboard: шаг 3, изображение 1 из 3 Palm Treo Pro Display Glass Replacement, Motherboard: шаг 3, изображение 2 из 3 Palm Treo Pro Display Glass Replacement, Motherboard: шаг 3, изображение 3 из 3
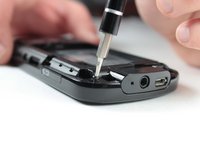
      • Use the Torx T5 screwdriver to remove the 5 visible 6mm screws on the back of the phone.

      • Be careful not to misplace these screws as they are very small and will be important during reassembly.

      • If the screws are stripped a flat head screw driver may be necessary.

      Спросите у FixBot

      Добавить комментарий

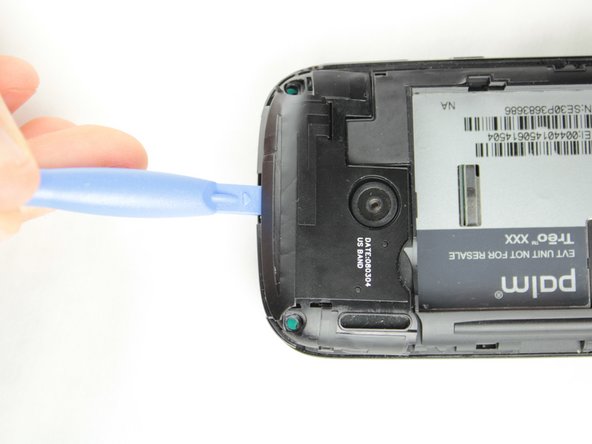
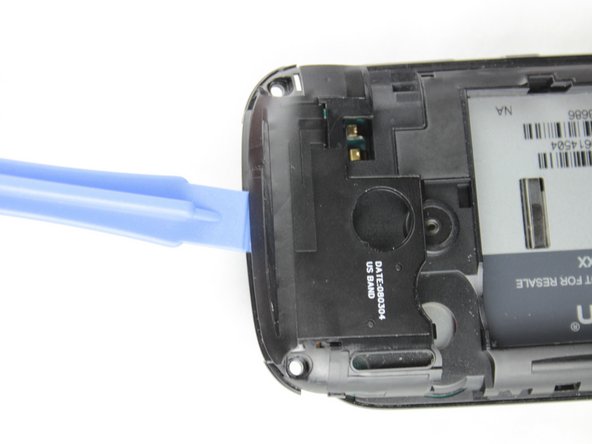
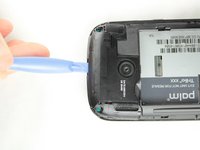
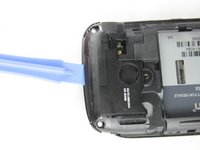
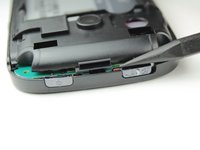
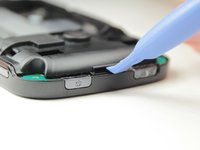
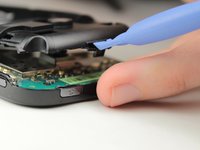
    2. Palm Treo Pro Display Glass Replacement: шаг 4, изображение 1 из 3 Palm Treo Pro Display Glass Replacement: шаг 4, изображение 2 из 3 Palm Treo Pro Display Glass Replacement: шаг 4, изображение 3 из 3
      • Use a plastic opening tool to remove the small panel on the top of the phone by prying underneath the black plastic around the camera.

      Спросите у FixBot

      Добавить комментарий

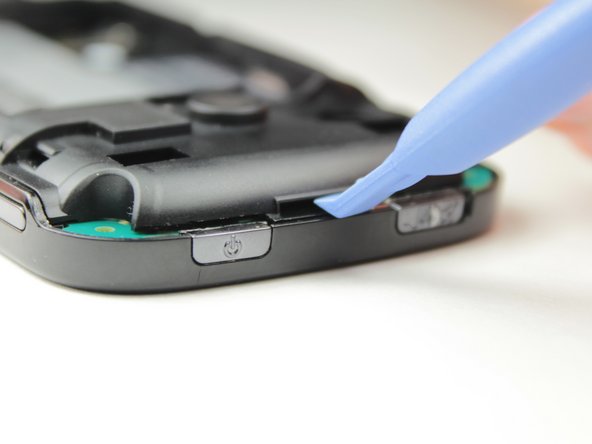
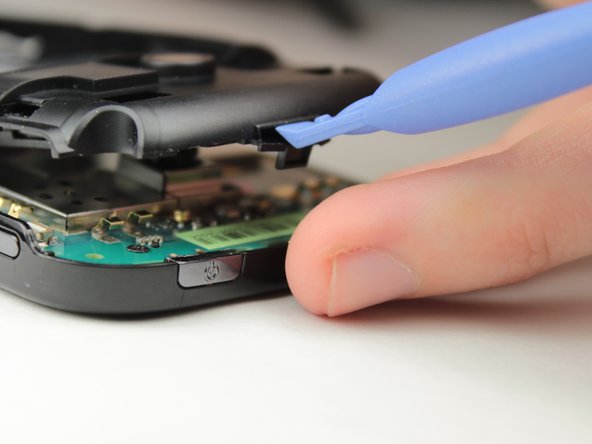
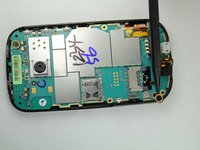
    3. Palm Treo Pro Display Glass Replacement: шаг 5, изображение 1 из 3 Palm Treo Pro Display Glass Replacement: шаг 5, изображение 2 из 3 Palm Treo Pro Display Glass Replacement: шаг 5, изображение 3 из 3
      • Remove the main plastic body

      • Insert the plastic opening tool into the slot on the top (indicated by the spudger) and pry the black part off phone.

      • The bottom piece around the headphone and USB port may get caught during this step. Simply carefully maneuver the case until it is released.

      Спросите у FixBot

      Добавить комментарий

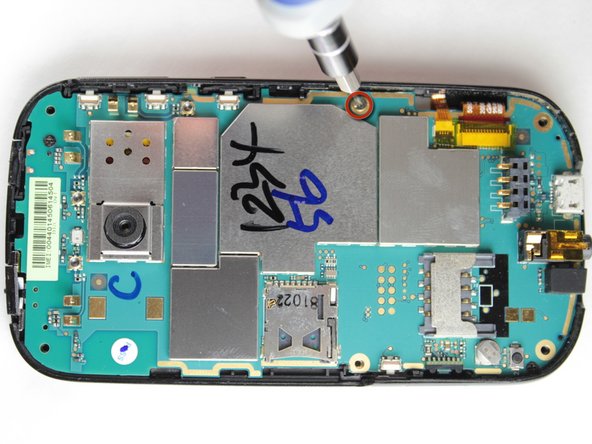
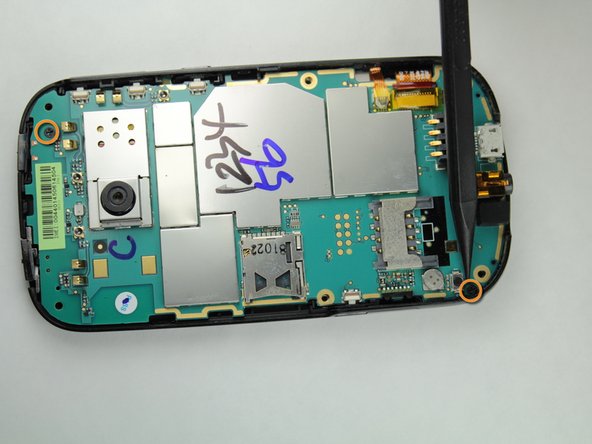
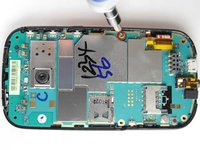
    4. Palm Treo Pro Display Glass Replacement: шаг 6, изображение 1 из 3 Palm Treo Pro Display Glass Replacement: шаг 6, изображение 2 из 3 Palm Treo Pro Display Glass Replacement: шаг 6, изображение 3 из 3
      • Use the Philips Head 00 screwdriver to unscrew the 3.5mm silver screw on the right hand side of the phone.

      • Use the Philips Head 00 screwdriver to unscrew the two 3mm black screws in the upper right and lower left corners of the motherboard.

      Спросите у FixBot

      Добавить комментарий

    5. Palm Treo Pro Display Glass Replacement: шаг 7, изображение 1 из 2 Palm Treo Pro Display Glass Replacement: шаг 7, изображение 2 из 2
      Инструмент, используемый на этом этапе:
      Tweezers
      $4.99
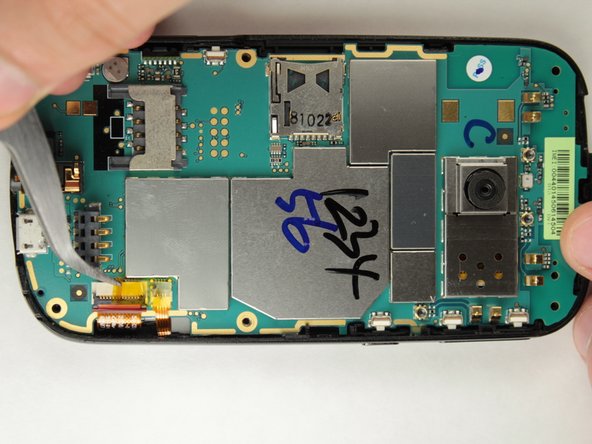
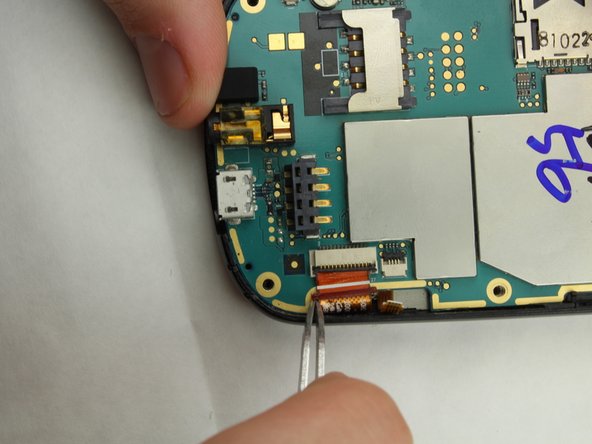
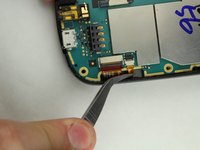
      • Use tweezers to carefully remove the yellow piece of tape covering the two ribbon cables.

      Спросите у FixBot

      Добавить комментарий

    6. Palm Treo Pro Display Glass Replacement: шаг 8, изображение 1 из 3 Palm Treo Pro Display Glass Replacement: шаг 8, изображение 2 из 3 Palm Treo Pro Display Glass Replacement: шаг 8, изображение 3 из 3
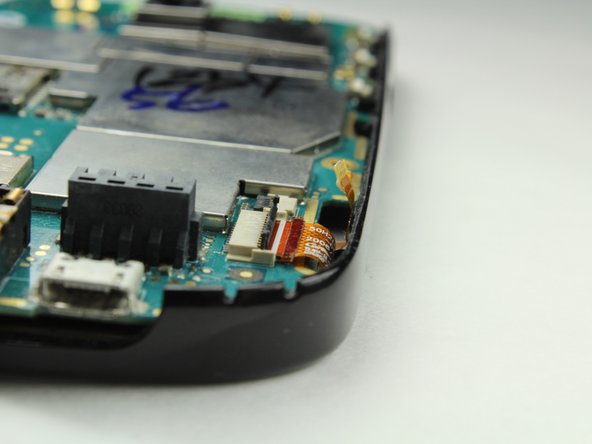
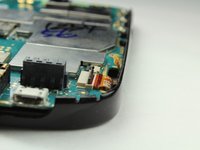
      • There are two ribbon cables under the yellow tape.

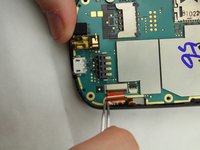
      • Use tweezers to safely unplug the small ribbon cable first and then the large ribbon cable.

      • To remove the cables there is a small black lock that needs to be in the up position as indicated in picture two.

      Спросите у FixBot

      Добавить комментарий

    7. Palm Treo Pro Display Glass Replacement: шаг 9, изображение 1 из 3 Palm Treo Pro Display Glass Replacement: шаг 9, изображение 2 из 3 Palm Treo Pro Display Glass Replacement: шаг 9, изображение 3 из 3
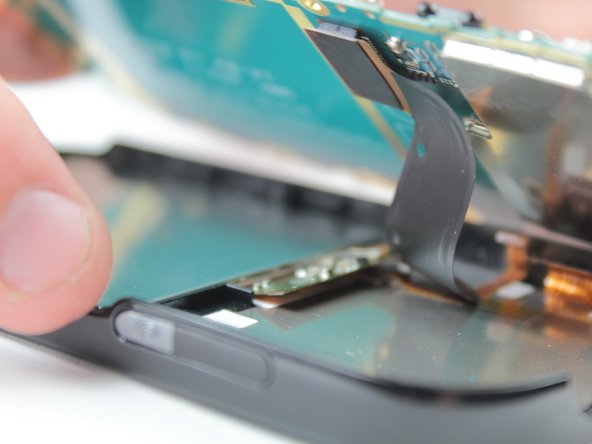
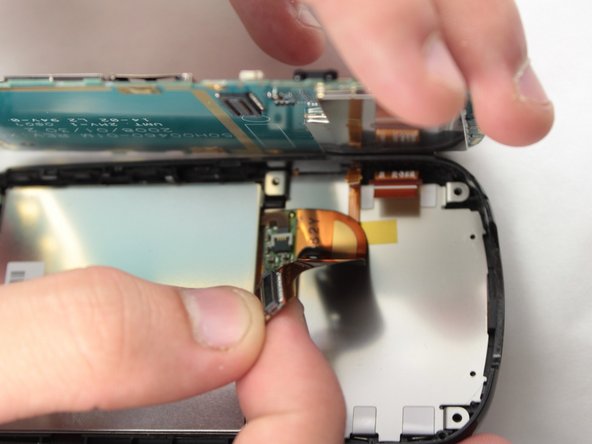
      • Use a plastic opening tool to lift the motherboard up and out of the phone case

      • There is a black cable under the motherboard that must be disconnected while the motherboard is still in the phone

      • It can easily be disconnected with your fingers

      • Note: During this process the mute and power buttons may fall out of the phone. Do not panic this is completely normal. Set them aside in a safe place until reassembly.

      • The motherboard has now been completely removed

      Спросите у FixBot

      Добавить комментарий

    1. Palm Treo Pro Display Glass Replacement, Display Glass: шаг 10, изображение 1 из 2 Palm Treo Pro Display Glass Replacement, Display Glass: шаг 10, изображение 2 из 2
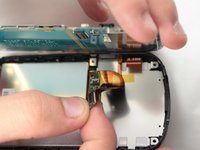
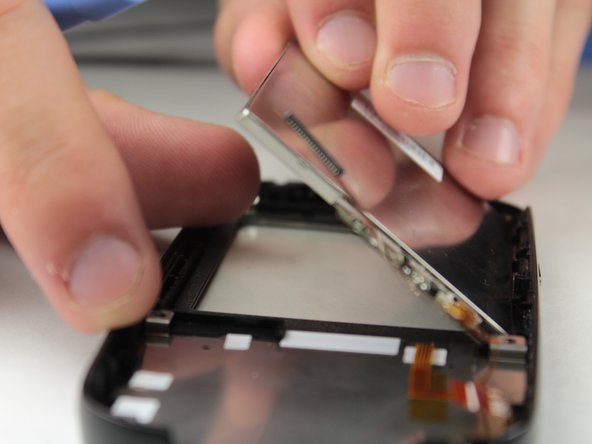
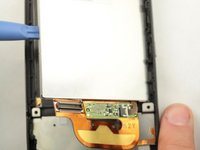
      • Use the plastic opening tool to pry the side of the display glass up so you can easily remove it with your hand.

      • Note: The display glass is the metallic rectangle with a orange ribbon cable attached to it.

      Спросите у FixBot

      Добавить комментарий

Заключение

To reassemble your device, follow these instructions in reverse order.

Отменить: Я не выполнил это руководство.

Еще один человек закончил это руководство.

Kyle Gilbert

Участник с: 04/17/13

1 Репутация

Автор 2 руководств

Команда

Cal Poly, Team 8-59, Johann Spring 2013 Участник Cal Poly, Team 8-59, Johann Spring 2013

CPSU-JOHANN-S13S8G59

4 членов

Автор 25 руководств

0 Комментарии к руководству

Добавить комментарий

Статистика просмотров:

За последние 24 часов: 0

За последние 7 дней: 7

За последние 30 дней: 23

За всё время: 583