Этот перевод был сделан машиной и пока не проверен человеком. Говорите на этом языке? Просмотрите его.
Введение
Перед началом разборки убедитесь, что у вас есть все необходимые инструменты. Вам понадобятся отвертка Torx T6, пинцет и инструмент для открывания корпуса. Для доступа к материнской плате вам нужно будет извлечь стилус, снять заднюю крышку и отсоединить аккумулятор.
Выберете то, что вам нужно
-
-
-
Извлеките стилус из боковой части КПК, сдвинув его вверх.
 Спросите у FixBot
-
-
-
Открутите 4 винта по углам задней панели устройства с помощью отвертки Torx T6.
-
-
-
-
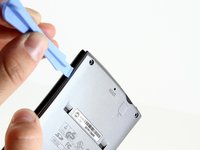
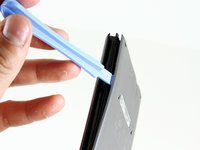
Вставьте край пластикового инструмента для открывания между задней панелью и черным держателем стилуса.
-
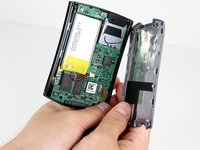
Осторожно, приложив усилие, подденьте и разъедините панели.
-
-
-
-
Инструмент, используемый на этом этапе:Tweezers$4.99
-
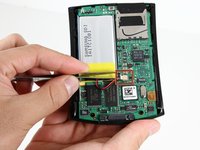
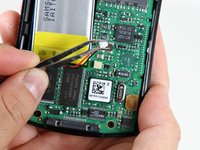
Используйте пинцет, чтобы отсоединить кабель аккумулятора от разъема на материнской плате.
-
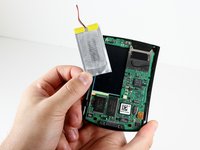
Аккуратно извлеките аккумулятор из материнской платы, потянув вверх большим и указательным пальцами.
-
-
-
-
-
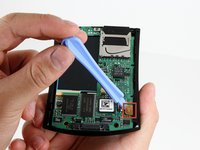
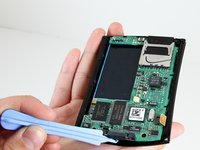
Используйте пластиковую лопатку, чтобы отсоединить оранжевый зажим от материнской платы.
-
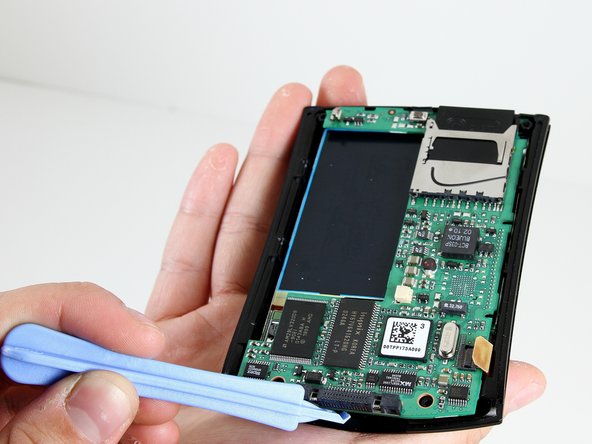
Используйте пластиковую лопатку в нижней части устройства, чтобы отделить материнскую плату от передней панели.
-
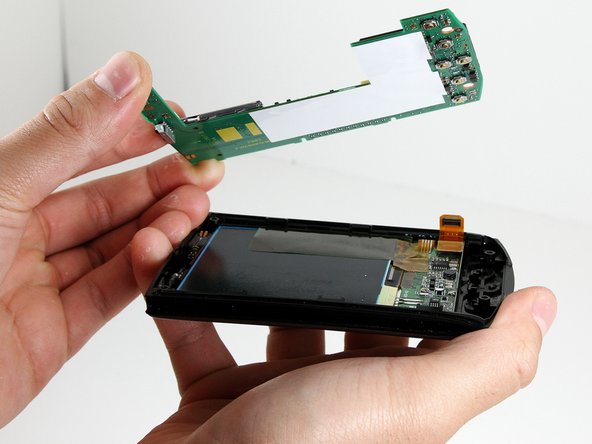
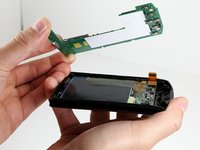
Аккуратно и с усилием приподнимите материнскую плату от передней панели, используя большой и указательный пальцы.
-
-





Для сборки устройства выполните эти действия в обратном порядке.

Команда

Cal Poly, Team 14-9, Forte Winter 2011 Участник Cal Poly, Team 14-9, Forte Winter 2011
CPSU-FORTE-W11S14G9
6 членов
Автор 66 руководств
