Перейти к основному содержанию
Присоединяйся к сообществу ремонтников - Создай аккаунт

Panasonic DMC-FZ70 Back Panel Replacement

Выберете то, что вам нужно

  1. Panasonic DMC-FZ70 Back Panel Replacement, Back Panel: шаг 1, изображение 1 из 2 Panasonic DMC-FZ70 Back Panel Replacement, Back Panel: шаг 1, изображение 2 из 2
    • All screws should be removed using a Phillips #0 screwdriver.

    • Using your screwdriver, unscrew the two 5.0 mm Philips screws to the right of the LCD screen.

    Спросите у FixBot
  2. Panasonic DMC-FZ70 Back Panel Replacement: шаг 2, изображение 1 из 2 Panasonic DMC-FZ70 Back Panel Replacement: шаг 2, изображение 2 из 2
    • Flip the camera over to the left side of the screen and unscrew the 5mm Phillips screw found there.

    Спросите у FixBot
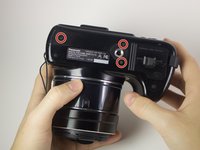
  3. Panasonic DMC-FZ70 Back Panel Replacement: шаг 3, изображение 1 из 2 Panasonic DMC-FZ70 Back Panel Replacement: шаг 3, изображение 2 из 2
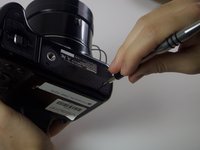
    • Turn the camera upside down and unscrew the three 5mm screws found on the bottom.

    Спросите у FixBot
  4. Panasonic DMC-FZ70 Back Panel Replacement: шаг 4, изображение 1 из 2 Panasonic DMC-FZ70 Back Panel Replacement: шаг 4, изображение 2 из 2
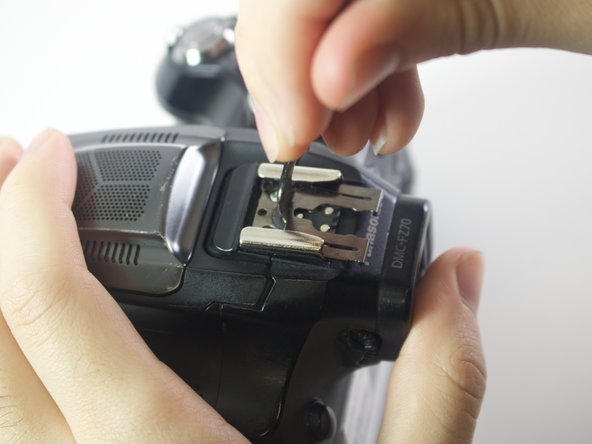
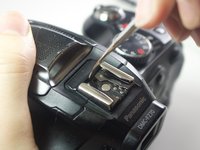
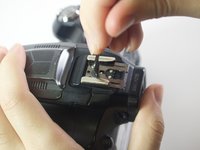
    • On the top of the camera locate the two rails with a thin sheet of metal on the floor between them.

    • With a metal spudger, lift this sheet and push it out of the rail device to detach it from the camera.

    Спросите у FixBot
  5. Panasonic DMC-FZ70 Back Panel Replacement: шаг 5, изображение 1 из 1
    • Proceed to remove the four 5mm Phillips screws that you just uncovered.

    Спросите у FixBot
  6. Panasonic DMC-FZ70 Back Panel Replacement: шаг 6, изображение 1 из 1
    • Slowly pull on both side of the camera, until both halves begin to separate from each other.

    • Do not pull too hard, as both halves are held together with ZIF connector cables.

    Спросите у FixBot
  7. Panasonic DMC-FZ70 Back Panel Replacement: шаг 7, изображение 1 из 3 Panasonic DMC-FZ70 Back Panel Replacement: шаг 7, изображение 2 из 3 Panasonic DMC-FZ70 Back Panel Replacement: шаг 7, изображение 3 из 3
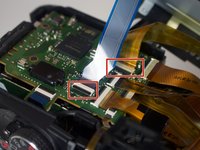
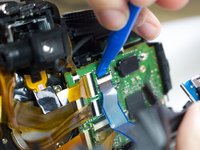
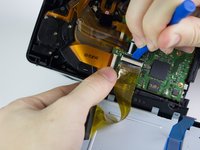
    • Using a plastic opening tool, carefully flip up the small black levers that attach the ribbon cables to the ZIF connectors on the motherboard.

    • Carefully pull the ribbon cables out of the slot once they have been released.

    • Only the two indicated connectors need to be removed to separate the two halves of the camera.

    Спросите у FixBot
Заключение

To reassemble your device, follow these instructions in reverse order.

Alberto Rodriguez

Участник с: 01/24/17

537 Репутация

Автор 4 руководств

Команда

Cal Poly, Team 21-3, Maness Winter 2017 Участник Cal Poly, Team 21-3, Maness Winter 2017

CPSU-MANESS-W17S21G3

6 членов

Автор 12 руководств

0 Комментарии к руководству

Добавить комментарий

Статистика просмотров:

За последние 24 часов: 11

За последние 7 дней: 19

За последние 30 дней: 81

За всё время: 1,085