Перейти к основному содержанию
Присоединяйся к сообществу ремонтников - Создай аккаунт

Panasonic Lumix DMC-FX07 Flash Assembly Replacement

Выберете то, что вам нужно

    1. Panasonic Lumix DMC-FX07 Flash Assembly Replacement, Battery: шаг 1, изображение 1 из 1
      • Move the switch on the battery door to the Open position.

      • The door will automatically swing open after you let it go.

      Спросите у FixBot

      Добавить комментарий

    2. Panasonic Lumix DMC-FX07 Flash Assembly Replacement: шаг 2, изображение 1 из 2 Panasonic Lumix DMC-FX07 Flash Assembly Replacement: шаг 2, изображение 2 из 2
      • Push the small gray tab on the top right corner to the left. The battery will pop out slightly.

      • Keep your finger clear of the battery when it pops out.

      Спросите у FixBot

      Добавить комментарий

    1. Panasonic Lumix DMC-FX07 Flash Assembly Replacement, Memory Card: шаг 3, изображение 1 из 1
      • Push the memory card in and let go.

      • The memory card will pop out slightly.

      • Pull out the memory card.

      Спросите у FixBot

      Добавить комментарий

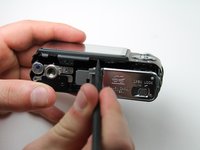
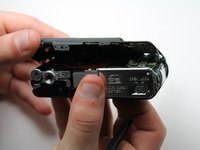
    1. Panasonic Lumix DMC-FX07 Flash Assembly Replacement, Back Cover: шаг 4, изображение 1 из 2 Panasonic Lumix DMC-FX07 Flash Assembly Replacement, Back Cover: шаг 4, изображение 2 из 2
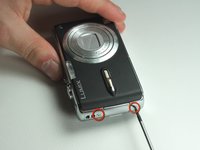
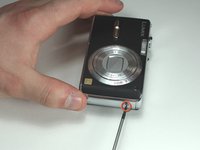
      • Unscrew the small screws on the sides of the camera.

      • The screws on the left side(#00P, 4.7mm) are longer than the screw on the right side(#00P, 3.3mm).

      Спросите у FixBot

      Добавить комментарий

    2. Panasonic Lumix DMC-FX07 Flash Assembly Replacement: шаг 5, изображение 1 из 2 Panasonic Lumix DMC-FX07 Flash Assembly Replacement: шаг 5, изображение 2 из 2
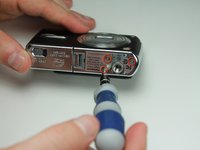
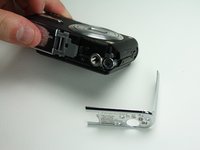
      • Unscrew the three small screws on the bottom(#00P, 3.3mm).

      • The bottom will fall off.

      Спросите у FixBot

      Добавить комментарий

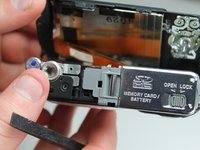
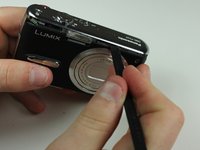
    3. Panasonic Lumix DMC-FX07 Flash Assembly Replacement: шаг 6, изображение 1 из 3 Panasonic Lumix DMC-FX07 Flash Assembly Replacement: шаг 6, изображение 2 из 3 Panasonic Lumix DMC-FX07 Flash Assembly Replacement: шаг 6, изображение 3 из 3
      • Lift up the bottom back cover by prying the bottom edge with the spudger.

      • Gently lift up the back cover with your hand from the bottom to the top.

      Спросите у FixBot

      Добавить комментарий

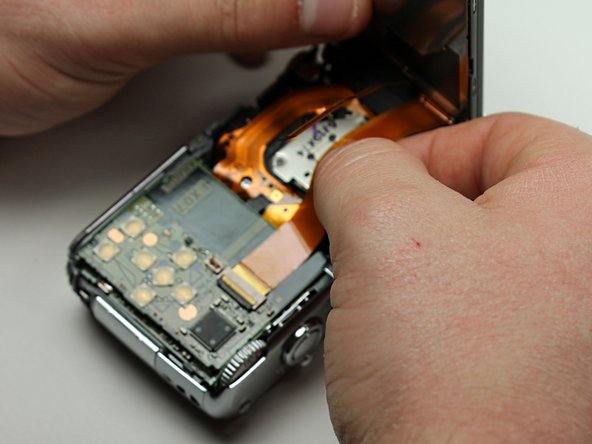
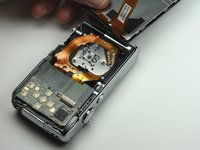
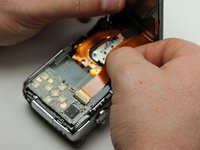
    4. Panasonic Lumix DMC-FX07 Flash Assembly Replacement: шаг 7, изображение 1 из 3 Panasonic Lumix DMC-FX07 Flash Assembly Replacement: шаг 7, изображение 2 из 3 Panasonic Lumix DMC-FX07 Flash Assembly Replacement: шаг 7, изображение 3 из 3
      • Lift the tabs on the ZIF connectors.

      • The ribbon cables should easily come out of the ZIF connectors.

      Спросите у FixBot

      Добавить комментарий

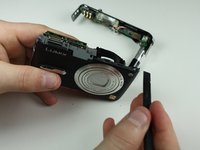
    1. Panasonic Lumix DMC-FX07 Flash Assembly Replacement, Top Cover: шаг 8, изображение 1 из 2 Panasonic Lumix DMC-FX07 Flash Assembly Replacement, Top Cover: шаг 8, изображение 2 из 2
      • Using the spudger, pry off the top cover by gliding the spudger along the entire edge between the top cover and the front cover.

      • Be careful not to damage the cylindrical capacitor on the circuit board under the top cover.

      Спросите у FixBot

      Добавить комментарий

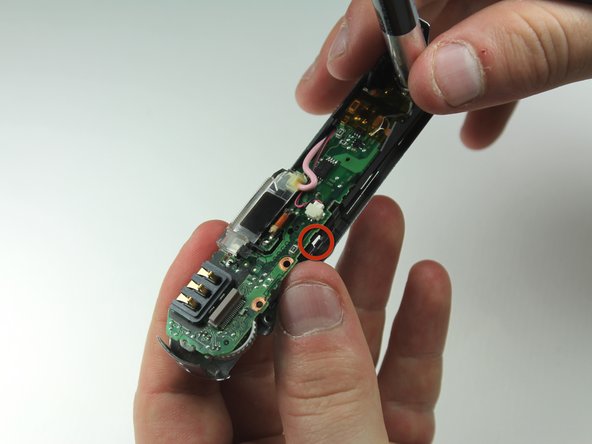
    1. Panasonic Lumix DMC-FX07 Flash Assembly Replacement, Flash Assembly: шаг 9, изображение 1 из 1
      • Unscrew the small screws beneath the top cover(#00P, 1.7mm).

      Спросите у FixBot

      Добавить комментарий

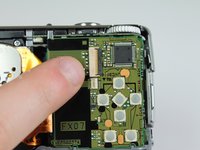
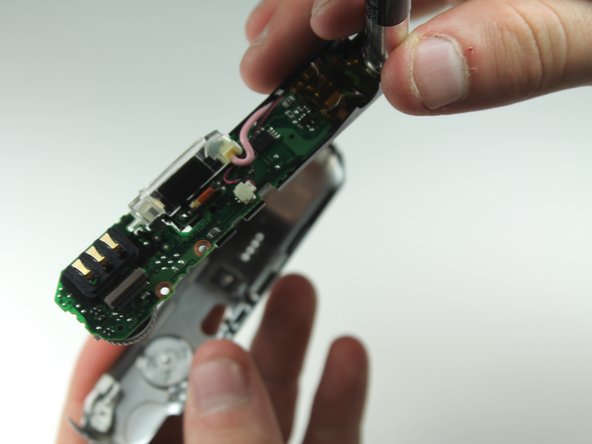
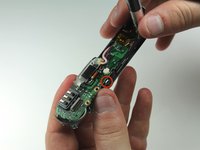
    2. Panasonic Lumix DMC-FX07 Flash Assembly Replacement: шаг 10, изображение 1 из 3 Panasonic Lumix DMC-FX07 Flash Assembly Replacement: шаг 10, изображение 2 из 3 Panasonic Lumix DMC-FX07 Flash Assembly Replacement: шаг 10, изображение 3 из 3
      • Lift the logic board out with your hand by pushing the tabs out and pulling the logic board up.

      • The on/off switch and the anti-shake button may fall out.

      Спросите у FixBot

      Добавить комментарий

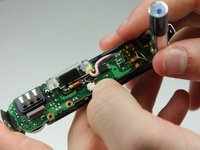
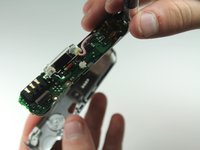
    3. Panasonic Lumix DMC-FX07 Flash Assembly Replacement: шаг 11, изображение 1 из 1
      • The flash assembly is hardwired into the top circuit board.

      Спросите у FixBot

      Добавить комментарий

Заключение

To reassemble your device, follow these instructions in reverse order.

Отменить: Я не выполнил это руководство.

Karissa

Участник с: 04/13/12

71 Репутация

Автор 8 руководств

Команда

Cal Poly, Team 6-23, Amido Spring 2012 Участник Cal Poly, Team 6-23, Amido Spring 2012

CPSU-AMIDO-S12S6G23

4 членов

Автор 40 руководств

0 Комментарии к руководству

Добавить комментарий

Статистика просмотров:

За последние 24 часов: 2

За последние 7 дней: 4

За последние 30 дней: 30

За всё время: 1,116