Перейти к основному содержанию
Присоединяйся к сообществу ремонтников - Создай аккаунт

Panasonic Lumix ZS50 Flash Assembly Replacement

Выберете то, что вам нужно

    1. Panasonic Lumix ZS50 Flash Assembly Replacement, Battery: шаг 1, изображение 1 из 2 Panasonic Lumix ZS50 Flash Assembly Replacement, Battery: шаг 1, изображение 2 из 2
      • Turn the camera off and identify the battery door located on the bottom of the camera.

      Спросите у FixBot

      Добавить комментарий

    2. Panasonic Lumix ZS50 Flash Assembly Replacement: шаг 2, изображение 1 из 2 Panasonic Lumix ZS50 Flash Assembly Replacement: шаг 2, изображение 2 из 2
      • Slide the "open" latch to the left: the battery door should spring open.

      • If your battery door doesn't open you may have to pry it open using a plastic opening tool or a standard spudger.

      Спросите у FixBot

      Добавить комментарий

    3. Panasonic Lumix ZS50 Flash Assembly Replacement: шаг 3, изображение 1 из 1
      • To release the battery, slide the white release lever next to the SD card slot.

      • If you find the battery release lever to be jammed you can push it using a plastic opening tool or standard spudger.

      Спросите у FixBot

      Добавить комментарий

    4. Panasonic Lumix ZS50 Flash Assembly Replacement: шаг 4, изображение 1 из 1
      • The battery should now be released; you may now remove the battery from the camera body.

      Спросите у FixBot

      Добавить комментарий

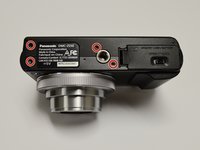
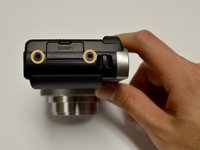
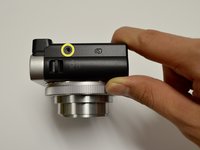
    1. Panasonic Lumix ZS50 Flash Assembly Replacement, LCD Screen: шаг 5, изображение 1 из 3 Panasonic Lumix ZS50 Flash Assembly Replacement, LCD Screen: шаг 5, изображение 2 из 3 Panasonic Lumix ZS50 Flash Assembly Replacement, LCD Screen: шаг 5, изображение 3 из 3
      • Orient the camera so the bottom is facing up and the battery door is on the right side.

      • Remove four black screws from the bottom of the camera.

      • Remove two black screws from the right side of the camera.

      • Remove one black screw from the left side of the camera.

      Спросите у FixBot

      Добавить комментарий

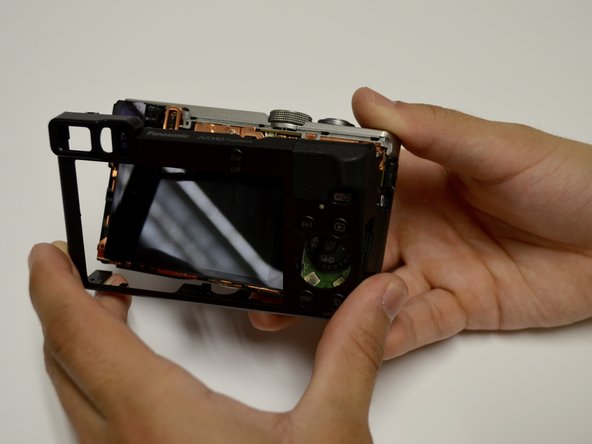
    2. Panasonic Lumix ZS50 Flash Assembly Replacement: шаг 6, изображение 1 из 2 Panasonic Lumix ZS50 Flash Assembly Replacement: шаг 6, изображение 2 из 2
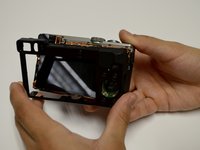
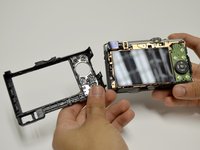
      • Remove the casing from the camera by hand or using a plastic opening tool.

      Спросите у FixBot

      Добавить комментарий

    3. Panasonic Lumix ZS50 Flash Assembly Replacement: шаг 7, изображение 1 из 2 Panasonic Lumix ZS50 Flash Assembly Replacement: шаг 7, изображение 2 из 2
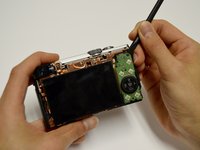
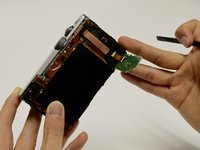
      • Use a spudger to lift up and tug off the green button board.

      • Be careful to not damage the attached ribbon cable.

      Спросите у FixBot

      Добавить комментарий

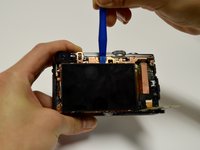
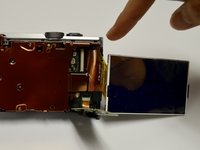
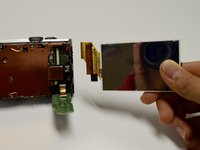
    4. Panasonic Lumix ZS50 Flash Assembly Replacement: шаг 8, изображение 1 из 3 Panasonic Lumix ZS50 Flash Assembly Replacement: шаг 8, изображение 2 из 3 Panasonic Lumix ZS50 Flash Assembly Replacement: шаг 8, изображение 3 из 3
      • Remove the screen using the plastic opening tool, prying from the top.

      • Once it's lifted up, tug lightly on the large ribbon cable to detach the screen from the camera body.

      Спросите у FixBot

      Добавить комментарий

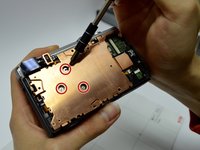
    1. Panasonic Lumix ZS50 Flash Assembly Replacement, Lens Assembly: шаг 9, изображение 1 из 3 Panasonic Lumix ZS50 Flash Assembly Replacement, Lens Assembly: шаг 9, изображение 2 из 3 Panasonic Lumix ZS50 Flash Assembly Replacement, Lens Assembly: шаг 9, изображение 3 из 3
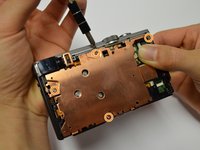
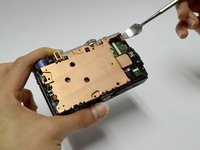
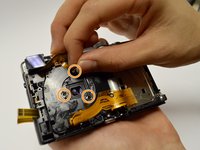
      • Remove the three screws from the center of the copper plate.

      • Remove the four screws from the outer edges of the copper plate.

      • Use a plastic or metal spudger to pry the copper plate out of place.

      Спросите у FixBot

      Добавить комментарий

    2. Panasonic Lumix ZS50 Flash Assembly Replacement: шаг 10, изображение 1 из 2 Panasonic Lumix ZS50 Flash Assembly Replacement: шаг 10, изображение 2 из 2
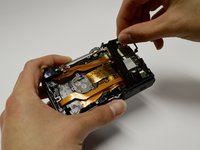
      • Remove the casing from the circuitboard by hand.

      • Remove the HDMI port casing by hand.

      Спросите у FixBot

      Добавить комментарий

    3. Panasonic Lumix ZS50 Flash Assembly Replacement: шаг 11, изображение 1 из 3 Panasonic Lumix ZS50 Flash Assembly Replacement: шаг 11, изображение 2 из 3 Panasonic Lumix ZS50 Flash Assembly Replacement: шаг 11, изображение 3 из 3
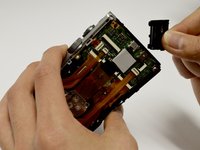
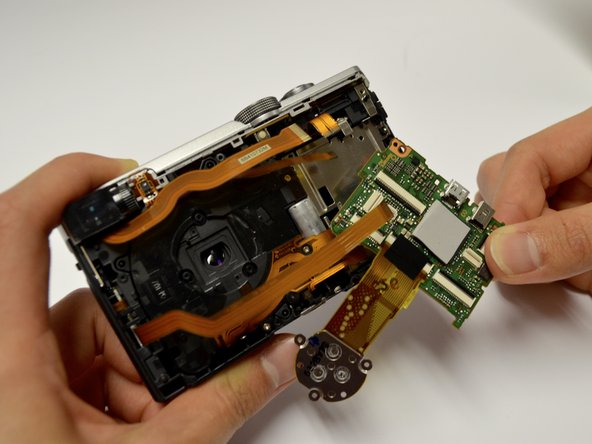
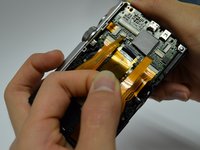
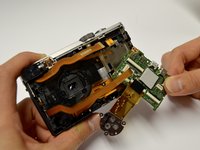
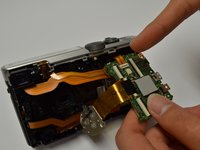
      • Disconnect all orange ribbon cables connecting to the circuitboard by hand.

      • Disconnect the circuitboard by hand.

      • There will be one orange ribbon cable attached to the top that can now be removed.

      Спросите у FixBot

      Добавить комментарий

    4. Panasonic Lumix ZS50 Flash Assembly Replacement: шаг 12, изображение 1 из 3 Panasonic Lumix ZS50 Flash Assembly Replacement: шаг 12, изображение 2 из 3 Panasonic Lumix ZS50 Flash Assembly Replacement: шаг 12, изображение 3 из 3
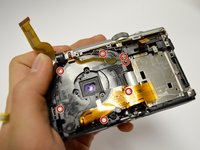
      • Remove the seven screws surrounding the lens assembly.

      • Move all ribbon cables out of your way while unscrewing.

      • Remove the three springs surrounding the lens.

      • Apply pressure on the front of the lens to push the lens out.

      Спросите у FixBot

      Добавить комментарий

    1. Panasonic Lumix ZS50 Flash Assembly Replacement, Flash Assembly: шаг 13, изображение 1 из 3 Panasonic Lumix ZS50 Flash Assembly Replacement, Flash Assembly: шаг 13, изображение 2 из 3 Panasonic Lumix ZS50 Flash Assembly Replacement, Flash Assembly: шаг 13, изображение 3 из 3
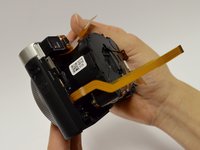
      • Remove the one screw holding the camera and the flash component together.

      • Gently pull the flash component out of the camera body.

      Спросите у FixBot

      Добавить комментарий

    2. Panasonic Lumix ZS50 Flash Assembly Replacement: шаг 14, изображение 1 из 3 Panasonic Lumix ZS50 Flash Assembly Replacement: шаг 14, изображение 2 из 3 Panasonic Lumix ZS50 Flash Assembly Replacement: шаг 14, изображение 3 из 3
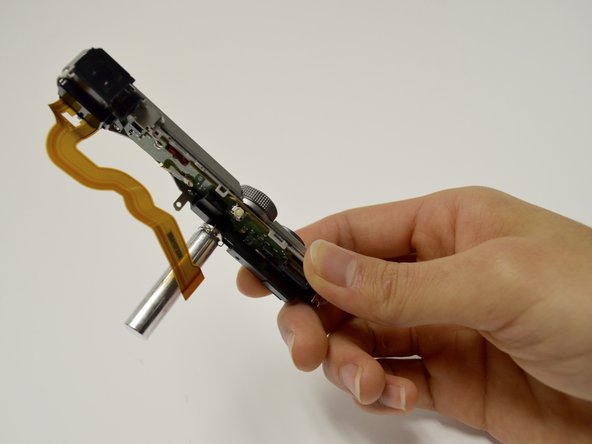
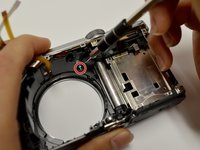
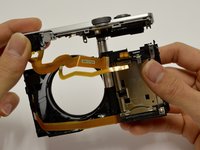
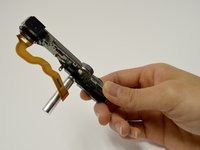
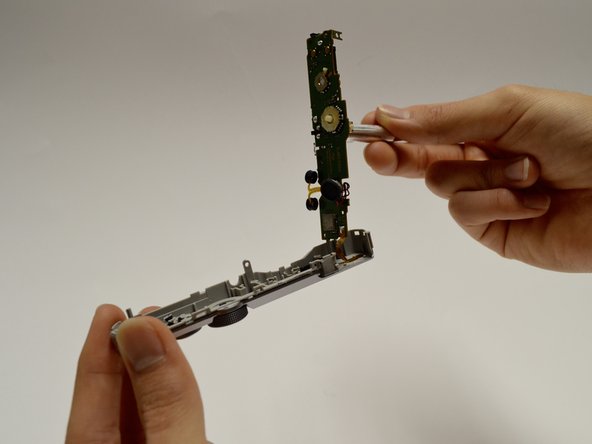
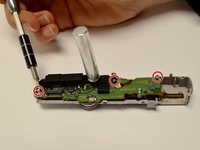
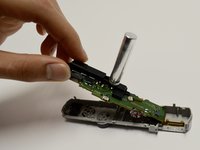
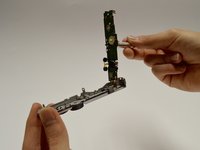
      • Separate the top camera casing from the flash component by unscrewing the three surrounding screws.

      • Remove the flash assembly, including the circuit board, by detaching it and the ribbon cables from the casing.

      Спросите у FixBot

      Добавить комментарий

Заключение

To reassemble your device, follow these instructions in reverse order.

Отменить: Я не выполнил это руководство.

Еще один человек закончил это руководство.

Bridget Lathrop

Участник с: 02/01/17

158 Репутация

Автор 2 руководств

Команда

Baylor, Team 8-5, Whitney Spring 2017 Участник Baylor, Team 8-5, Whitney Spring 2017

BU-WHITNEY-S17S8G5

3 членов

Автор 7 руководств

1 Комментарий к руководству

Step 7: Does not mention the HDMI port door. Make sure you account for it

BayleeVersteeg - Ответить Поделиться

Добавить комментарий

Статистика просмотров:

За последние 24 часов: 1

За последние 7 дней: 7

За последние 30 дней: 38

За всё время: 915