Введение
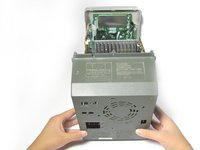
This guide will explain how to remove and replace the fuse. You'll be removing the top, back, and side panels to get to it, but once the panels are removed, the fuse can be removed with a simple tug.
Выберете то, что вам нужно
-
-
Remove the five 9 mm #2 Phillips screws from the side panel nearest the power button.
-
Repeat the process for the opposite panel.
-
Remove the two 15 mm #2 Phillips screws from the back of the top panel.
-
Remove the middle 10mm #2 Phillips screw from the back of the top panel.
 Спросите у FixBot
-
-
-
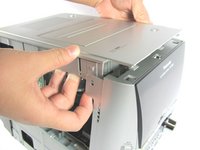
Swing the back half of the panel slightly away from the unit. Then, starting at the top back corner, slide plastic opening tool through the created gap from back to front. The panel should pop off. Repeat the process on the opposite panel.
-
-
-
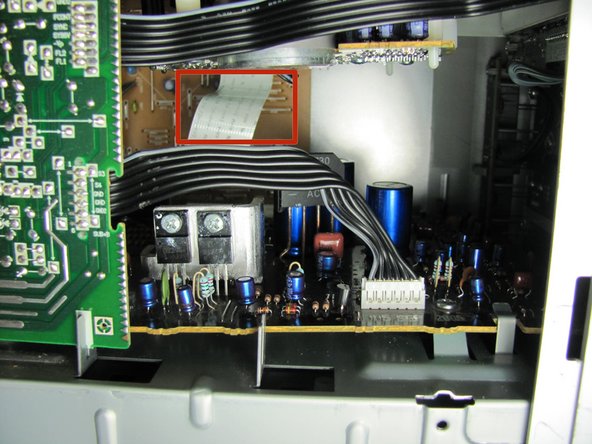
Looking in through the side nearest the power button, use your fingers to pull the white ribbon connection toward you, away from the rear circuit board.
-
-
-
-
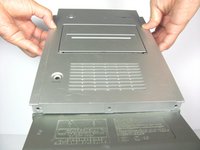
Remove the top panel. You will need to slightly bend the plastic tab outwards, to undo the clasp that is attached to the top.
-
-
-
Remove the eight 9.5 mm #2 Phillips screws attaching the back to the device.
-
-
-
With a gentle tug, unplug the red and black cable from the tan circuit board.
-
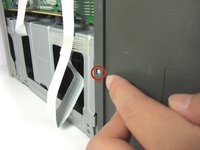
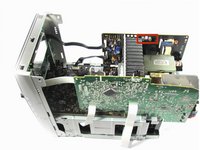
Using both hands, unlock the plastic back panel from the metal clasps (located on the sides of the unit) by pulling the plastic away from the metal. Focus on undoing first one clasp, then the other.
-
Slide the back panel toward you and off of the unit.
-
-
-
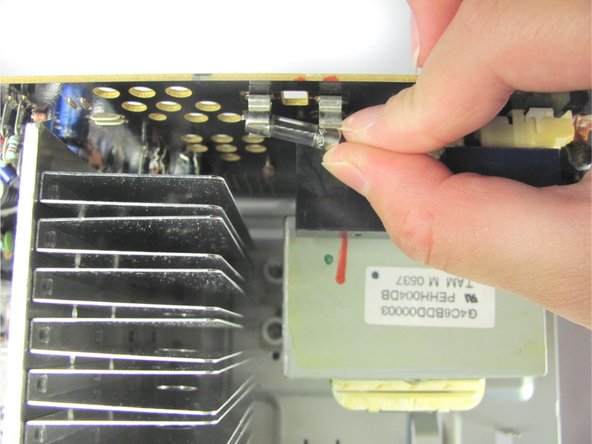
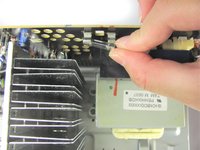
Looking over the top of the tan and green circuit board, locate the fuse.
-
Gently pull the fuse out of the metal claps.
-


To reassemble your device, follow these instructions in reverse order.
Отменить: Я не выполнил это руководство.
Еще один человек закончил это руководство.
Команда

Cal Poly, Team 13-7, Forte Fall 2014 Участник Cal Poly, Team 13-7, Forte Fall 2014
CPSU-FORTE-F14S13G7
5 членов
Автор 14 руководств
2 Комментарии к руководству
What symptoms did fuse failure exhibit?
Any information on stereo decoding and LCD display faults?
Will this fix the dead LCD display? Thanks