Перейти к основному содержанию
Присоединяйся к сообществу ремонтников - Создай аккаунт

Pentax Optio WG-2 Back Case Replacement

Абсолютно необходимое руководство
Это руководство только для предварительной подготовки! Этот гайд является частью другой процедуры и не предназначен для самостоятельного использования.

Выберете то, что вам нужно

    1. Pentax Optio WG-2 Back Case Replacement, Back Case: шаг 1, изображение 1 из 2 Pentax Optio WG-2 Back Case Replacement, Back Case: шаг 1, изображение 2 из 2
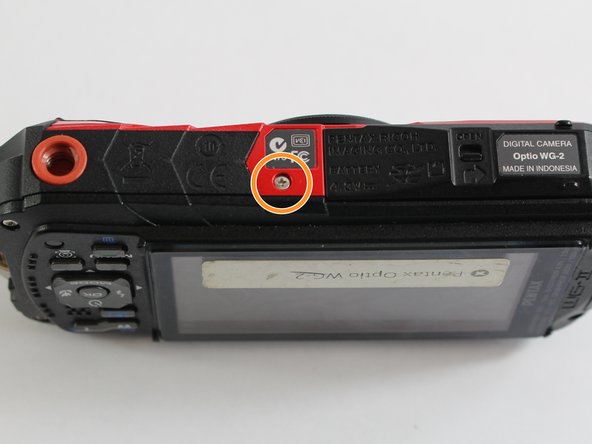
      • Remove all four 1 mm JIS #00 screws from the back of the camera.

      Спросите у FixBot

      Добавить комментарий

    2. Pentax Optio WG-2 Back Case Replacement: шаг 2, изображение 1 из 1
      • Use your finger to peel the grip off the top of the camera.

      • For best results, start from the right side of the camera, opposite the buttons.

      • Once the grip is removed, you will most likely lose the water-tight seal.

      Спросите у FixBot

      Добавить комментарий

    3. Pentax Optio WG-2 Back Case Replacement: шаг 3, изображение 1 из 1
      Инструмент, используемый на этом этапе:
      Tweezers
      $4.99
      • Use the tweezers to remove the two buttons from the top of the camera.

      • The buttons may fall out while removing the grip.

      Спросите у FixBot

      Добавить комментарий

    4. Pentax Optio WG-2 Back Case Replacement: шаг 4, изображение 1 из 3 Pentax Optio WG-2 Back Case Replacement: шаг 4, изображение 2 из 3 Pentax Optio WG-2 Back Case Replacement: шаг 4, изображение 3 из 3
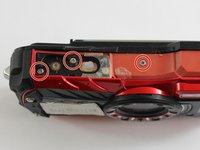
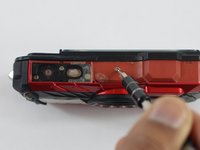
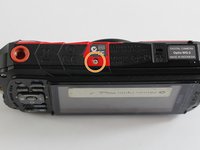
      • Remove the three 1 mm JIS #000 screws from the top.

      • Remove the 1 mm JIS #000 screw from the bottom.

      Спросите у FixBot

      Добавить комментарий

    5. Pentax Optio WG-2 Back Case Replacement: шаг 5, изображение 1 из 1
      • Carefully separate the back and the front of the camera.

      • There are three ribbon cables connecting the two boards. Be careful not to tear them.

      Спросите у FixBot

      Добавить комментарий

    6. Pentax Optio WG-2 Back Case Replacement: шаг 6, изображение 1 из 1
      • Use the tip of a spudger to flip up the small retaining flaps on the ribbon cable ZIF connectors.

      • Carefully pull the ribbon cables out of their sockets.

      Спросите у FixBot

      Добавить комментарий

Заключение

To reassemble your device, follow these instructions in reverse order.

Отменить: Я не выполнил это руководство.

Matthew Bessette

Участник с: 03/04/16

658 Репутация

Автор 6 руководств

Команда

UMass Dartmouth, Team 6-7, Bhusal Spring 2016 Участник UMass Dartmouth, Team 6-7, Bhusal Spring 2016

UMASSD-BHUSAL-S16S6G7

3 членов

Автор 6 руководств

0 Комментарии к руководству

Добавить комментарий

Статистика просмотров:

За последние 24 часов: 1

За последние 7 дней: 6

За последние 30 дней: 14

За всё время: 292