Перейти к основному содержанию
Присоединяйся к сообществу ремонтников - Создай аккаунт

Petnet SmartFeeder SF10E 12 Pin Connector Replacement

Выберете то, что вам нужно

    1. Petnet SmartFeeder SF10E 12 Pin Connector Replacement, 12 Pin Connector: шаг 1, изображение 1 из 3 Petnet SmartFeeder SF10E 12 Pin Connector Replacement, 12 Pin Connector: шаг 1, изображение 2 из 3 Petnet SmartFeeder SF10E 12 Pin Connector Replacement, 12 Pin Connector: шаг 1, изображение 3 из 3
      • Eject the SmartBowl by pressing the button located at the front of the SmartFeeder base.

      Спросите у FixBot

      Добавить комментарий

    2. Petnet SmartFeeder SF10E 12 Pin Connector Replacement: шаг 2, изображение 1 из 3 Petnet SmartFeeder SF10E 12 Pin Connector Replacement: шаг 2, изображение 2 из 3 Petnet SmartFeeder SF10E 12 Pin Connector Replacement: шаг 2, изображение 3 из 3
      • Remove the food tub by twisting it counter-clockwise with both hands and lifting it up.

      Спросите у FixBot

      Добавить комментарий

    3. Petnet SmartFeeder SF10E 12 Pin Connector Replacement: шаг 3, изображение 1 из 1
      • Remove the black plastic gasket from the top of the SmartFeeder by placing your fingers on the side of it and lifting up.

      • It should come off easily.

      Спросите у FixBot

      Добавить комментарий

    4. Petnet SmartFeeder SF10E 12 Pin Connector Replacement: шаг 4, изображение 1 из 1
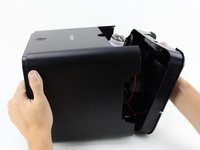
      • Flip over the SmartFeeder by using both hands.

      • Partially open the outer case of the SmartFeeder by wedging an iFixit Opening Tool on each side.

      Спросите у FixBot

      Добавить комментарий

    5. Petnet SmartFeeder SF10E 12 Pin Connector Replacement: шаг 5, изображение 1 из 2 Petnet SmartFeeder SF10E 12 Pin Connector Replacement: шаг 5, изображение 2 из 2
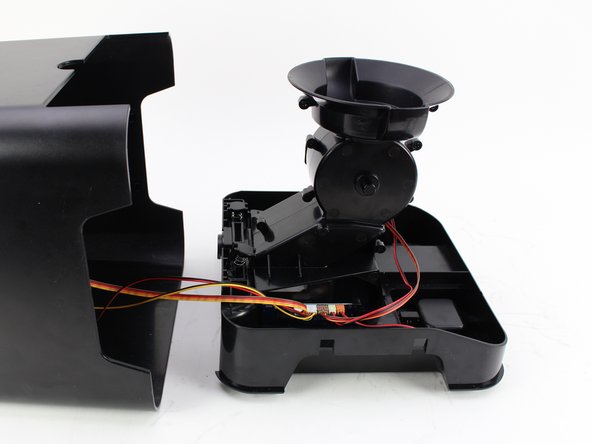
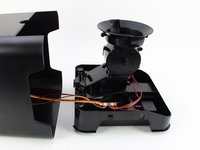
      • Turn the SmartFeeder on its side and with one hand on the base, carefully pull out the central section.

      • Place the bottom piece of the device right-side up.

      Спросите у FixBot

      Добавить комментарий

    6. Petnet SmartFeeder SF10E 12 Pin Connector Replacement: шаг 6, изображение 1 из 2 Petnet SmartFeeder SF10E 12 Pin Connector Replacement: шаг 6, изображение 2 из 2
      • Remove one 10 mm screw by using the Phillips #1 screwdriver.

      • Remove the plastic retaining piece for the daughterboard by pulling it out with one hand.

      Спросите у FixBot

      Добавить комментарий

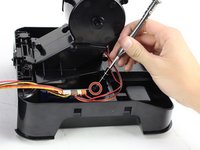
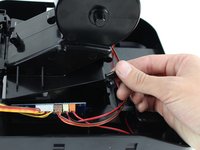
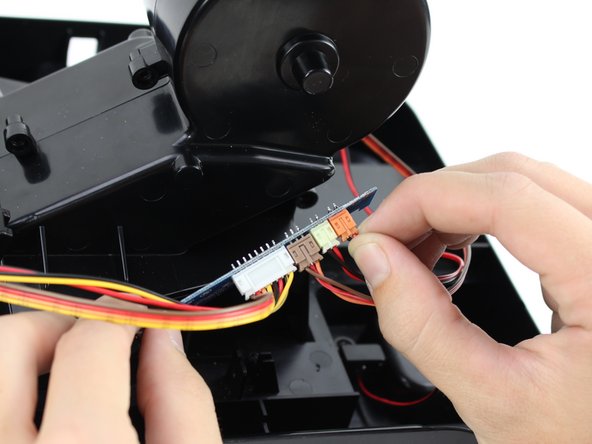
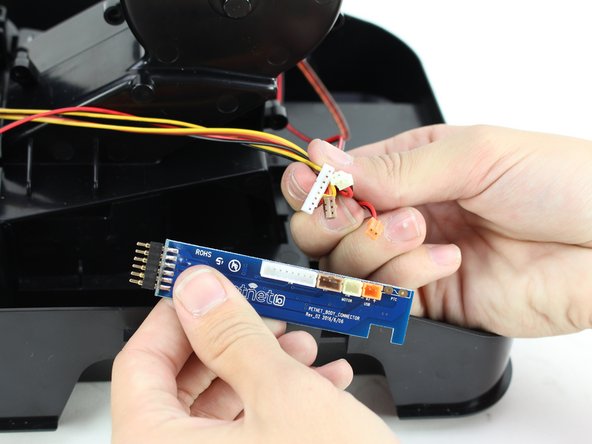
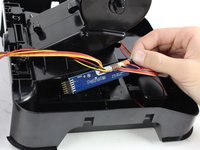
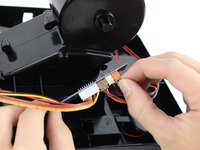
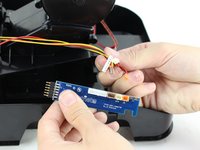
    7. Petnet SmartFeeder SF10E 12 Pin Connector Replacement: шаг 7, изображение 1 из 3 Petnet SmartFeeder SF10E 12 Pin Connector Replacement: шаг 7, изображение 2 из 3 Petnet SmartFeeder SF10E 12 Pin Connector Replacement: шаг 7, изображение 3 из 3
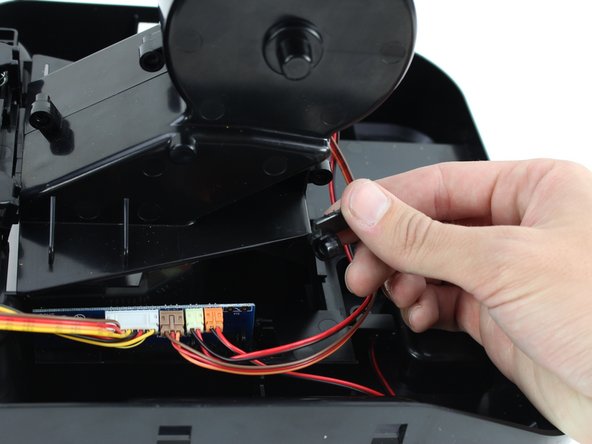
      • Pull the daughterboard out of the device and remove the three-prong connectors by using your hands.

      • Hold onto the sockets on the motherboard or you could accidentally pull off the entire assembly.

      Спросите у FixBot

      Добавить комментарий

Заключение

To reassemble your device, follow these instructions in reverse order.

Отменить: Я не выполнил это руководство.

Ashley Kim

Участник с: 10/08/18

187 Репутация

1 руководство автора

Команда

Cal Poly, Team S13-G7, White Fall 2018 Участник Cal Poly, Team S13-G7, White Fall 2018

CPSU-WHITE-F18S13G7

4 членов

Автор 5 руководств

0 Комментарии к руководству

Добавить комментарий

Статистика просмотров:

За последние 24 часов: 1

За последние 7 дней: 3

За последние 30 дней: 22

За всё время: 615