Введение
If the disk isn't reading you may need to replace the drive in order to continue to play disks. To do this, you will be required to remove the outside casing on the player.
Выберете то, что вам нужно
-
-
-
Lay the player flat so the bottom outside is showing. Using the Phillips #0 screwdriver, unscrew all the housing screws on the bottom of the player.
-
Have the player sitting upright, remove the rubber stoppers in order to get to the screw. Unscrew the inside screws by the screen using the Philips #0 screwdriver.
-
Remove the rubber stoppers for the bottom two screws as well. Unscrew the middle two screws.
 Спросите у FixBot
-
-
-
Open the disc flap and remove the screws inside with the Phillips #0 screwdriver. There will be three screws.
-
-
-
-
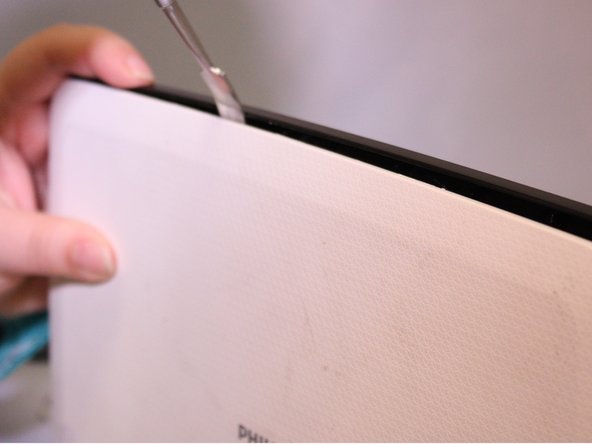
Start removing the inside black face plate of the player by using a prying method between the white outer housing and the black face plate with a metal spudger.
-
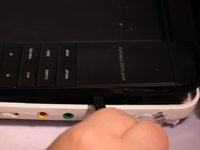
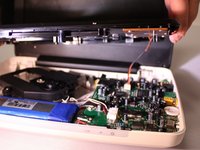
Pull the black face plate off once you have pried it from the white housing. The bottom inside layer should pop off.
-
Using the same prying method with the metal spudger, start prying off the screens white outer housing.
-
-
-
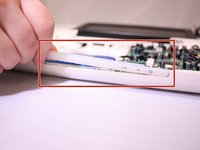
The light panel on the front can just pop right off.
-
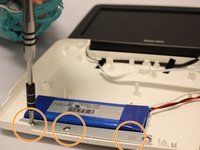
To remove the metal bar against the battery, unscrew the screws with the phillips #0 screwdriver.
-
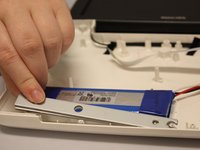
After unscrewing you can just lift the metal bar off.
-
-
-
-
Инструмент, используемый на этом этапе:Tweezers$4.99
-
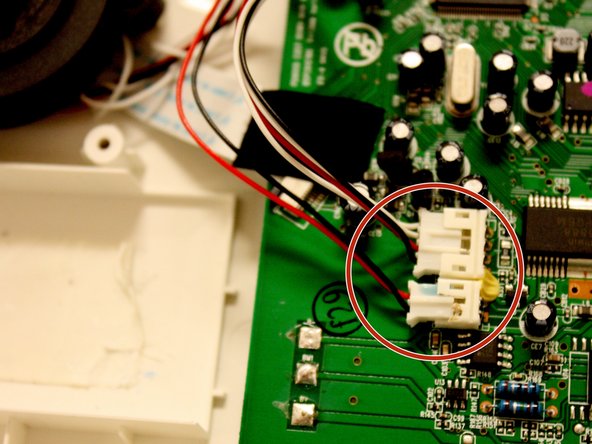
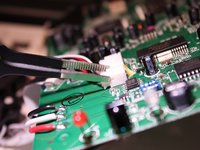
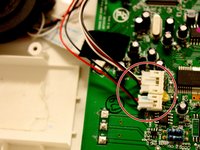
Using the Tweezers from the iFixit repair tools, pull the two white plastic connectors that connect the disk drive to the motherboard off detaching the disk drive from the motherboard.
-
-
-
Grab the sides of the disk drive and gently pull straight up to detach the disk drive.
-
The white ribbon is not connected to the actual drive, so it can be ignored.
-
-







To reassemble your device, follow these instructions in reverse order.
Отменить: Я не выполнил это руководство.
2 человек успешно провели ремонт по этому руководству.

Команда

Eastern Washington University, Team 1-3, Matresse Fall 2015 Участник Eastern Washington University, Team 1-3, Matresse Fall 2015
EWU-MATRESSE-F15S1G3
3 членов
Автор 8 руководств
1 Комментарий к руководству
Hi! Where I can buy the Philips PD9000 37 Disk Drive Replacement because I can´t find it... Thanks
