Перейти к основному содержанию
Присоединяйся к сообществу ремонтников - Создай аккаунт

Philips TAS7505 Motherboard Replacement

Выберете то, что вам нужно

    1. Philips TAS7505 Motherboard Replacement, Philips TAS7505 Outer Shell Disassembly: шаг 1, изображение 1 из 2 Philips TAS7505 Motherboard Replacement, Philips TAS7505 Outer Shell Disassembly: шаг 1, изображение 2 из 2
      • Make sure the speaker is turned off before you begin the disassembly.

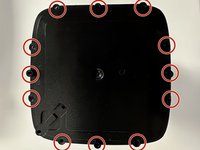
      • Turn the speaker upside down. You will see a rubber base. Use an opening tool to lift up the sides to expose the screws.

      Спросите у FixBot

      Добавить комментарий

    2. Philips TAS7505 Motherboard Replacement: шаг 2, изображение 1 из 3 Philips TAS7505 Motherboard Replacement: шаг 2, изображение 2 из 3 Philips TAS7505 Motherboard Replacement: шаг 2, изображение 3 из 3
      • There will be 4 exposed screws. Make sure to use the Phillips #0 Screwdriver.

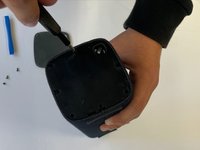
      • When the screws are removed, you can use an opening tool to take off the plastic cover.

      Спросите у FixBot

      Добавить комментарий

    3. Philips TAS7505 Motherboard Replacement: шаг 3, изображение 1 из 3 Philips TAS7505 Motherboard Replacement: шаг 3, изображение 2 из 3 Philips TAS7505 Motherboard Replacement: шаг 3, изображение 3 из 3
      • Now that you have removed this cover, there is another cover. This cover has a total of 9 screws that can be removed with a Philips #0 screwdriver.

      • Once all these screws are removed, you can take off the cover

      Спросите у FixBot

      Добавить комментарий

    4. Philips TAS7505 Motherboard Replacement: шаг 4, изображение 1 из 3 Philips TAS7505 Motherboard Replacement: шаг 4, изображение 2 из 3 Philips TAS7505 Motherboard Replacement: шаг 4, изображение 3 из 3
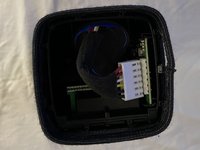
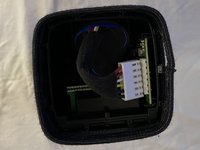
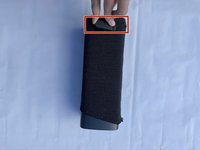
      • You can now see the inside of the speaker but you aren't done yet.

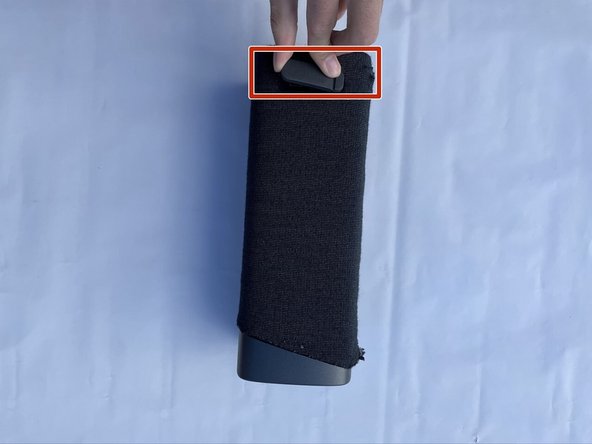
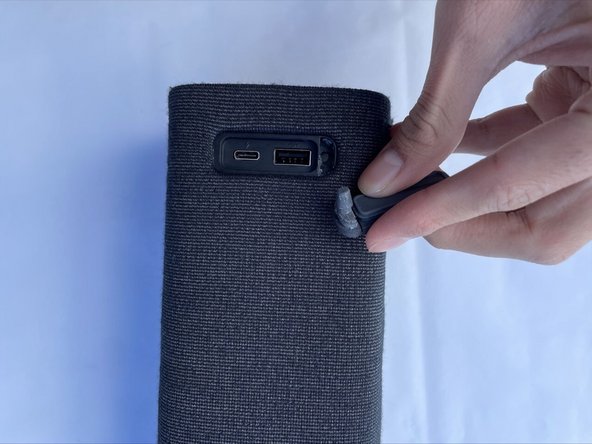
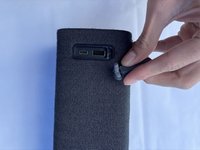
      • Remove both rubber stands that hold up the device horizontally (one of these stands is a cover for the USB ports).

      Спросите у FixBot

      Добавить комментарий

    5. Philips TAS7505 Motherboard Replacement: шаг 5, изображение 1 из 1
      • Once you pull these out, you can pull the whole sleeve to expose the infrastructure of the device.

      Спросите у FixBot

      Добавить комментарий

    1. Philips TAS7505 Motherboard Replacement, Motherboard: шаг 6, изображение 1 из 3 Philips TAS7505 Motherboard Replacement, Motherboard: шаг 6, изображение 2 из 3 Philips TAS7505 Motherboard Replacement, Motherboard: шаг 6, изображение 3 из 3
      • Disconnect the battery from the motherboard by unclipping it from the side not visible to you

      • If you are having difficulties disconnecting the battery you can pull the battery out whole in order to get a better angle to disconnect it

      Спросите у FixBot

      Добавить комментарий

    2. Philips TAS7505 Motherboard Replacement: шаг 7, изображение 1 из 1
      • Pull out the motherboard then disconnect the USB-A & USB-C port by pressing the clip

      Спросите у FixBot

      Добавить комментарий

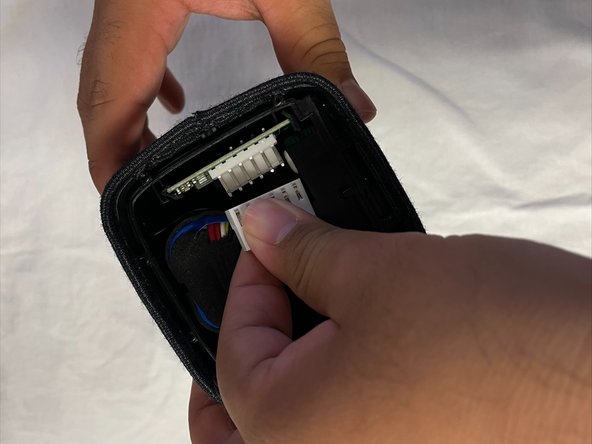
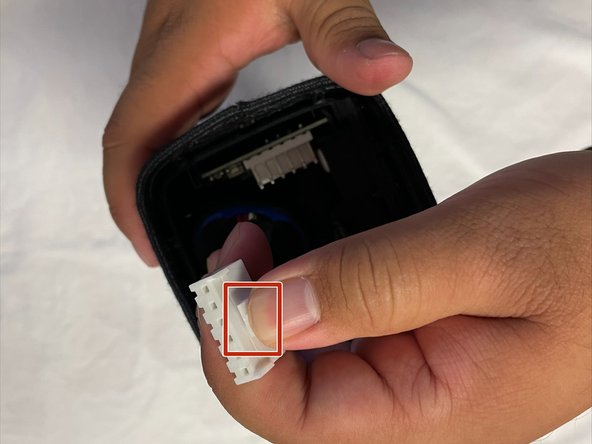
    3. Philips TAS7505 Motherboard Replacement: шаг 8, изображение 1 из 2 Philips TAS7505 Motherboard Replacement: шаг 8, изображение 2 из 2
      • Next is to disconnect the speaker

      • pull the motherboard out as much as you can and then wiggle the white box back and forth to get it out

      Спросите у FixBot

      Добавить комментарий

    4. Philips TAS7505 Motherboard Replacement: шаг 9, изображение 1 из 2 Philips TAS7505 Motherboard Replacement: шаг 9, изображение 2 из 2
      Инструмент, используемый на этом этапе:
      Tweezers
      $4.99
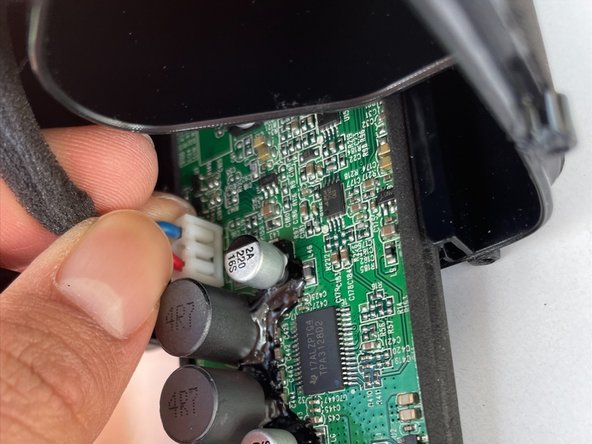
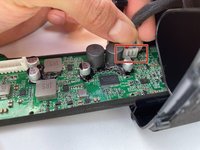
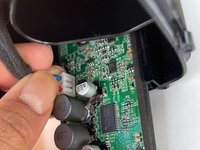
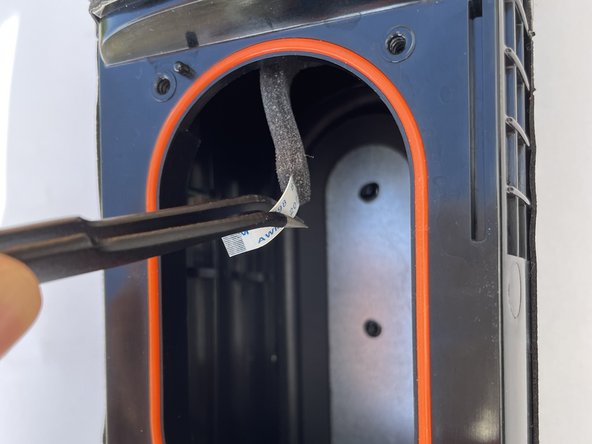
      • Simply remove this white strand with a pair of tweezers.

      Спросите у FixBot

      Добавить комментарий

    5. Philips TAS7505 Motherboard Replacement: шаг 10, изображение 1 из 2 Philips TAS7505 Motherboard Replacement: шаг 10, изображение 2 из 2
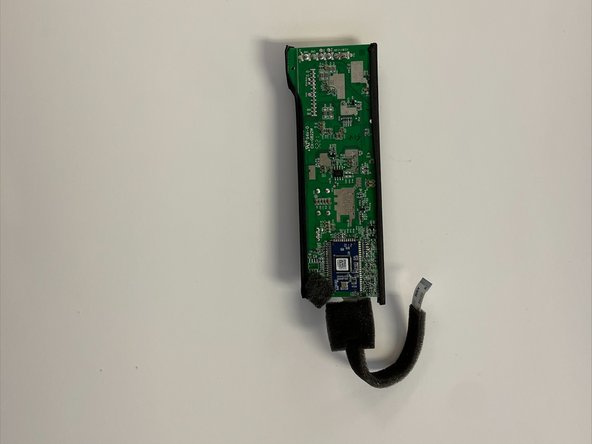
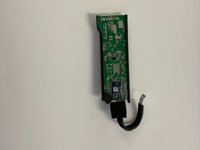
      • This is how the motherboard should be after doing all the steps correctly.

      Спросите у FixBot

      Добавить комментарий

Заключение

To reassemble your device, follow these instructions in reverse order.

Отменить: Я не выполнил это руководство.

Alejandro

Участник с: 09/26/22

133 Репутация

1 руководство автора

Команда

CSU Los Angeles, Team 5-2, Adachi Fall 2022 Участник CSU Los Angeles, Team 5-2, Adachi Fall 2022

CSULA-ADACHI-F22S5G2

5 членов

Автор 10 руководств

1 Комментарий к руководству

The guides are very detailed with many steps and are easy to follow. It looks professional and well-made. Thank you for your contribution to Ifixit!

Dat Nguyen - Ответить Поделиться
Добавить комментарий

Статистика просмотров:

За последние 24 часов: 0

За последние 7 дней: 8

За последние 30 дней: 31

За всё время: 825