Перейти к основному содержанию
Присоединяйся к сообществу ремонтников - Создай аккаунт

PowerBook 3400 M3553 Track Pad Replacement

Выберете то, что вам нужно

  1. PowerBook 3400 M3553 Track Pad Replacement, Battery: шаг 1, изображение 1 из 1
    • Close the screen and turn the PowerBook over, orienting the computer upside down, using the label to guide you.

    Спросите у FixBot

    Добавить комментарий

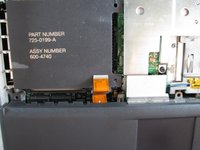
  2. PowerBook 3400 M3553 Track Pad Replacement: шаг 2, изображение 1 из 2 PowerBook 3400 M3553 Track Pad Replacement: шаг 2, изображение 2 из 2
    • Hold the button on the front left side and slide the battery out.

    Спросите у FixBot

    Добавить комментарий

  3. PowerBook 3400 M3553 Track Pad Replacement, Keyboard: шаг 3, изображение 1 из 1
    • With a Torx T8 screwdriver, remove the three Torx 24mm screws along the center of the back panel.

    Спросите у FixBot

    Добавить комментарий

  4. PowerBook 3400 M3553 Track Pad Replacement: шаг 4, изображение 1 из 3 PowerBook 3400 M3553 Track Pad Replacement: шаг 4, изображение 2 из 3 PowerBook 3400 M3553 Track Pad Replacement: шаг 4, изображение 3 из 3
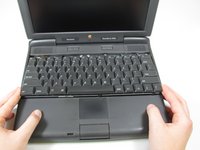
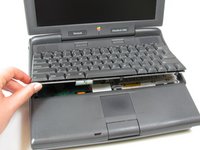
    • Turn the computer over and open the display. You should see that the keyboard is loose.

    • Before attempting to remove the keyboard, note that a ribbon cable connects the keyboard to the logic board. Improper removal may damage your keyboard.

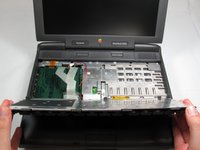
    • Slightly lift the front of the keyboard up, and slide the keyboard towards yourself.

    • Carefully lift the top half of the keyboard and pull it towards yourself.

    Спросите у FixBot

    Добавить комментарий

  5. PowerBook 3400 M3553 Track Pad Replacement: шаг 5, изображение 1 из 2 PowerBook 3400 M3553 Track Pad Replacement: шаг 5, изображение 2 из 2
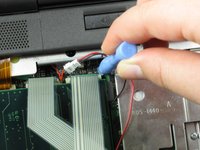
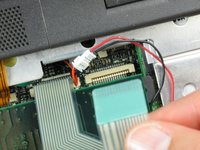
    • Loosen the ribbon cables connecting the keyboard to the computer by using a plastic opening tool to lift the tabs on either side of the cable port.

    • Gently remove the ribbons from its tabs.

    Спросите у FixBot

    Добавить комментарий

  6. PowerBook 3400 M3553 Track Pad Replacement, RAM: шаг 6, изображение 1 из 2 PowerBook 3400 M3553 Track Pad Replacement, RAM: шаг 6, изображение 2 из 2
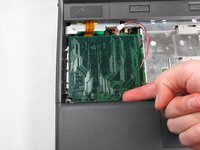
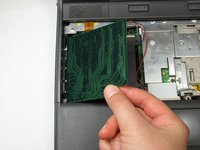
    • Gently wiggle the RAM card to loosen the connection until it pulls free.

    Спросите у FixBot

    Добавить комментарий

  7. PowerBook 3400 M3553 Track Pad Replacement, Track Pad Panel: шаг 7, изображение 1 из 1
    • Push the display screen back to give yourself enough space to remove the side panels.

    • Before removing the side panels, note that removing the side panels hastily will damage the underlying panel screw. However, this will not affect the functionality of your PowerBook.

    • Remove the panels on either side by gently but firmly pulling up on them with both hands.

    Спросите у FixBot

    Добавить комментарий

  8. PowerBook 3400 M3553 Track Pad Replacement: шаг 8, изображение 1 из 2 PowerBook 3400 M3553 Track Pad Replacement: шаг 8, изображение 2 из 2
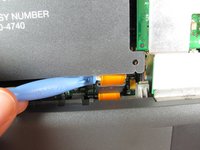
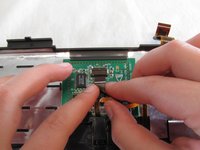
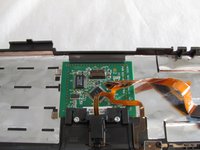
    • Use the plastic opening tool to lift up the tabs on either side of the ribbon cable port and then gently pull the ribbon cable free.

    Спросите у FixBot

    Добавить комментарий

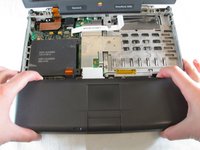
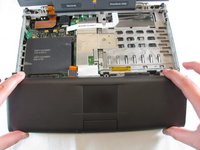
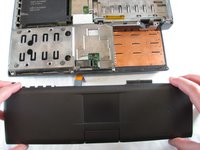
  9. PowerBook 3400 M3553 Track Pad Replacement: шаг 9, изображение 1 из 3 PowerBook 3400 M3553 Track Pad Replacement: шаг 9, изображение 2 из 3 PowerBook 3400 M3553 Track Pad Replacement: шаг 9, изображение 3 из 3
    • WARNING: There is a high risk of breaking the tabs that lock the panel to the casing. Remove the panel slowly and cautiously to avoid damage.

    • With your index finger and your thumb, squeeze the track pad panel to loosen the clamps. Then slide the panel towards yourself.

    Спросите у FixBot

    Добавить комментарий

  10. PowerBook 3400 M3553 Track Pad Replacement, Track Pad: шаг 10, изображение 1 из 3 PowerBook 3400 M3553 Track Pad Replacement, Track Pad: шаг 10, изображение 2 из 3 PowerBook 3400 M3553 Track Pad Replacement, Track Pad: шаг 10, изображение 3 из 3
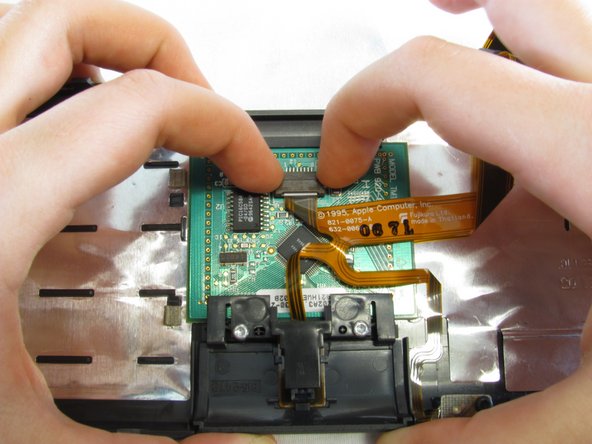
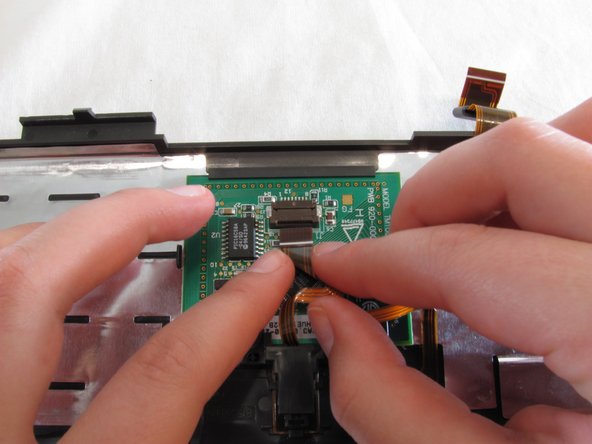
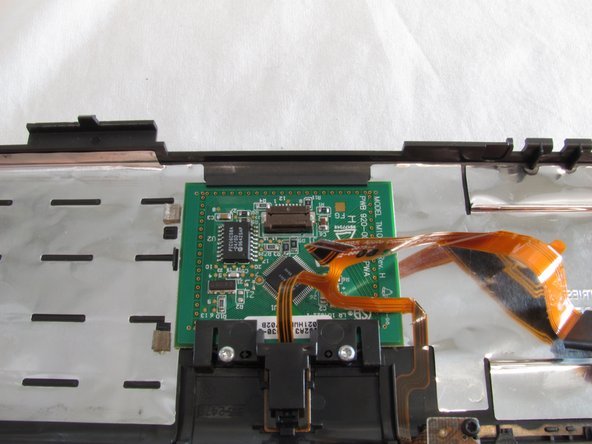
    • Push the buttons on the side of the ribbon cable port on the track pad to release the ribbon cable. Then gently pull the ribbon cable free.

    Спросите у FixBot

    Добавить комментарий

  11. PowerBook 3400 M3553 Track Pad Replacement: шаг 11, изображение 1 из 1
    • Remove two T8 7mm long torx screws from the bottom of the track pad panel.

    Спросите у FixBot

    Добавить комментарий

  12. PowerBook 3400 M3553 Track Pad Replacement: шаг 12, изображение 1 из 1
    • Slide the track pad button off of the track pad panel.

    Спросите у FixBot

    Добавить комментарий

  13. PowerBook 3400 M3553 Track Pad Replacement: шаг 13, изображение 1 из 1
    • Remove the track pad by gently lifting up.

    Спросите у FixBot

    Добавить комментарий

Заключение

To reassemble your device, follow these instructions in reverse order.

Отменить: Я не выполнил это руководство.

Michael Mondragon

Участник с: 04/12/11

397 Репутация

Автор 9 руководств

Команда

Cal Poly, Team 24-59, Amido Spring 2011 Участник Cal Poly, Team 24-59, Amido Spring 2011

CPSU-AMIDO-S11S24G59

4 членов

Автор 9 руководств

0 Комментарии к руководству

Добавить комментарий

Статистика просмотров:

За последние 24 часов: 1

За последние 7 дней: 8

За последние 30 дней: 39

За всё время: 1,764