Введение
This guide shows how to remove the screws that hold the camera together, how to remove the side panel from the camera, how to remove the back panel, and how to replace the back buttons.
Выберете то, что вам нужно
-
-
-
Slide the battery eject button open to release the battery door.
 Спросите у FixBot
-
-
-
With the battery door open, carefully remove all four 5 mm Phillips #1 screws.
-
-
-
Rotate the camera so that the underside is facing up.
-
Remove the four 5 mm Phillips #1 screws.
-
-
-
-
Place the camera on a flat surface, with its underside facing you.
-
Gently pull up on the side panel to remove it from the camera.
-
-
-
-
-
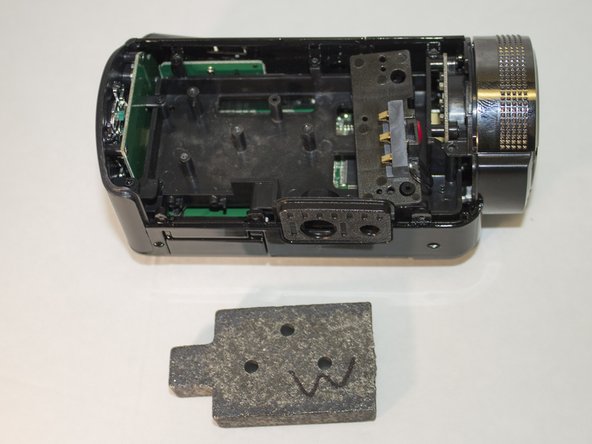
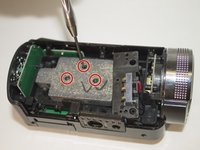
Remove the three 4 mm Phillips #1 screws holding the weight.
-
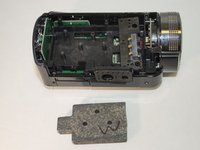
Remove the weight.
-
-
-
Remove the two 4 mm Phillips #1 screws holding the back panel in place.
-
-
-
Apply pressure to the back panel, away from the camera to remove.
-
-
-
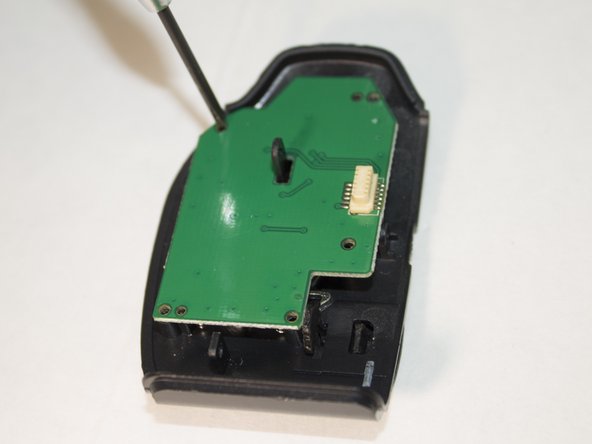
Place the back panel so the buttons are facing down and the circuit board is facing up.
-
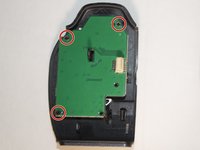
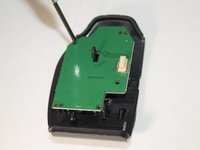
Remove the three 4 mm Phillips #1 screws holding the circuit board in place.
-
-
-
Set aside the circuit board.
-
These nubs are what is currently holding the buttons in place.
-
Carefully apply pressure and remove the set of buttons from the nubs.
-
-





To reassemble your device, follow these instructions in reverse order.
Отменить: Я не выполнил это руководство.
Еще один человек закончил это руководство.

Команда

Eastern Washington University, Team 1-2, Giguere Spring 2016 Участник Eastern Washington University, Team 1-2, Giguere Spring 2016
EWU-GIGUERE-S16S1G2
4 членов
Автор 55 руководств
