Перейти к основному содержанию
Присоединяйся к сообществу ремонтников - Создай аккаунт

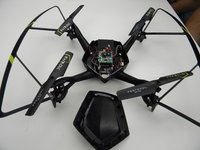
Protocol Dronium III AP Camera Replacement

Выберете то, что вам нужно

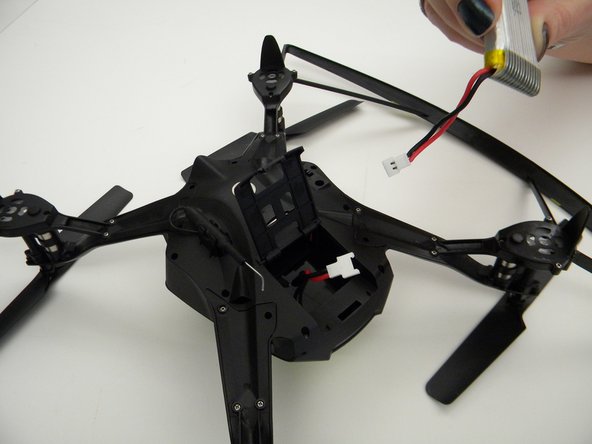
    1. Protocol Dronium III AP Camera Replacement, Drone Battery Pack: шаг 1, изображение 1 из 2 Protocol Dronium III AP Camera Replacement, Drone Battery Pack: шаг 1, изображение 2 из 2
      • Ensure the drone is powered off.

      • Press in and lift battery compartment cover.

      • A soft pry tool may be used for easier access.

      Спросите у FixBot

      Добавить комментарий

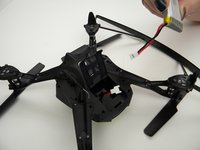
    2. Protocol Dronium III AP Camera Replacement: шаг 2, изображение 1 из 1
      • Remove battery pack from body of drone.

      Спросите у FixBot

      Добавить комментарий

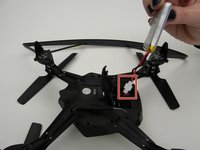
    3. Protocol Dronium III AP Camera Replacement: шаг 3, изображение 1 из 2 Protocol Dronium III AP Camera Replacement: шаг 3, изображение 2 из 2
      • Disconnect white connectors between the battery pack and drone.

      Спросите у FixBot

      Добавить комментарий

    1. Protocol Dronium III AP Camera Replacement, Camera: шаг 4, изображение 1 из 1
      • Remove the eight (8) 5mm screws attaching the motor arms to the body using a JIS #00 screwdriver.

      Спросите у FixBot

      Добавить комментарий

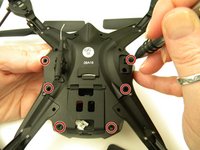
    2. Protocol Dronium III AP Camera Replacement: шаг 5, изображение 1 из 2 Protocol Dronium III AP Camera Replacement: шаг 5, изображение 2 из 2
      • Remove the six (6) 5mm screws attaching the Body Cover to the Body of the drone using a JIS #00 screwdriver.

      • Remove the Body Cover.

      Спросите у FixBot

      Добавить комментарий

    3. Protocol Dronium III AP Camera Replacement: шаг 6, изображение 1 из 2 Protocol Dronium III AP Camera Replacement: шаг 6, изображение 2 из 2
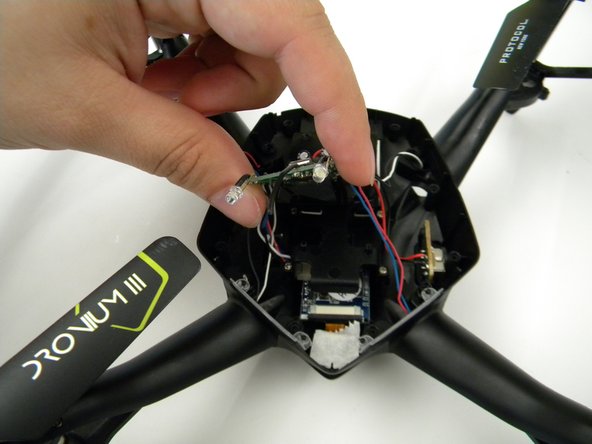
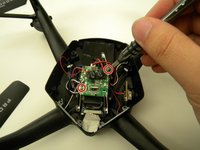
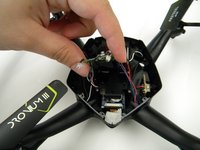
      • Remove the two (2) 5mm screws attaching the Motherboard to the body of the drone using a JIS #00 screwdriver.

      • Lift the Motherboard off the mounting position.

      • Do not pull hard on the Motherboard as solder connections are fragile.

      Спросите у FixBot

      Добавить комментарий

    4. Protocol Dronium III AP Camera Replacement: шаг 7, изображение 1 из 1
      Инструмент, используемый на этом этапе:
      Tweezers
      $4.99
      • Remove the tape covering the camera with the tweezers.

      Спросите у FixBot

      Добавить комментарий

    5. Protocol Dronium III AP Camera Replacement: шаг 8, изображение 1 из 2 Protocol Dronium III AP Camera Replacement: шаг 8, изображение 2 из 2
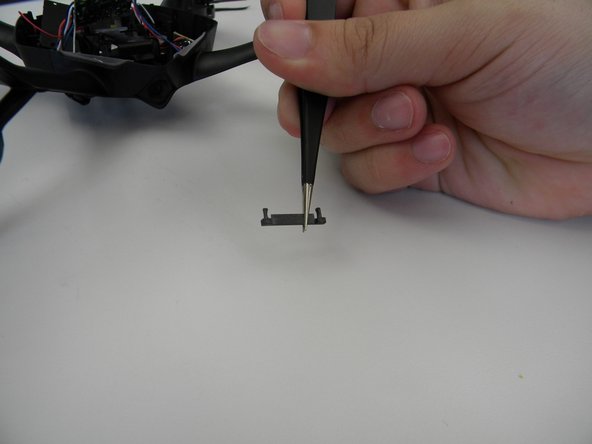
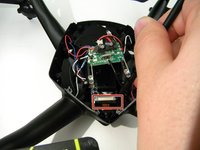
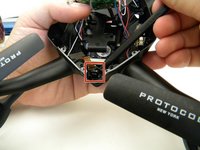
      • Remove the plastic holding the ribbon cable connector with the tweezers.

      • Be careful with the ribbon cable, it is easy to damage.

      Спросите у FixBot

      Добавить комментарий

    6. Protocol Dronium III AP Camera Replacement: шаг 9, изображение 1 из 1
      • Move the ribbon cable out of the way with the Spuger.

      Спросите у FixBot

      Добавить комментарий

    7. Protocol Dronium III AP Camera Replacement: шаг 10, изображение 1 из 2 Protocol Dronium III AP Camera Replacement: шаг 10, изображение 2 из 2
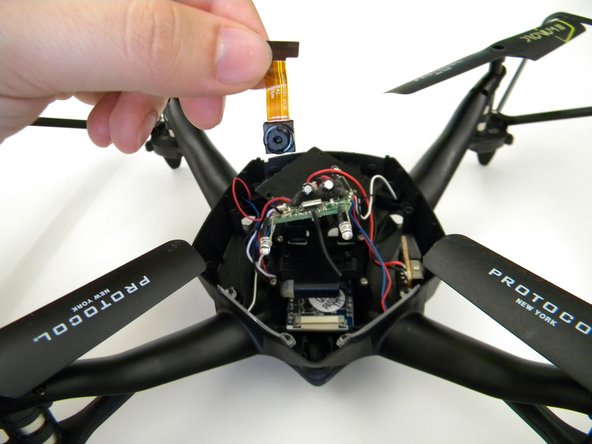
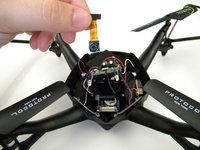
      • Remove the camera by gently prying it out of the bracket with the spudger.

      Спросите у FixBot

      Добавить комментарий

Заключение

To reassemble your device, follow these instructions in reverse order.

Отменить: Я не выполнил это руководство.

Steven Mooers

Участник с: 10/18/17

401 Репутация

Автор 4 руководств

Команда

UW Tacoma, Team S1-G1, Rose Fall 2017 Участник UW Tacoma, Team S1-G1, Rose Fall 2017

UWT-ROSE-F17S1G1

4 членов

Автор 4 руководств

0 Комментарии к руководству

Добавить комментарий

Статистика просмотров:

За последние 24 часов: 2

За последние 7 дней: 6

За последние 30 дней: 17

За всё время: 485