Перейти к основному содержанию
Присоединяйся к сообществу ремонтников - Создай аккаунт

RYOBI P422 Safety Trigger Spring Replacement

Выберете то, что вам нужно

    1. RYOBI P422 Safety Trigger Spring Replacement, Battery and Handle: шаг 1, изображение 1 из 2 RYOBI P422 Safety Trigger Spring Replacement, Battery and Handle: шаг 1, изображение 2 из 2
      • To remove the battery press down on the two buttons located on each side of the battery and pull away from the body of the grinder.

      • To remove the handle hold grinder with one hand and use the other hand to unscrew the handle with a counter-clockwise motion

      Спросите у FixBot

      Добавить комментарий

    1. RYOBI P422 Safety Trigger Spring Replacement, Safety Trigger Spring: шаг 2, изображение 1 из 1
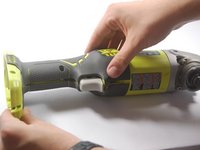
      • Lay grinder flat on its side so the screws are facing up

      Спросите у FixBot

      Добавить комментарий

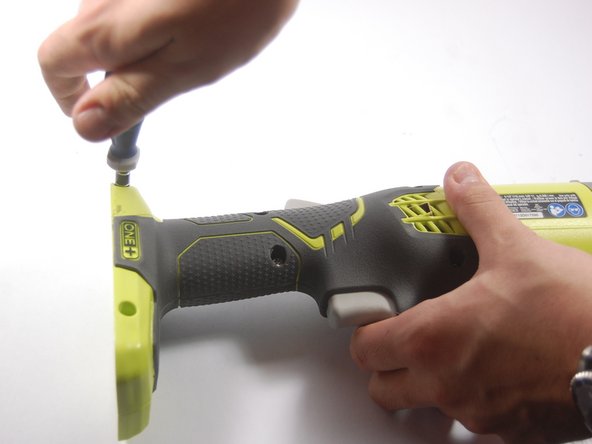
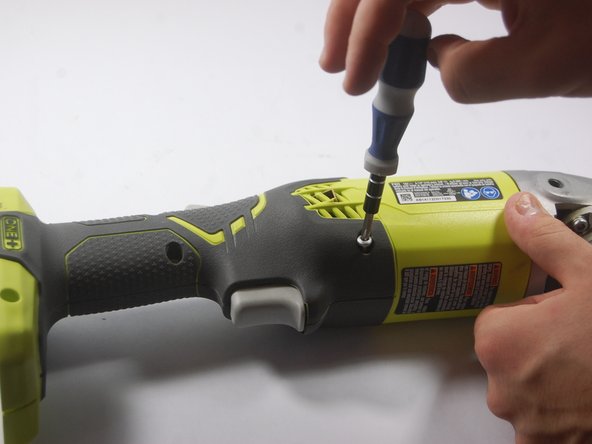
    2. RYOBI P422 Safety Trigger Spring Replacement: шаг 3, изображение 1 из 3 RYOBI P422 Safety Trigger Spring Replacement: шаг 3, изображение 2 из 3 RYOBI P422 Safety Trigger Spring Replacement: шаг 3, изображение 3 из 3
      • Remove the four 1.8 cm screws from the lower and midsection of the body with a T20-20 Torque screwdriver.

      • Remove the 3.7 cm screws from the upper section of the body, with the same screwdriver

      Спросите у FixBot

      Добавить комментарий

    3. RYOBI P422 Safety Trigger Spring Replacement: шаг 4, изображение 1 из 3 RYOBI P422 Safety Trigger Spring Replacement: шаг 4, изображение 2 из 3 RYOBI P422 Safety Trigger Spring Replacement: шаг 4, изображение 3 из 3
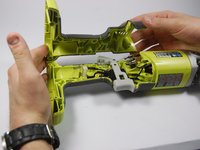
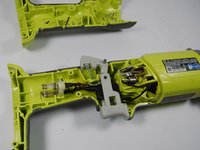
      • Now that the two halves are unscrewed, remove the top half

      Спросите у FixBot

      Добавить комментарий

    4. RYOBI P422 Safety Trigger Spring Replacement: шаг 5, изображение 1 из 3 RYOBI P422 Safety Trigger Spring Replacement: шаг 5, изображение 2 из 3 RYOBI P422 Safety Trigger Spring Replacement: шаг 5, изображение 3 из 3
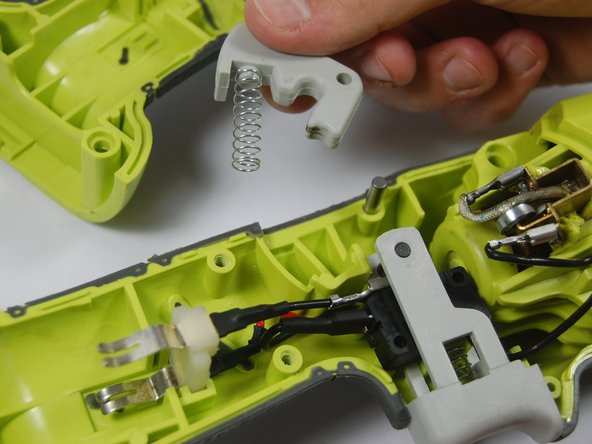
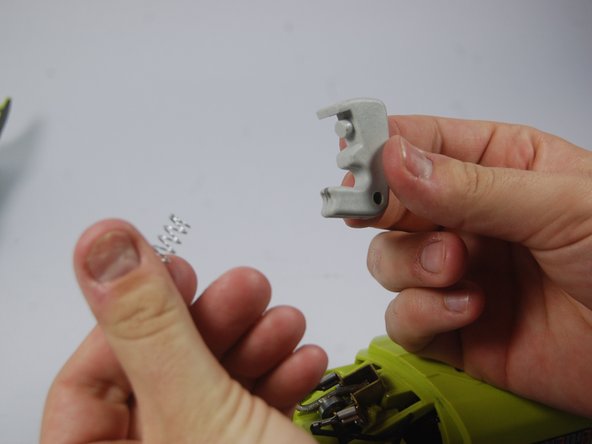
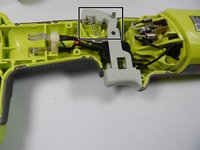
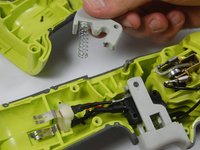
      • Remove the safety trigger along with the spring.

      • To remove the spring, pull it gently off the bottom of the trigger.

      • When putting a new spring in make sure it slides into the grove on the bottom of the trigger.

      Спросите у FixBot

      Добавить комментарий

Заключение

To reassemble your device, follow these instructions in reverse order.

Отменить: Я не выполнил это руководство.

Thomas Napert

Участник с: 03/16/15

279 Репутация

Автор 2 руководств

Команда

UMass Dartmouth, Team 3-6, Duarte Spring 2015 Участник UMass Dartmouth, Team 3-6, Duarte Spring 2015

UMASSD-DUARTE-S15S3G6

3 членов

Автор 5 руководств

0 Комментарии к руководству

Добавить комментарий

Статистика просмотров:

За последние 24 часов: 2

За последние 7 дней: 13

За последние 30 дней: 41

За всё время: 2,005