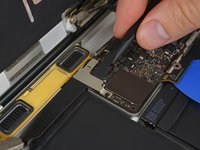
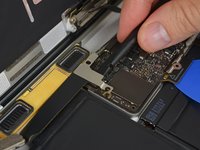
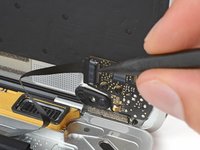
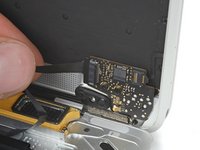
Введение
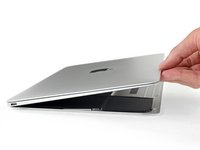
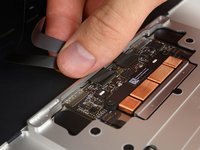
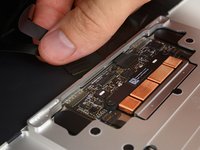
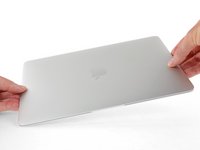
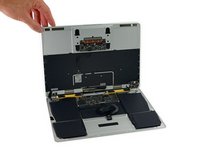
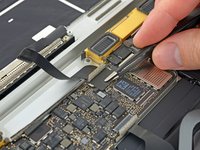
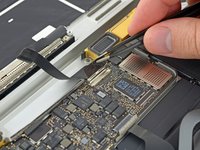
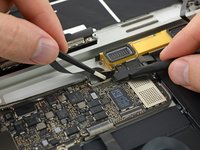
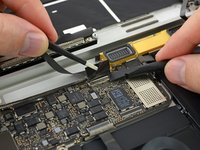
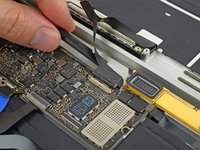
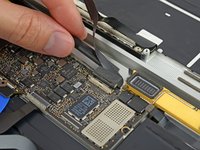
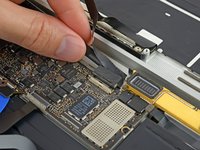
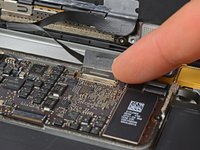
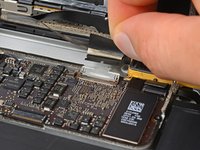
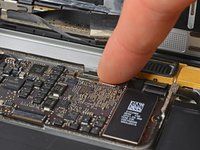
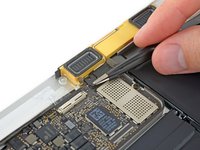
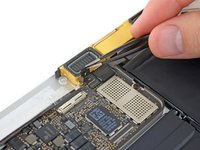
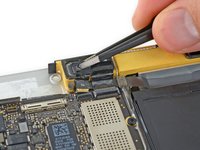
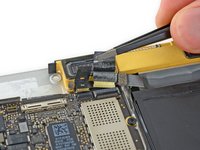
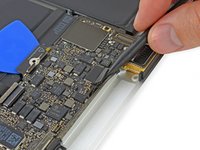
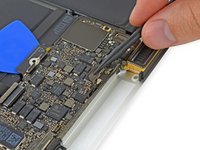
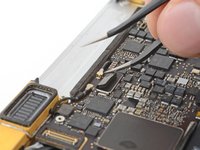
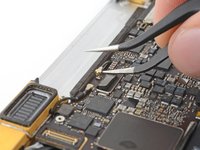
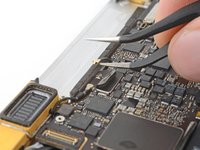
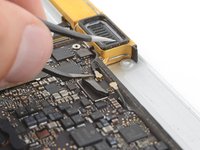
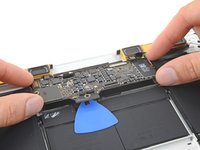
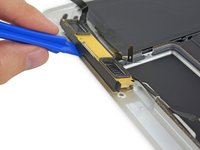
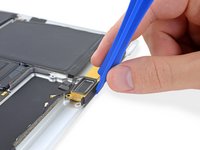
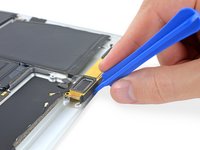
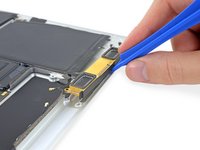
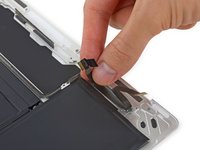
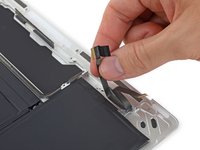
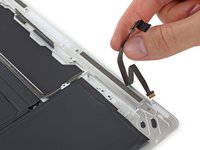
Use this guide to replace your Retina MacBook 2017's lower case assembly together with the battery as a single unit.
The battery is strongly glued into place and removing it from the lower case is beyond the scope of this guide, but it may be removed with a liquid solvent and gentle prying.
Выберете то, что вам нужно
-
-
Power on your Mac and launch Terminal.
-
Copy and paste the following command (or type it exactly) into Terminal:
-
sudo nvram AutoBoot=%00
-
Press [return]. If prompted, enter your administrator password and press [return] again. Note: Your return key may also be labeled ⏎ or "enter."
-
sudo nvram AutoBoot=%03
-
-
Инструмент, используемый на этом этапе:Magnetic Project Mat$19.95
-
Remove the following eight screws securing the lower case:
-
Two 1.8 mm P5 Pentalobe screws
-
Four 2.9 mm P5 Pentalobe screws
-
Two 6.1 mm P5 Pentalobe screws
-
-
-
Wedge your fingers between the upper case and the lower case, starting from the rear of the MacBook between the hinges.
-
Keeping a firm grip, lift steadily until the lower case separates slightly from the upper case.
-
-
-
While holding the lower case in place, carefully flip the MacBook over so the Apple logo faces up.
-
-
-
Lift the upper case and display together from the front edge and raise it to about a 45˚ angle.
-
-
-
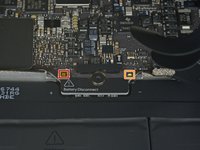
Use the flat end of a spudger to press and hold the small gold 'battery disconnect' button.
-
If the power LED is lit up, continue holding the button until the LED goes dark, and then release. This may take up to 10 seconds.
-
If the LED does not light, release the button after 5-10 seconds. Press and hold it again for 5-10 seconds, and release. Finally, press and hold it a third time for 5-10 seconds, and release.
-
-
Инструмент, используемый на этом этапе:Tweezers$4.99
-
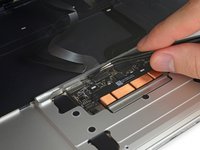
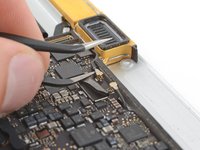
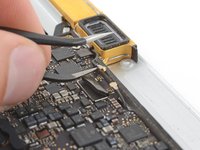
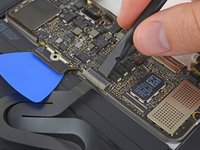
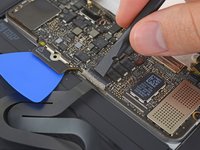
Use tweezers to peel back the tape covering the trackpad cable ZIF connector.
-
-
-
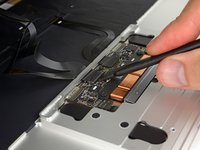
Use a spudger to carefully flip up the retaining flap on the trackpad cable ZIF connector.
-
-
-
Disconnect the trackpad ribbon cable from the trackpad by pulling it gently through its slot in the frame.
-
-
-
Carefully close the MacBook and flip it over once again, so that the Apple logo faces up.
-
Lifting from the front edge, raise the upper case/display assembly to about a 90° angle, and prop it up against something sturdy so you don't have to hold it.
-
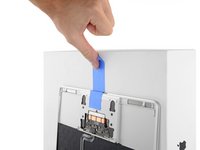
Add a piece of tape near the track pad to secure the upper case and prevent accidental movement.
-
-
-
Remove the single 2.9 mm T5 Torx screw securing the battery connector to the logic board.
-
-
Инструмент, используемый на этом этапе:Battery Blocker$3.99
-
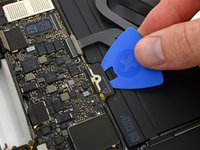
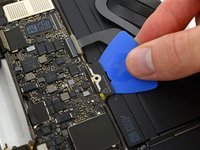
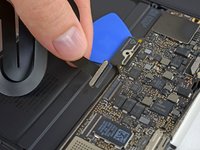
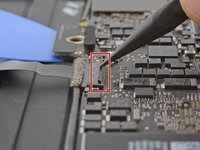
As an added precaution, you may physically disconnect the battery by inserting a battery isolation pick between the logic board and the battery connector.
-
-
-
Remove the two screws securing the USB-C port cable bracket:
-
1.1 mm Phillips #00 screw
-
3.5 mm T5 Torx screw
-
-
-
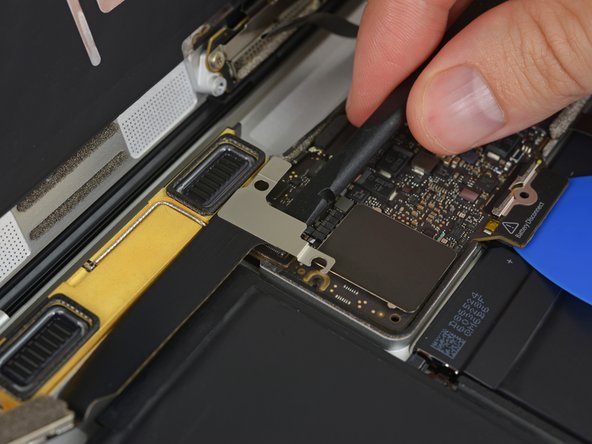
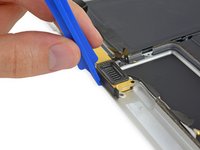
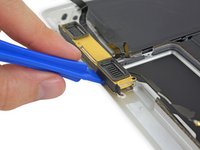
Use the flat end of a spudger to disconnect the USB-C port cable bracket by prying it straight up from the logic board.
-
-
-
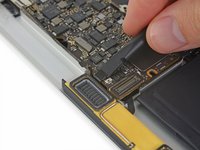
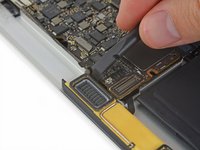
Use a spudger to flip open the retaining flap on the audio jack board cable ZIF connector.
-
-
-
-
Disconnect the audio jack board ribbon cable by pulling it straight back out of the ZIF connector.
-
-
Инструмент, используемый на этом этапе:Tweezers$4.99
-
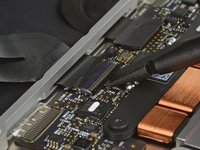
Use tweezers to peel back the tape covering the display cable connector.
-
-
-
If so, use the flat end of a spudger to hold down the retaining flap while peeling the tape away with the tweezers.
-
-
-
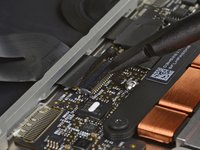
Use the flat end of a spudger to flip open the retaining flap on the display cable connector.
-
Try to keep it clear of the tape, or it may re-adhere and make cable removal difficult.
-
-
Инструмент, используемый на этом этапе:iOpener$12.99
-
Carefully slide the flat end of a spudger underneath the display cable to separate the adhesive holding it to the lower case.
-
-
-
Hold the retaining flap open.
-
Disconnect the display cable by gently pulling it straight out of its connector.
-
-
Инструмент, используемый на этом этапе:Tweezers$4.99
-
Use tweezers to peel up the tape covering the two ZIF connectors—one for the right speaker cable, and one for the audio jack board cable.
-
-
-
Carefully pull straight back on the two pieces of tape you just peeled up to disconnect the two ribbon cables.
-
-
-
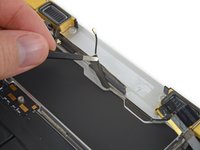
Use the point of a spudger to peel up the foam pad covering the two antenna connectors.
-
-
-
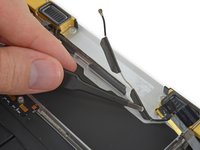
Insert one arm of your angled tweezers under the metal neck of the first antenna connector and pry up to disconnect it.
-
-
-
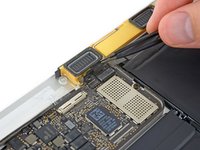
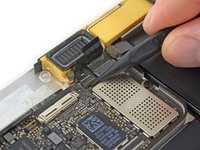
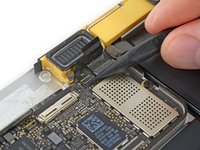
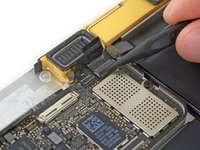
Use a spudger to disconnect the left speaker cable connector by prying it straight up from the logic board.
-
-
-
Use a spudger to flip up the retaining flap on the trackpad cable ZIF connector.
-
-
-
Disconnect the trackpad cable from the logic board by gently pulling it straight out of its connector.
-
-
-
Remove the single 3.5 mm T5 Torx screw securing the logic board to the lower case.
-
-
-
Flip up the front edge of the logic board.
-
Lift and detach the EMI tape securing the logic board to the lower case.
-
-
Инструмент, используемый на этом этапе:Tweezers$4.99
-
Using tweezers, remove the foam pad covering the screw on the left side of the right speaker.
-
-
-
Using tweezers, carefully peel up the tape securing the right antenna cable to the lower case.
-
-
-
Prepare an iOpener and heat the lower case directly beneath the right speaker for 1-2 minutes, in order to soften up the adhesive securing the speaker.
-
-
-
Use a plastic opening tool to pry under the top edge of the right speaker, and separate it from the lower case.
-
-
Инструмент, используемый на этом этапе:Tweezers$4.99
-
Using tweezers, remove the foam pad covering the screw on the right side of the left speaker.
-
-
-
Remove the two 4.1 mm T3 Torx screws securing the left speaker to the lower case.
-
-
-
Prepare an iOpener and heat the lower case directly beneath the left speaker, in order to soften up the adhesive securing the speaker.
-
-
-
Use a plastic opening tool to pry under the top edge of the left speaker, and separate it from the lower case.
-
-
-
Carefully peel away the audio board ribbon cable from the adhesive securing it to the lower case.
-
Remove the audio board ribbon cable.
-
To reassemble your device, follow these instructions in reverse order.
To reassemble your device, follow these instructions in reverse order.
Отменить: Я не выполнил это руководство.
4 человек успешно провели ремонт по этому руководству.


