Введение
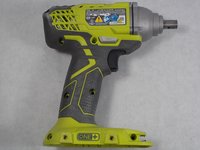
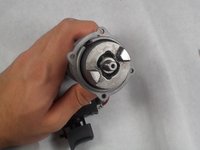
Use this guide to replace the motor in your Ryobi P235 impact driver if it is overheating or under powered when the battery is fully charged.
The motor is what converts the power stored in the battery to the physical power used to spin the cam shaft and hammer assembly. Since the motor requires the most steps and is the most difficult part to replace, it is important to keep an eye out for any cracked or broken components while taking apart your impact driver.
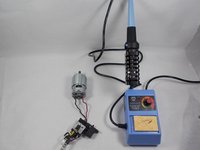
When you reach steps 12 and 13, the wires are soldered to the motor so a soldering iron will need to be used to disconnect them from the old motor and then reattach them to the new one.
Выберете то, что вам нужно
-
-
Push in both push tabs on the battery at the same time.
 Спросите у FixBot
-
-
-
Pull the battery away from the drill housing while holding in both tabs.
-
-
-
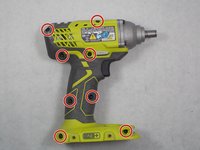
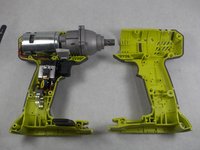
Use a Phillips #2 screwdriver to remove the eight 16 mm screws that secure the housing.
-
-
-
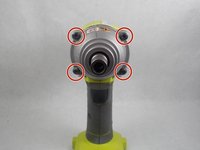
Use a T20 Torx screwdriver to remove the four 25.4 mm screws that secure the front of the housing.
-
-
-
-
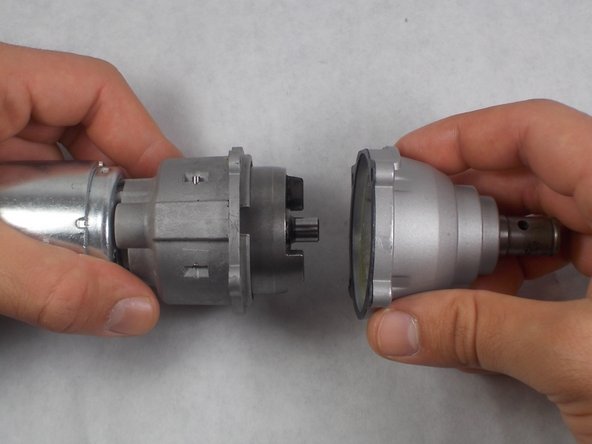
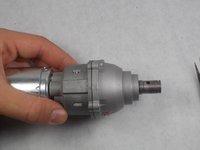
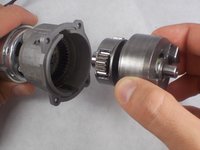
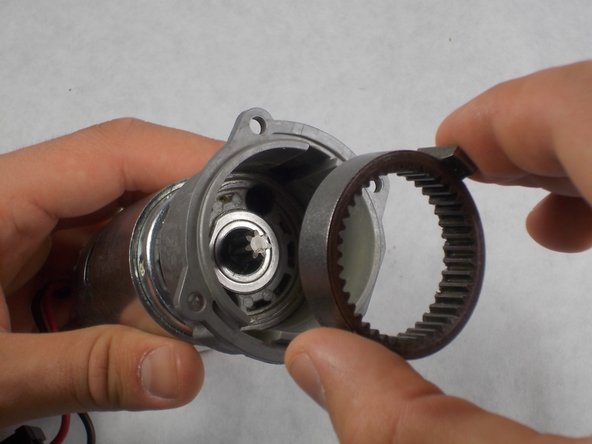
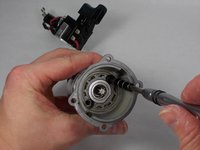
Remove the gear case and sleeve bearing assembly from the inner case assembly.
-
-
Инструмент, используемый на этом этапе:Tweezers$4.99
-
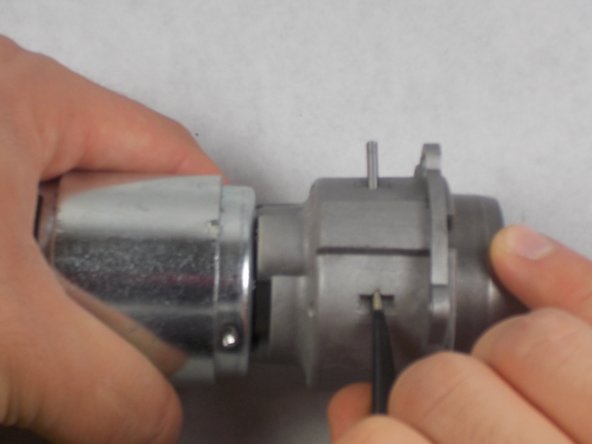
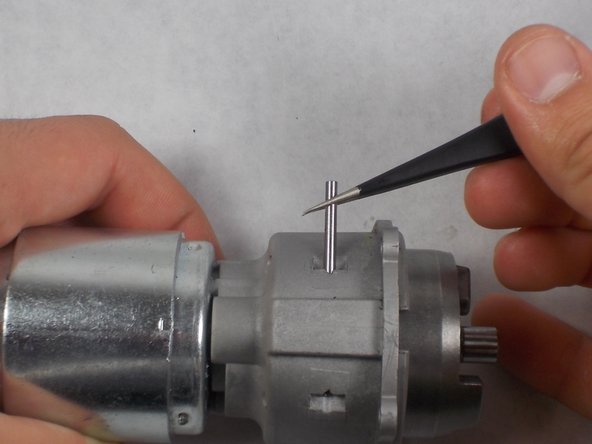
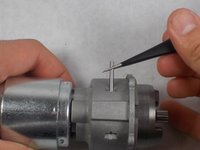
Remove the metal pins on each side of the inner case assembly.
-
-
-
Remove the two 8mm screws and spring washers connecting the motor to the inner case assembly.
-
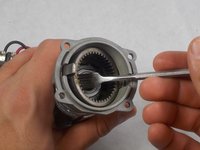
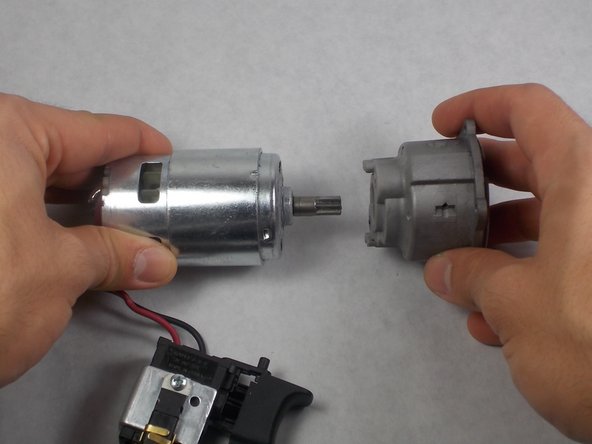
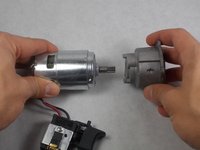
Separate the two parts.
-
-
-
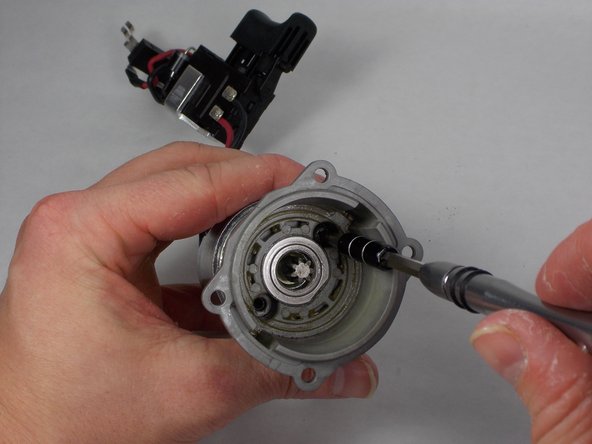
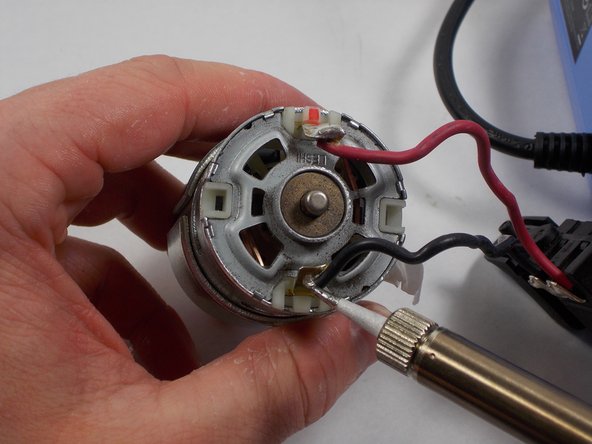
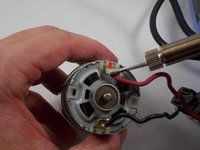
Use a soldering iron to remove the black and red wires connecting the motor to the trigger assembly.
-


To reassemble your device, follow these instructions in reverse.
Отменить: Я не выполнил это руководство.
2 человек успешно провели ремонт по этому руководству.
Команда

UMass Dartmouth, Team S4-G2, Saloman Fall 2019 Участник UMass Dartmouth, Team S4-G2, Saloman Fall 2019
UMASSD-SALOMAN-F19S4G2
3 членов
Автор 12 руководств