Введение
Use this guide to remove the housing assembly of your Ryobi P517 reciprocating saw.
The housing assembly is the plastic outer shell of the saw that contains and protects the device's inner components. The housing assembly needs to be removed to access the inner components of the saw, such as the trigger assembly and the motor. A poorly assembled housing assembly can allow debris and/or moisture to enter and cause damage to the electrical components of the saw. Additionally, the housing assembly provides structure to the device, so its integrity is essential for user experience.
Before reading this guide, please review the Ryobi P517 Troubleshooting Page to ensure that your issue cannot be resolved externally, without removing the housing assembly. Remove the blade and battery from the saw before beginning the housing assembly removal process.
Выберете то, что вам нужно
-
-
-
Position the saw so you can access the button-clips on both sides of the battery.
 Спросите у FixBot
-
-
-
Press and hold the button-clip on both sides and take the battery out.
-
-
-
-
-
Lay the saw flat so the left side is facing up.
-
Remove the grey orbital button by twisting it counterclockwise.
-
-
-
Remove the rubber boot from the device by peeling it from back to front.
-
-
-
-
Flip the saw so its right side is facing up.
-
Remove the 10 mm screw using a Torx T27H screwdriver.
-
-
-
Grab the black shoe assembly and pull it out from the front of the saw.
-
-
-
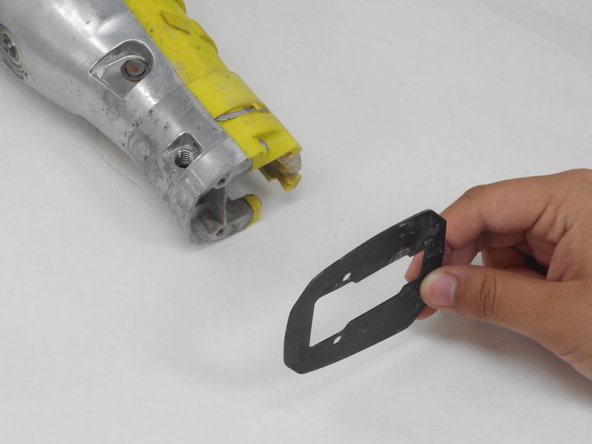
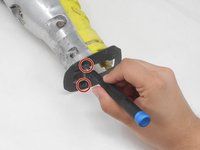
Remove the two 12.5 mm screws from the front of the guide plate using the Torx T10H screwdriver.
-
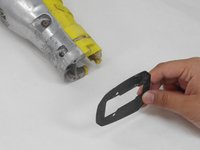
Then remove the guide plate.
-
-
-
Flip the saw so its right side is facing up.
-
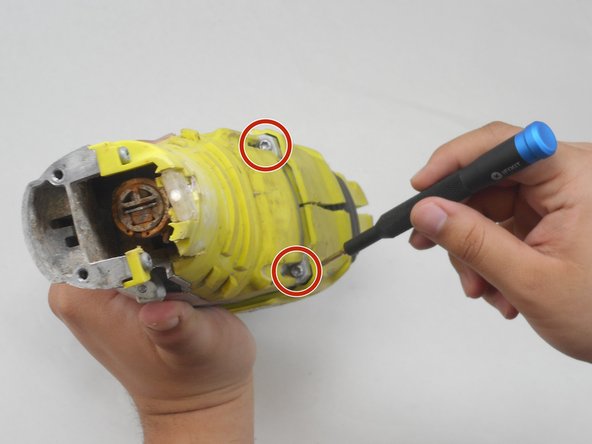
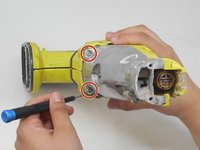
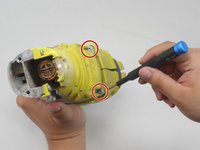
Use the Torx T15H screwdriver to remove the eleven 18.1 mm screws from the housing assembly.
-
-
-
Use a Torx T15H screwdriver to remove the four 30.7 mm screws that are holding the housing assembly with the gear case assembly and gear case cover.
-
-
-
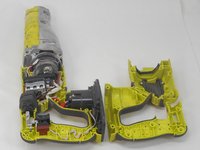
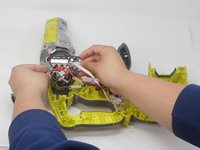
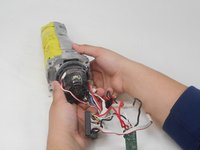
Remove the switch, circuit board, and contact plate holder assembly from the housing assembly.
-
-
-
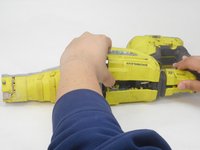
Lift and remove the gear case from the housing assembly and ensure that there are no parts remaining in housing assembly.
-
-







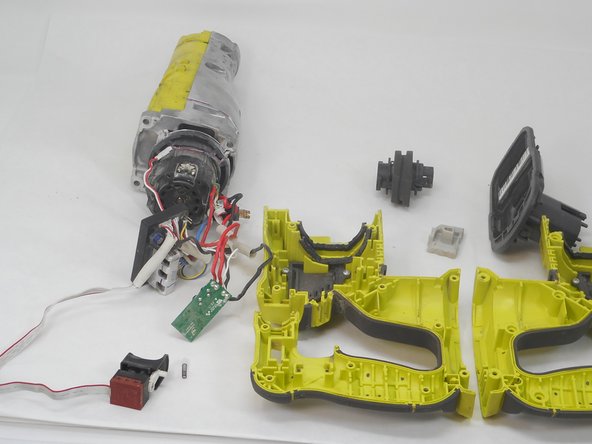
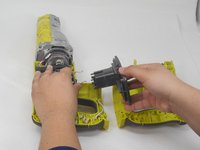

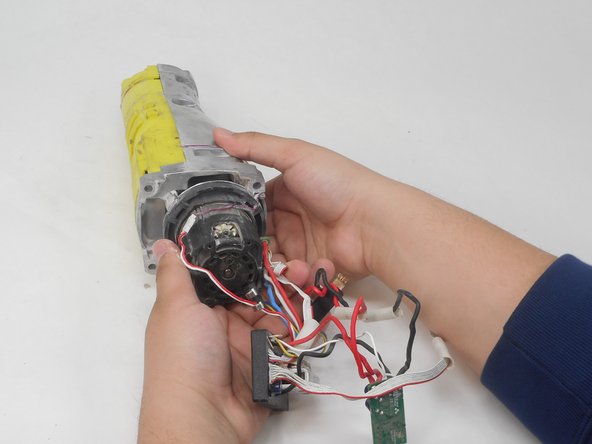
To reassemble your device, follow these instructions in reverse order.

Команда

University of Memphis, Team 4-4, Sneed Spring 2024 Участник University of Memphis, Team 4-4, Sneed Spring 2024
UM-SNEED-S24S4G4
4 членов
Автор 4 руководств
