Перейти к основному содержанию
Присоединяйся к сообществу ремонтников - Создай аккаунт

Samsung Alias 2 Camera Replacement

Выберете то, что вам нужно

    1. Samsung Alias 2 Camera Replacement, Battery: шаг 1, изображение 1 из 1
      • Press down on the back cover of the phone and remove it.

      Спросите у FixBot

      Добавить комментарий

    2. Samsung Alias 2 Camera Replacement: шаг 2, изображение 1 из 1
      • Take out the battery from the device.

      Спросите у FixBot

      Добавить комментарий

    1. Samsung Alias 2 Camera Replacement, Camera: шаг 3, изображение 1 из 1
      • Remove the (2) 4.1 mm screws on screen.

      Спросите у FixBot

      Добавить комментарий

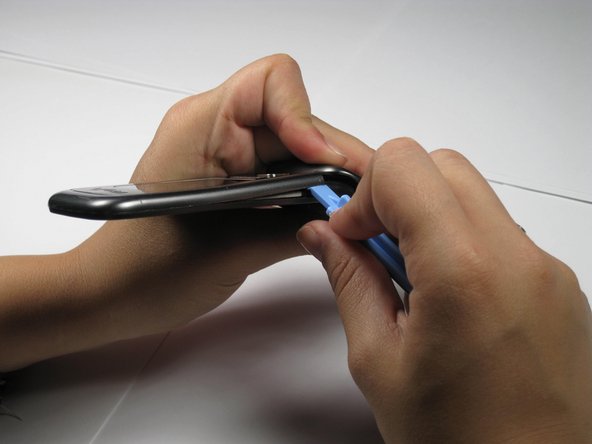
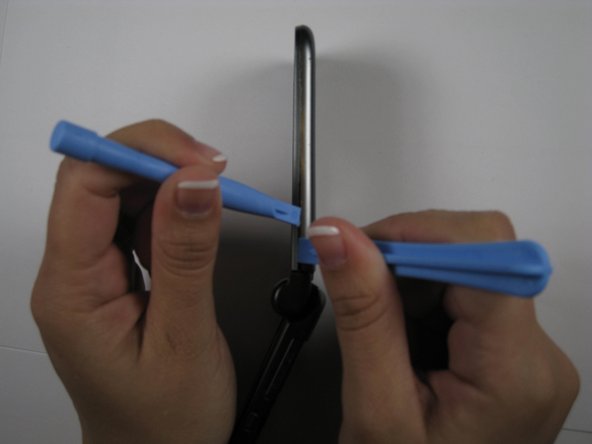
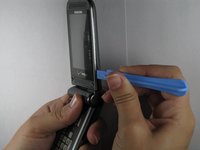
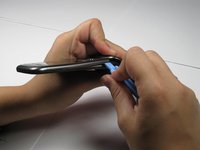
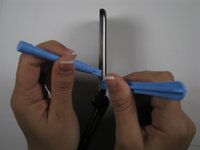
    2. Samsung Alias 2 Camera Replacement: шаг 4, изображение 1 из 3 Samsung Alias 2 Camera Replacement: шаг 4, изображение 2 из 3 Samsung Alias 2 Camera Replacement: шаг 4, изображение 3 из 3
      • Remove front outside casing with plastic opening tools.

      Спросите у FixBot

      Добавить комментарий

    3. Samsung Alias 2 Camera Replacement: шаг 5, изображение 1 из 1
      Инструмент, используемый на этом этапе:
      Tweezers
      $4.99
      • Use tweezers to remove the camera from its holding slot.

      Спросите у FixBot

      Добавить комментарий

    4. Samsung Alias 2 Camera Replacement: шаг 6, изображение 1 из 1
      • Use a plastic opening tool to lift the tab that holds the camera ribbon in place.

      Спросите у FixBot

      Добавить комментарий

    5. Samsung Alias 2 Camera Replacement: шаг 7, изображение 1 из 1
      • Use tweezers to remove the camera.

      Спросите у FixBot

      Добавить комментарий

    6. Samsung Alias 2 Camera Replacement: шаг 8, изображение 1 из 1
      • Slide ribbon of new camera under the same tab.

      Спросите у FixBot

      Добавить комментарий

    7. Samsung Alias 2 Camera Replacement: шаг 9, изображение 1 из 1
      • Close the tab down onto the new camera ribbon.

      Спросите у FixBot

      Добавить комментарий

    8. Samsung Alias 2 Camera Replacement: шаг 10, изображение 1 из 1
      • Use tweezers to put the new camera into the camera slot that previously held the old camera.

      • WARNING: Do not touch the camera lens as it will easily scratch or smudge.

      Спросите у FixBot

      Добавить комментарий

Заключение

To reassemble your device, follow these instructions in reverse order.

Отменить: Я не выполнил это руководство.

Chris

Участник с: 04/16/11

133 Репутация

Автор 5 руководств

Команда

Cal Poly, Team 12-35, Maness Spring 2011 Участник Cal Poly, Team 12-35, Maness Spring 2011

CPSU-MANESS-S11S12G35

4 членов

Автор 20 руководств

0 Комментарии к руководству

Добавить комментарий

Статистика просмотров:

За последние 24 часов: 1

За последние 7 дней: 7

За последние 30 дней: 30

За всё время: 2,678