Введение
Use this guide to replace a broken screen.
Выберете то, что вам нужно
-
-
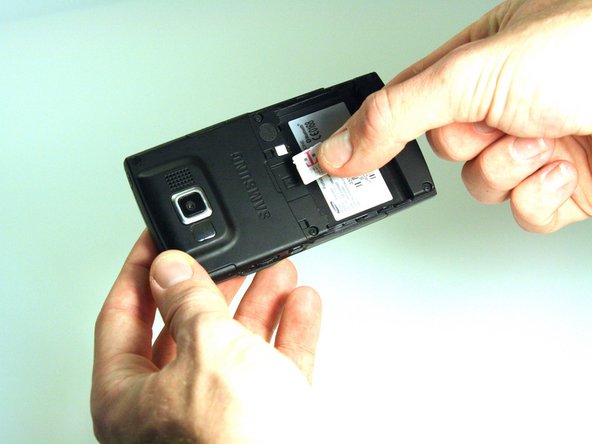
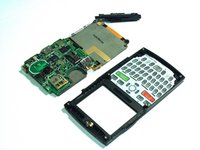
Hold the device with the screen facing away from you and the camera towards you.
-
Place your thumb on the bottom half of the phone and slide the cover off while gently pushing down on the cover.
 Спросите у FixBot
-
-
-
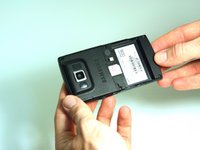
Place your fingers on both sides of the bottom of the battery and lift upwards.
-
Pull the battery away from the phone.
-
-
-
Place your thumb on the SIM card.
-
Slide the card out of the slot.
-
-
-
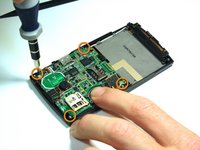
Use the spudger to remove the rubber stoppers from the top of the cover.
-
Use the Phillips 00 screw driver to remove the screws from each of the four corners and the two on sides (six total).
-
-
-
-
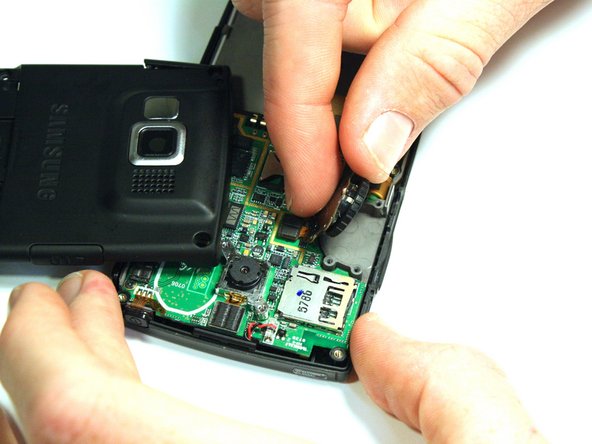
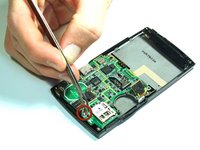
Use the spudger to loosen and separate the front and back covers.
-
Pick up the back cover once loosened.
-
Remove the gold wire connecting the back cover to the motherboard to completely separate the covers.
-
-
-
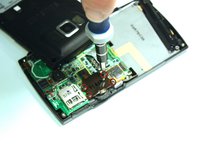
Use the screwdriver to unscrew the four screws that hold the scroll wheel in place.
-
Use your fingers to remove the scroll wheel and the metal plate that it is attached to.
-
-
-
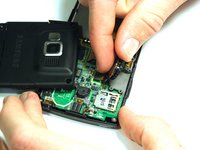
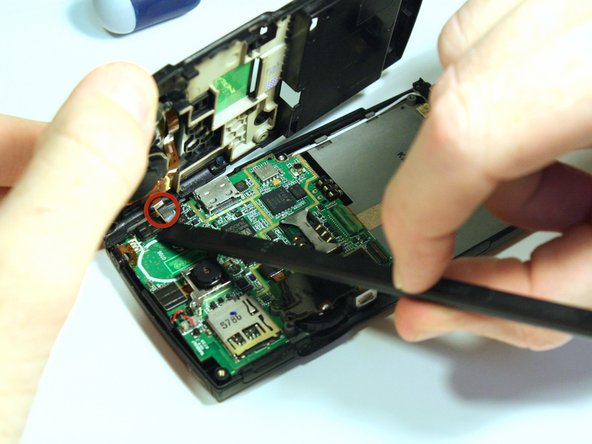
Use the spudger to unsnap the gold wire connection that connects the back casing to the logic board.
-
Use the spudger to unsnap the gold wire connection that connects the scroll wheel assembly to the logic board.
-
-
-
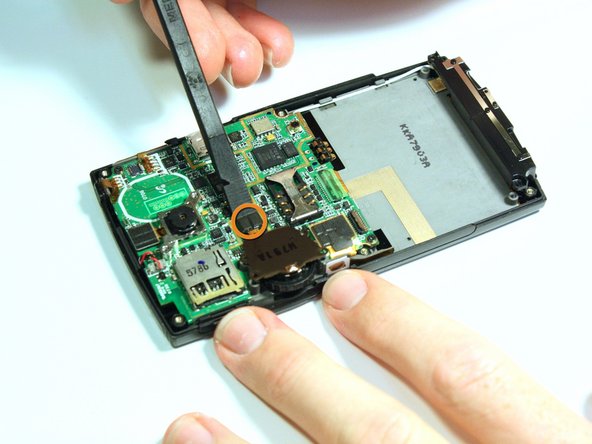
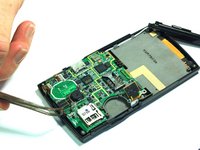
Use the spudger to unsnap the black rectangular connection from the motherboard.
-
Use the Phillips 00 screwdriver to remove all of the screws that hold the motherboard in place.
-
-
Инструмент, используемый на этом этапе:Tweezers$4.99
-
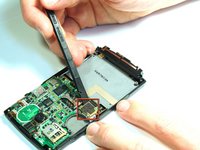
Use the tweezers to unsnap the connection between the motherboard and the speaker. The speaker is attached to the front casing.
-
-
-
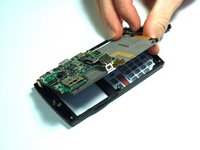
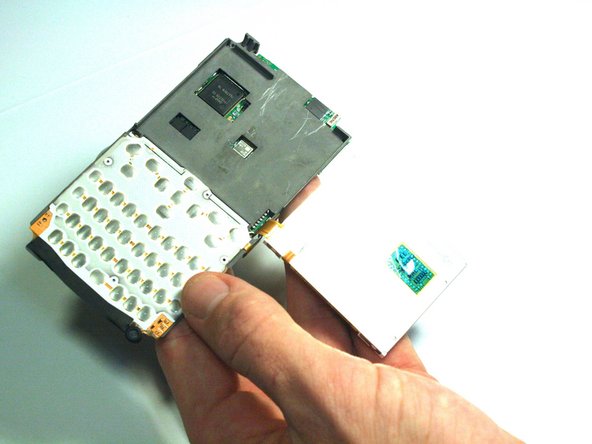
Lift up on the motherboard and it will come free of the front casing.
-
-
-
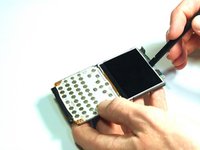
Use the spudger to break the glue that bonds the screen to the logic board.
-
Remove the screen from the logic board. The screen will still be connected by a gold ribbon connection.
-
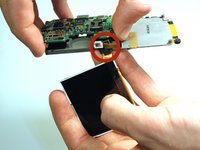
While gently lifting upwards on the green part of the logic board, slide the gold ribbon connected that is to the screen through the space in the side of the logic board.
-


To reassemble your device, follow these instructions in reverse order.
Команда

Clemson, Team 14-4, Benson Fall 2012 Участник Clemson, Team 14-4, Benson Fall 2012
CLEM-BENSON-F12S14G4
3 членов
Автор 26 руководств