Перейти к основному содержанию

Samsung Captivate Glide Camera Replacement

Выберете то, что вам нужно

  1. Samsung Captivate Glide Camera Replacement, Motherboard: шаг 1, изображение 1 из 3 Samsung Captivate Glide Camera Replacement, Motherboard: шаг 1, изображение 2 из 3 Samsung Captivate Glide Camera Replacement, Motherboard: шаг 1, изображение 3 из 3
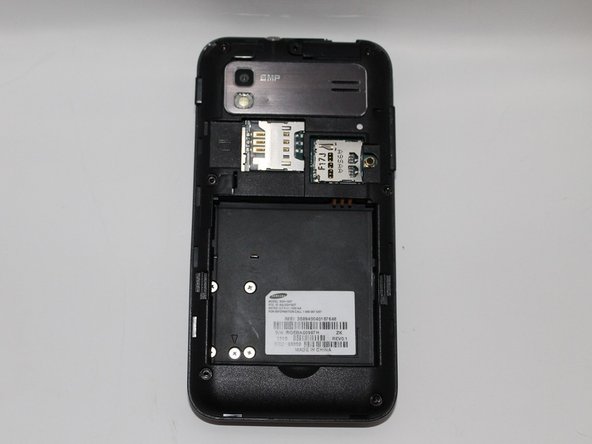
    • Remove back cover using fingernail or plastic opening tool. The cover pulls up and off.

  2. Samsung Captivate Glide Camera Replacement: шаг 2, изображение 1 из 2 Samsung Captivate Glide Camera Replacement: шаг 2, изображение 2 из 2
    • Remove battery with plastic opening tool or finger.

  3. Samsung Captivate Glide Camera Replacement: шаг 3, изображение 1 из 2 Samsung Captivate Glide Camera Replacement: шаг 3, изображение 2 из 2
    • Remove the seven screws from backplate using the #00 screwdriver.

  4. Samsung Captivate Glide Camera Replacement: шаг 4, изображение 1 из 3 Samsung Captivate Glide Camera Replacement: шаг 4, изображение 2 из 3 Samsung Captivate Glide Camera Replacement: шаг 4, изображение 3 из 3
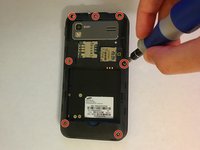
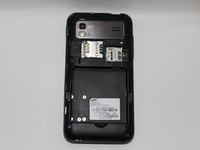
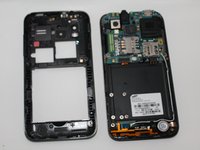
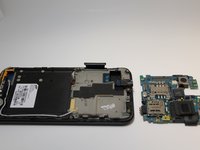
    • Remove the back plate using the plastic opening tool.

    • There is a lip on each side, and both must be pried up.

    • You can work your way around the edges after prying the two sides.

  5. Samsung Captivate Glide Camera Replacement: шаг 5, изображение 1 из 2 Samsung Captivate Glide Camera Replacement: шаг 5, изображение 2 из 2
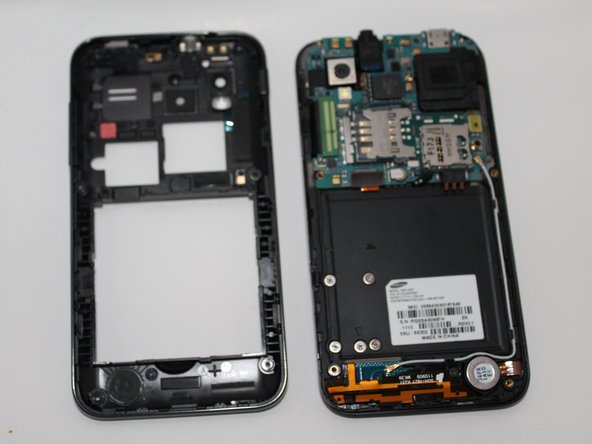
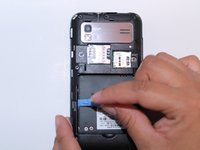
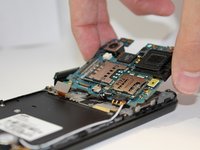
    • Use the plastic opening tool to detach the two tabs connecting the motherboard to the base of the phone.

  6. Samsung Captivate Glide Camera Replacement: шаг 6, изображение 1 из 1
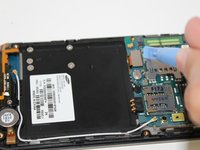
    • Disconnect the antenna cable from the motherboard using tweezers.

  7. Samsung Captivate Glide Camera Replacement: шаг 7, изображение 1 из 1
    • Remove the single screw connecting the motherboard to the base of the phone by using the #00 Phillips screwdriver.

  8. Samsung Captivate Glide Camera Replacement: шаг 8, изображение 1 из 2 Samsung Captivate Glide Camera Replacement: шаг 8, изображение 2 из 2
    • Lift the motherboard out of the base of the phone.

  9. Samsung Captivate Glide Camera Replacement, Camera: шаг 9, изображение 1 из 3 Samsung Captivate Glide Camera Replacement, Camera: шаг 9, изображение 2 из 3 Samsung Captivate Glide Camera Replacement, Camera: шаг 9, изображение 3 из 3
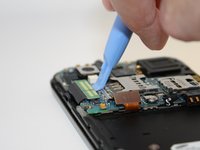
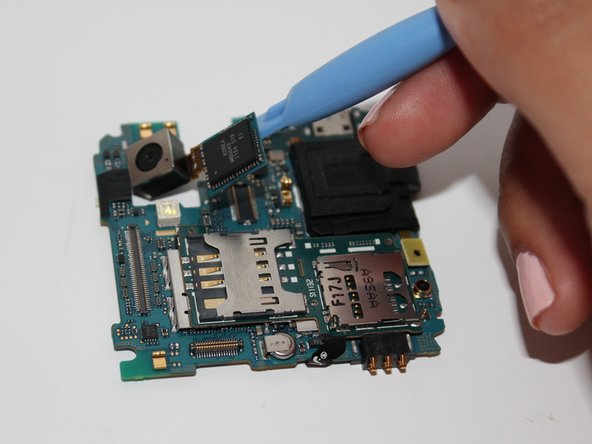
    • Using the opening tool, pry up the camera attachment from the motherboard.

Заключение

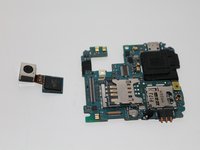
To reassemble your device, follow these instructions in reverse order.

Еще один человек закончил это руководство.

Jessica Martinez

Участник с: 09/25/14

260 Репутация

Автор 2 руководств

Команда

USF Tampa, Team 5-3, Mcgee Fall 2014 Участник USF Tampa, Team 5-3, Mcgee Fall 2014

USFT-MCGEE-F14S5G3

4 членов

Автор 5 руководств

0 Комментариев

Добавить комментарий

Просмотр статистики:

За последние 24часов: 1

За последние 7 дней: 8

За последние 30 дней: 11

За всё время: 632