Введение
You may need to perform this replacement if your Chromebook 2 has a faulty screen, resulting in display issues. Ensure your device is powered off before beginning this replacement.
In order to reduce shock hazard during this replacement, the steps to remove the battery are included as a prerequisite.
Выберете то, что вам нужно
-
-
-
Make sure your Chromebook is turned off before you begin.
-
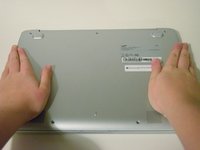
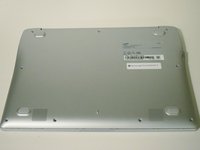
Set the labtop face down on a flat surface.
 Спросите у FixBot
-
-
-
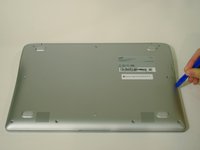
Remove the nine 5 mm screws on the bottom cover using a Phillips #0 screwdriver.
-
-
-
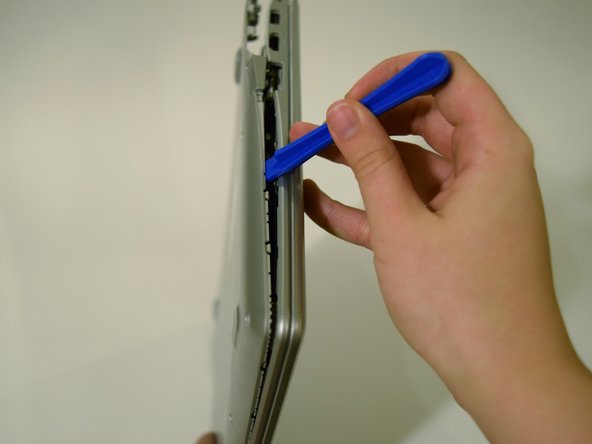
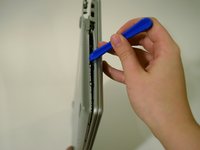
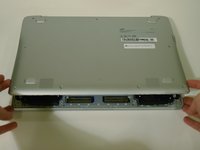
Loosen the back cover panel with a plastic opening tool, and work it all the way around the computer.
-
-
-
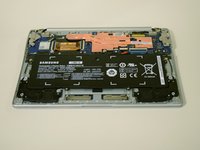
Once the cover is loose, remove the back cover panel using your hands.
-
-
-
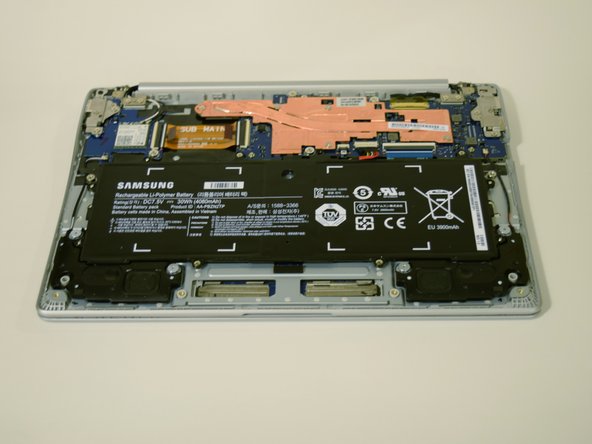
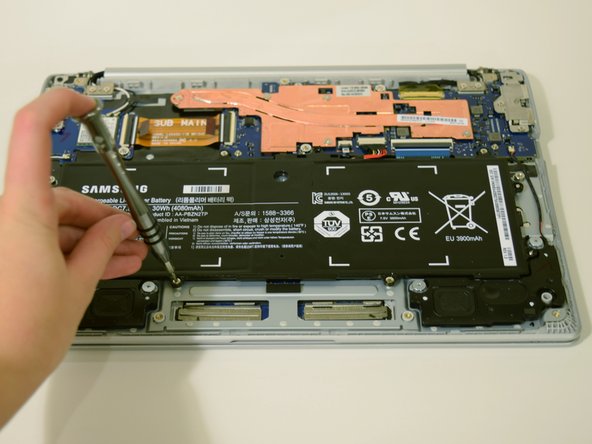
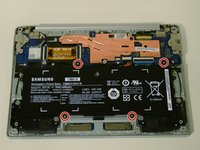
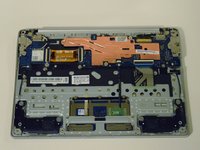
Unscrew the four 4 mm screws holding the battery in place with a Phillips #0 screwdriver.
-
-
-
-
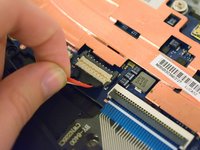
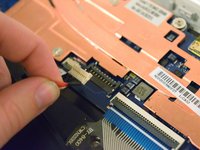
Disconnect the wire that connects the battery to the motherboard by pulling upward.
-
-
-
-
-
Replace the back cover by clicking it into place with your hands.
-
-
-
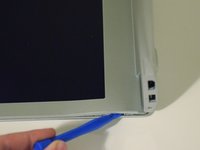
Open the laptop and place it so that the back of the screen is laying on a flat surface.
-
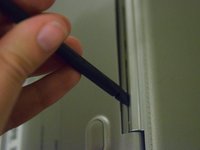
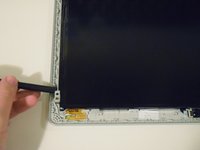
Insert a plastic opening tool between the front cover and plastic screen trim.
-
Work the plastic opening tool all around the trim.
-
-
-
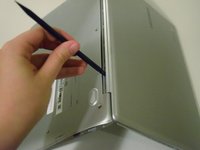
Flip the computer over so that the keys and screen are facing down.
-
Insert the spudger between the back and front panel, at the hinge, and push the trim out.
-
-
-
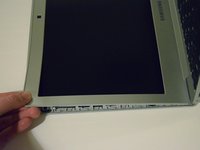
Place the laptop in a position where it is resting on the back of the screen.
-
Remove the trim from the front panel by pulling up with your hands.
-
-
-
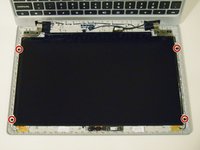
Using a Phillips #0 screwdriver to unscrew the four 3 mm screws keeping the screen in place.
-
-
-
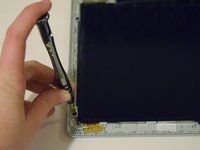
Using the spudger, pry the screen loose from the front panel.
-
-
-
Place the laptop in an upright position.
-
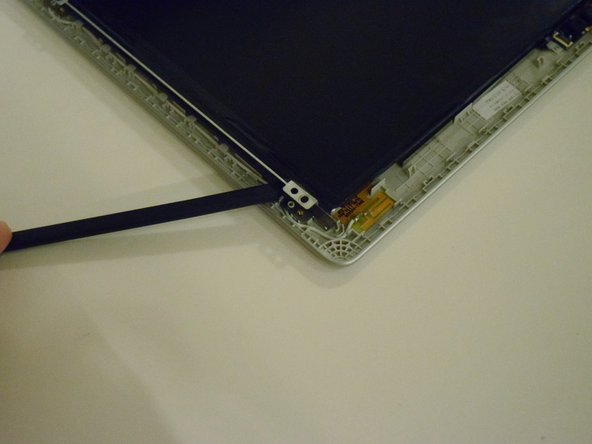
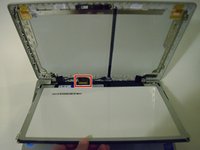
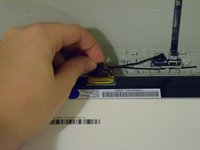
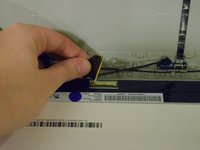
Pull back the screen to locate the LCD cable, and disconnect it by pulling the black tape that surrounds it towards you.
-
-
-
Pull the screen from the front panel using your hands to fully remove it.
-
-


To reassemble your device, follow these instructions in reverse order.
Отменить: Я не выполнил это руководство.
12 человек успешно провели ремонт по этому руководству.
Команда

UW Tacoma, Team 1-3, Rose Winter 2016 Участник UW Tacoma, Team 1-3, Rose Winter 2016
UWT-ROSE-W16S1G3
4 членов
Автор 4 руководств