Введение
Use this guide to replace a cracked Touch Screen / Digitizer or LCD.
Выберете то, что вам нужно
-
-
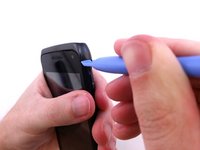
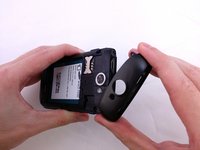
Insert plastic opening tool under back cover.
-
Apply pressure on tool while using a downward motion to pop off back cover.
 Спросите у FixBot
-
-
-
Insert plastic opening tool under back cover.
-
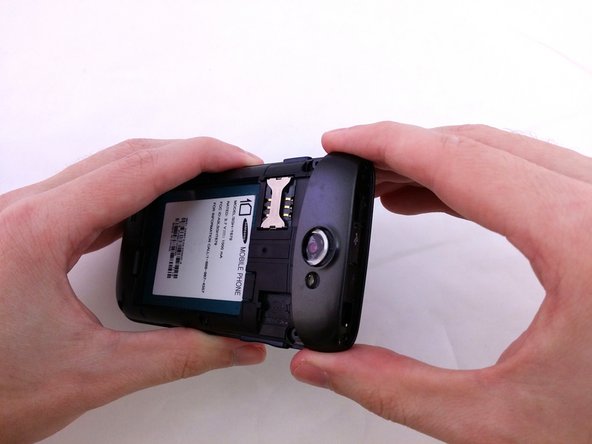
Pry the top cover upward to remove it from the phone.
-
-
-
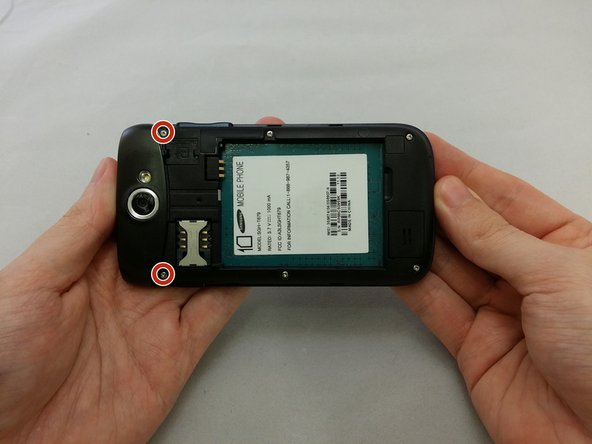
Remove the four 3.8mm Phillips #000 screws securing the top cover to the back assembly.
-
-
-
Insert plastic opening tool under top cover.
-
Using hand slide top cover away from phone.
-
-
-
Remove the four 3.8mm Phillips #000 screws securing the back assembly to the phone.
-
-
-
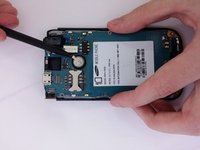
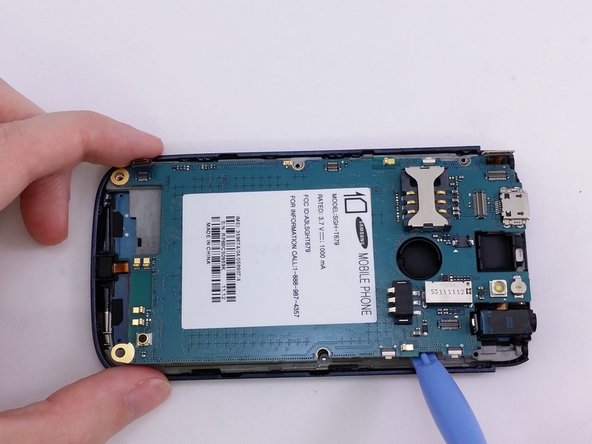
Insert plastic opening tool between back assembly and phone.
-
Pry the back assembly away from phone.
-
-
-
With plastic opening tool continue prying around the edge of the back assembly.
-
-
-
-
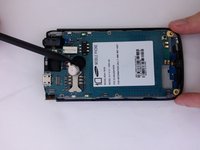
Insert the pointed end of a spudger into the gap in the round housing frame.
-
Using spudger to remove vibrator remove from the adhesive.
-
-
-
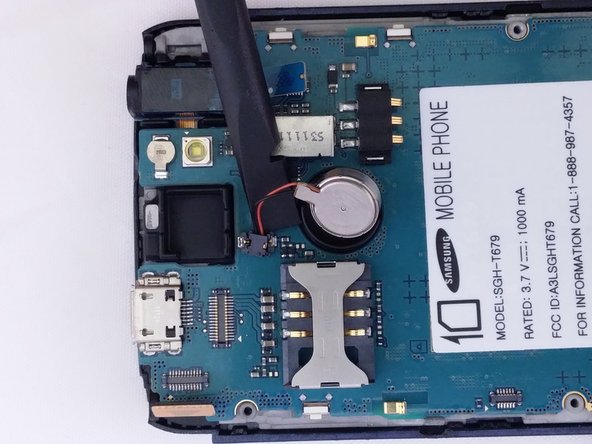
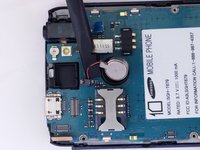
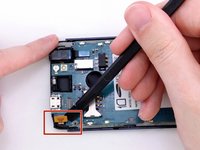
Use the flat end of a spudger to remove vibrator cable from motherboard.
-
-
-
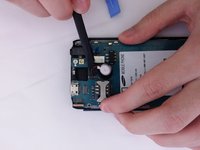
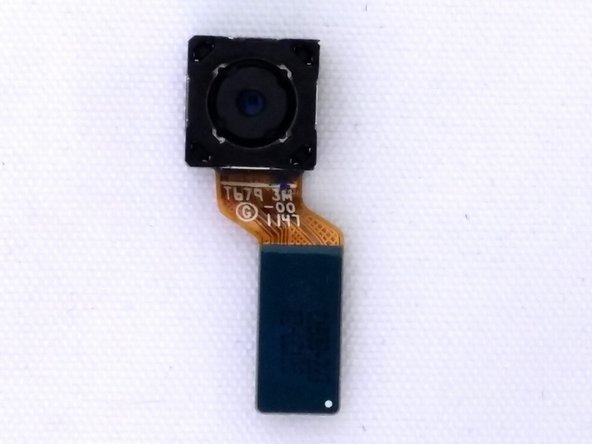
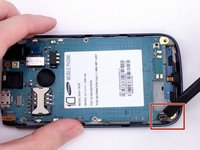
Use the flat end of a spudger to disconnect the camera assembly cable.
-
-
-
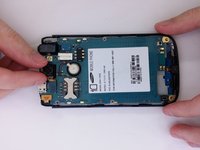
Insert the spudger under each corner ribbon cable and lift them out of the way.
-
Insert a plastic pry tool into the gap between motherboard and base of phone
-
-
-
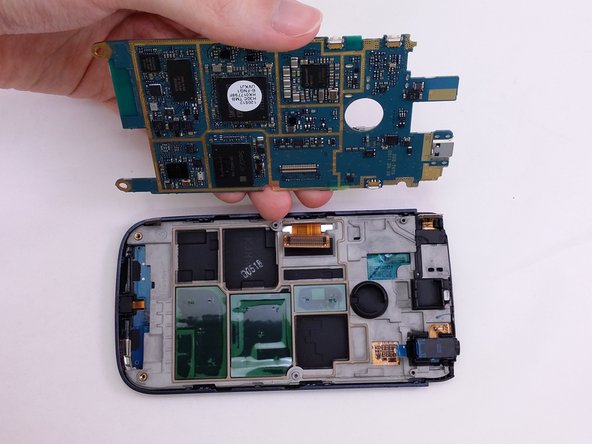
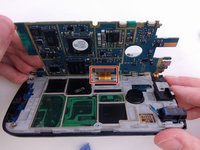
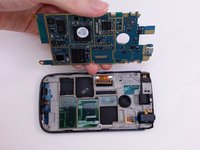
Tilt the motherboard up carefully.
-
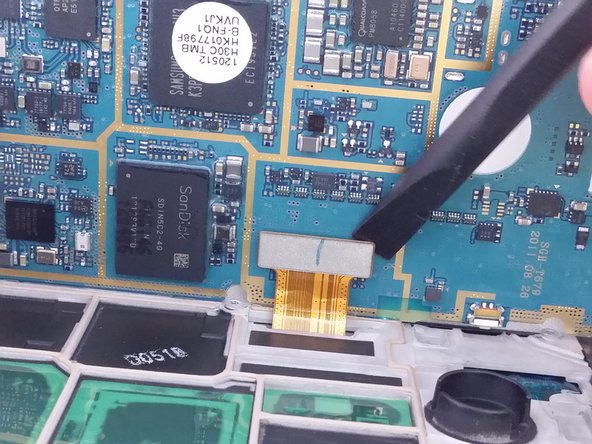
Use a spudger to pry the connector from the socket on the motherboard.
-
Lift motherboard from frame.
-
-
-
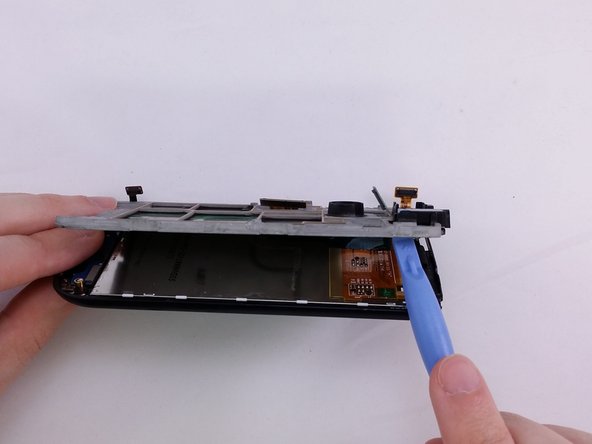
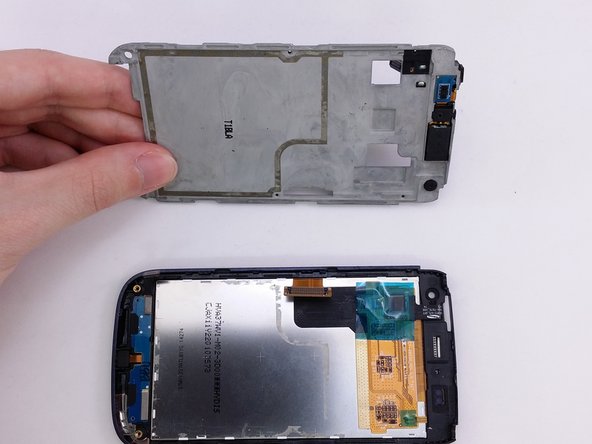
Insert flat end of spudger between support panel and front assembly.
-
Using a spudger pry up to create opening to insert plastic opening tool.
-
-
-
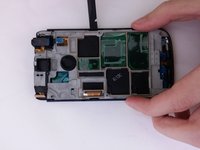
Insert a plactic opening tool in opening.
-
Use plastic opening tool to pry around the edge of support panel to free it from front assembly.
-
-
-
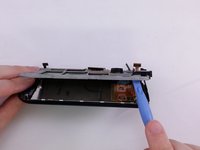
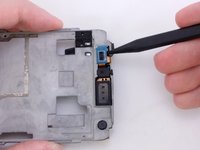
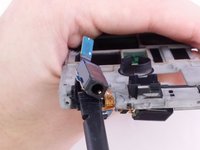
Insert the pointed end of a spudger into gap.
-
Lift spudger away from support plate to remove headphone component.
-
-
-
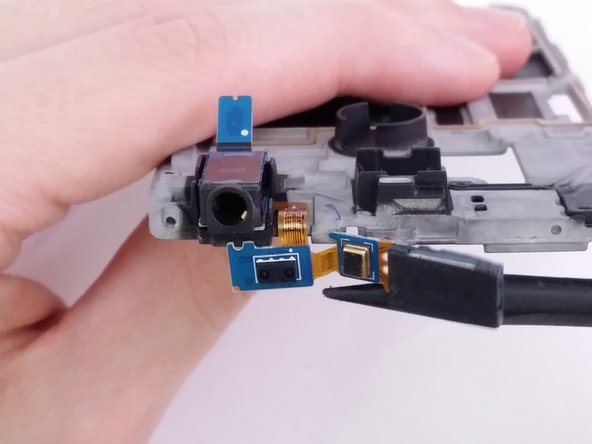
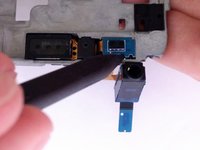
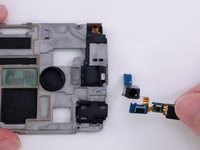
Use the flat end of the spudger to remove headphone jack component from rectangular housing.
-
-
-
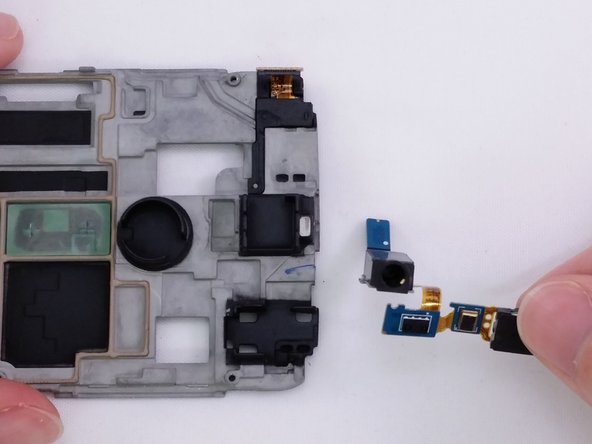
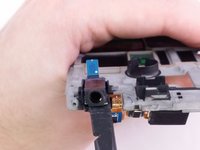
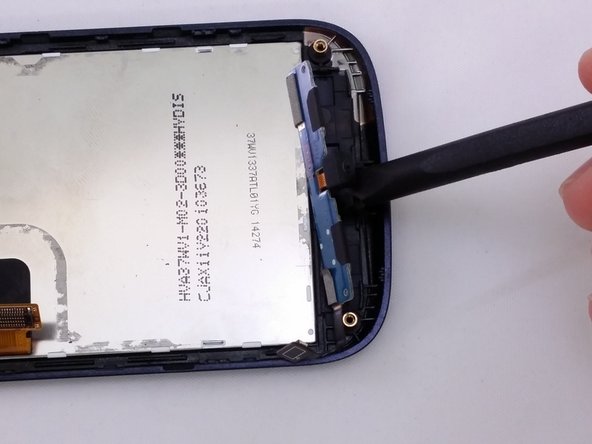
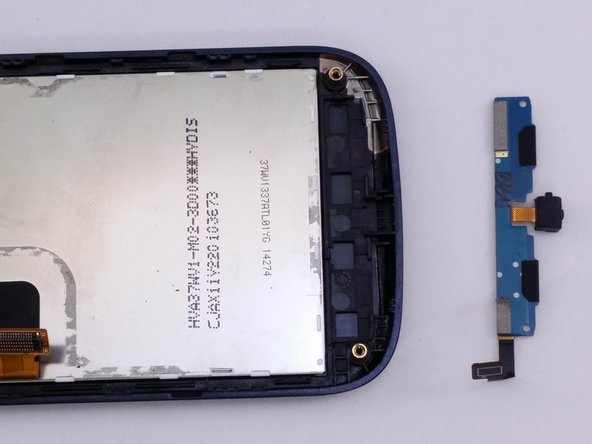
The the flat end of a spudger between componet and frame.
-
Use the the spudger to lift the componet from the frame.
-
-
-
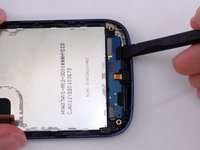
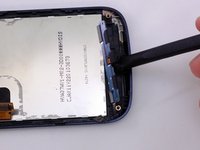
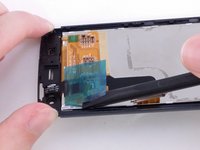
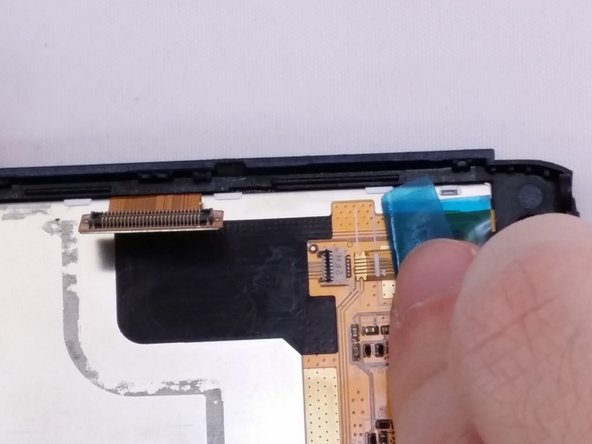
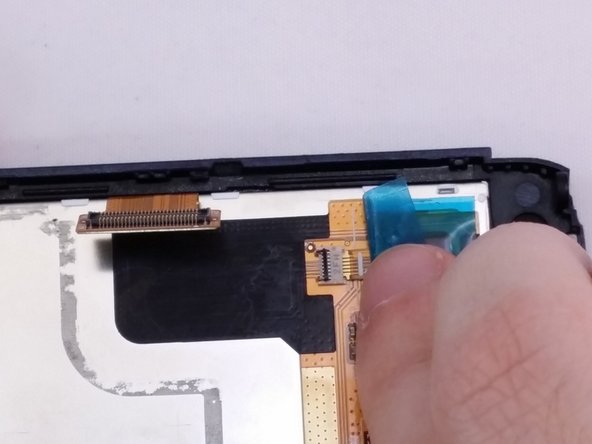
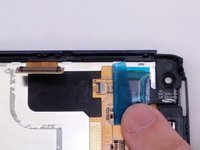
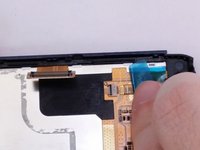
Insert the spudger between blue flim and the back of the LCD.
-
Using the spudger lift blue film away from LCD.
-
-
-
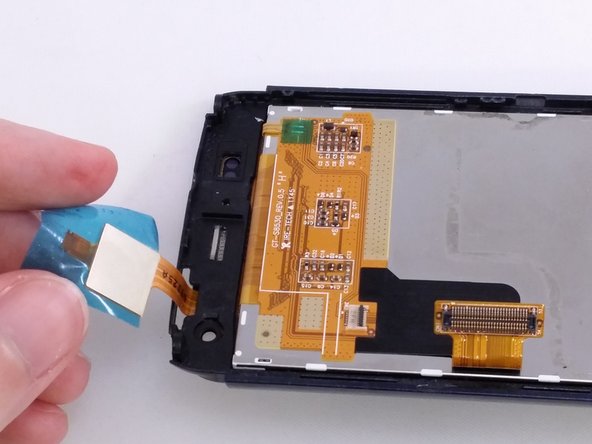
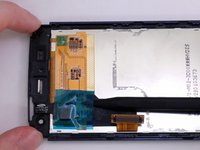
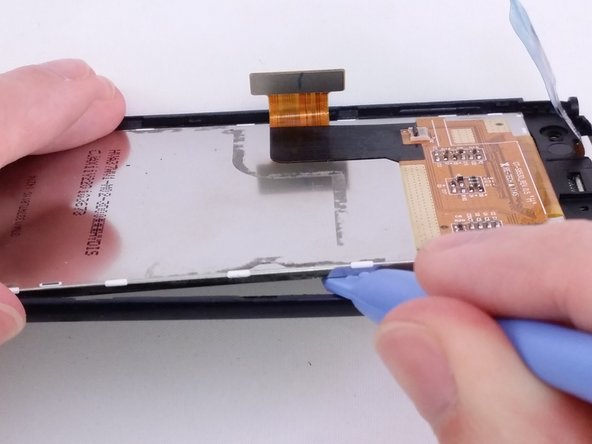
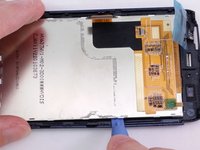
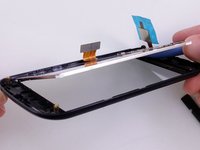
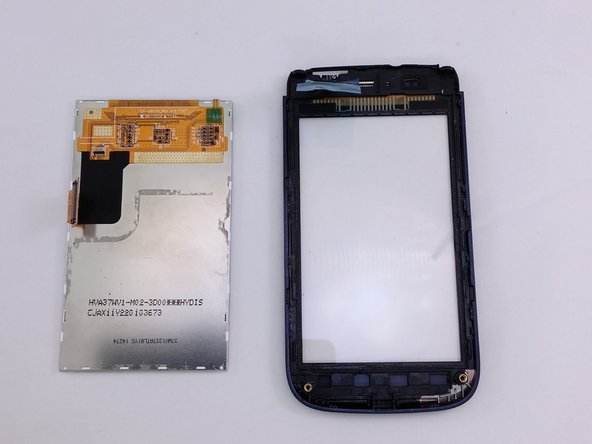
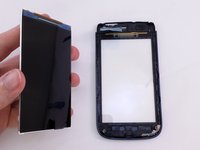
Insert a plastic opening tool between LCD and Digitizer screen.
-
Use plastic opening tool to pry and lift the LCD from the glass screen.
-


To reassemble your device, follow these instructions in reverse order.
Отменить: Я не выполнил это руководство.
3 человек успешно провели ремонт по этому руководству.

Команда

Eastern Washington University, Team 1-3, Rowley SU 2015 Участник Eastern Washington University, Team 1-3, Rowley SU 2015
EWU-ROWLEY-SU15S1G3
4 членов
Автор 9 руководств