Перейти к основному содержанию
Присоединяйся к сообществу ремонтников - Создай аккаунт

Samsung Galaxy Express 3 Home Button Replacement

Выберете то, что вам нужно

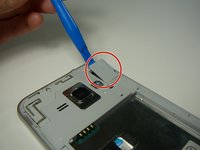
    1. Samsung Galaxy Express 3 Home Button Replacement, Battery: шаг 1, изображение 1 из 2 Samsung Galaxy Express 3 Home Button Replacement, Battery: шаг 1, изображение 2 из 2
      • Locate the indent area highlighted in red and use either your fingernail or a Prying Tool (such as a guitar pick) to separate the back from the body of the phone.

      Спросите у FixBot

      Добавить комментарий

    2. Samsung Galaxy Express 3 Home Button Replacement: шаг 2, изображение 1 из 3 Samsung Galaxy Express 3 Home Button Replacement: шаг 2, изображение 2 из 3 Samsung Galaxy Express 3 Home Button Replacement: шаг 2, изображение 3 из 3
      • Once the cover is removed, locate the battery that reads "SAMSUNG."

      • Use either your fingernail or a Plastic Prying Tool (such as a guitar pick) to lift up the bottom indent of the battery.

      • Do not use a metal tool, as it can cause injury.

      Спросите у FixBot

      Добавить комментарий

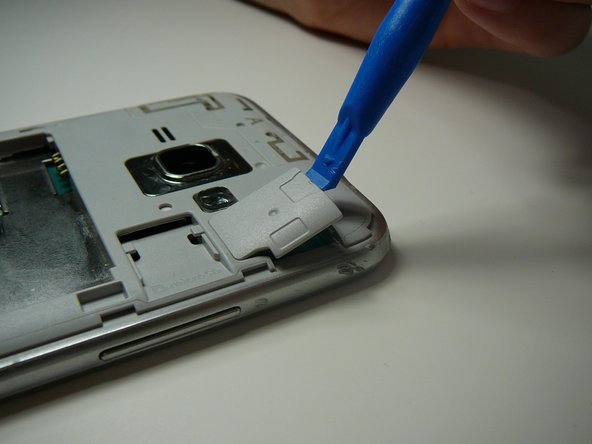
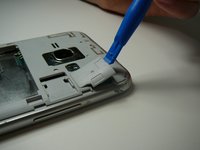
    1. Samsung Galaxy Express 3 Home Button Replacement, Screen: шаг 3, изображение 1 из 2 Samsung Galaxy Express 3 Home Button Replacement, Screen: шаг 3, изображение 2 из 2
      • Use a Plastic Prying Tool (such as a spudger) to pop out piece shown.

      Спросите у FixBot

      Добавить комментарий

    2. Samsung Galaxy Express 3 Home Button Replacement: шаг 4, изображение 1 из 1
      • Detach the screen connector.

      Спросите у FixBot

      Добавить комментарий

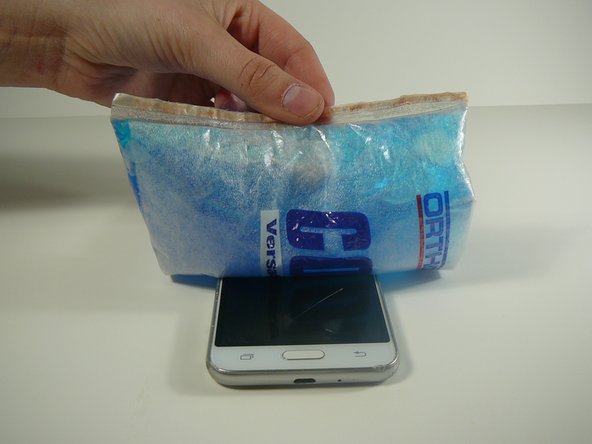
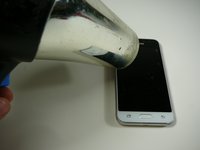
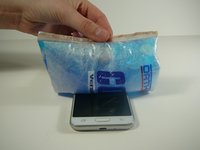
    3. Samsung Galaxy Express 3 Home Button Replacement: шаг 5, изображение 1 из 2 Samsung Galaxy Express 3 Home Button Replacement: шаг 5, изображение 2 из 2
      • Use a blow dryer or heating pad to heat up the screen.

      • Do not skip this step, as it may result in a broken screen and/or LCD.

      • This step loosens the glue holding the screen in place.

      Спросите у FixBot

      Добавить комментарий

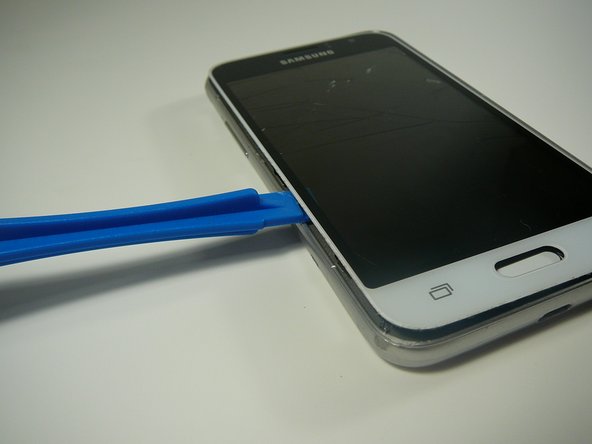
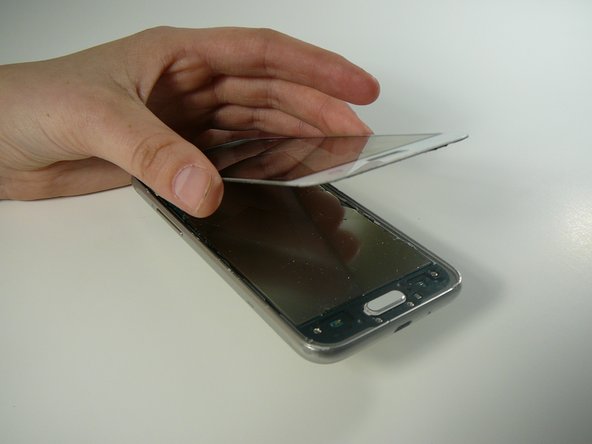
    4. Samsung Galaxy Express 3 Home Button Replacement: шаг 6, изображение 1 из 3 Samsung Galaxy Express 3 Home Button Replacement: шаг 6, изображение 2 из 3 Samsung Galaxy Express 3 Home Button Replacement: шаг 6, изображение 3 из 3
      • Use a Thin Plastic Tool (such as a guitar pick) or Plastic Prying Tool (such as a spudger) to lift out the glass digitizer and LCD screen around the edges.

      • Do this slowly and carefully, as both parts can crack very easily.

      • Ensure your tool is plastic, as a metal tool can damage the screen easily.

      Спросите у FixBot

      Добавить комментарий

    1. Samsung Galaxy Express 3 Home Button Replacement, Back and Recent Apps Touch Sensor Button(s): шаг 7, изображение 1 из 2 Samsung Galaxy Express 3 Home Button Replacement, Back and Recent Apps Touch Sensor Button(s): шаг 7, изображение 2 из 2
      • Use a plastic tool to remove back and/or recent tabs circuit buttons.

      • Use a plastic tool as a metal tool can be dangerous to the phone or you.

      Спросите у FixBot

      Добавить комментарий

    1. Samsung Galaxy Express 3 Home Button Replacement, Home Button: шаг 8, изображение 1 из 2 Samsung Galaxy Express 3 Home Button Replacement, Home Button: шаг 8, изображение 2 из 2
      • Use a #0 Phillips bit screwdriver to remove the four screws from the black, plastic piece surrounding the home button.

      • All four screws are the same size.

      Спросите у FixBot

      Добавить комментарий

    2. Samsung Galaxy Express 3 Home Button Replacement: шаг 9, изображение 1 из 2 Samsung Galaxy Express 3 Home Button Replacement: шаг 9, изображение 2 из 2
      • Using a sharp plastic tool such as a guitar pick or prying tool to pop up and remove the black, plastic piece.

      • Do not use a metal tool as it can be dangerous to you or the motherboard.

      Спросите у FixBot

      Добавить комментарий

    3. Samsung Galaxy Express 3 Home Button Replacement: шаг 10, изображение 1 из 2 Samsung Galaxy Express 3 Home Button Replacement: шаг 10, изображение 2 из 2
      • The white button will be connected to the black piece.

      • Slightly bend the black piece and gently push the white button until it pops out of the black, plastic piece.

      Спросите у FixBot

      Добавить комментарий

Заключение

To reassemble your device, follow these instructions in reverse order.

Отменить: Я не выполнил это руководство.

Еще один человек закончил это руководство.

Mack Johnson

Участник с: 04/05/18

996 Репутация

Автор 6 руководств

Команда

Linn Benton Community College, Team S2-G4, Johnson Spring 2018 Участник Linn Benton Community College, Team S2-G4, Johnson Spring 2018

LBCC-JOHNSON-S18S2G4

4 членов

Автор 63 руководств

0 Комментарии к руководству

Добавить комментарий

Статистика просмотров:

За последние 24 часов: 3

За последние 7 дней: 10

За последние 30 дней: 30

За всё время: 815