Перейти к основному содержанию
Присоединяйся к сообществу ремонтников - Создай аккаунт

Samsung Galaxy Mega USB Board Replacement

Выберете то, что вам нужно

    1. Samsung Galaxy Mega USB Board Replacement, Battery: шаг 1, изображение 1 из 3 Samsung Galaxy Mega USB Board Replacement, Battery: шаг 1, изображение 2 из 3 Samsung Galaxy Mega USB Board Replacement, Battery: шаг 1, изображение 3 из 3
      • Before starting, ensure device is completely turned off.

      • On the back of phone, locate the slot on the top left corner.

      • Insert plastic opening tool or fingernail and pull up on the back plate.

      • With the corner released, slide your finger around the device between the back plate and the phone to release connectors.

      Спросите у FixBot

      Добавить комментарий

    2. Samsung Galaxy Mega USB Board Replacement: шаг 2, изображение 1 из 3 Samsung Galaxy Mega USB Board Replacement: шаг 2, изображение 2 из 3 Samsung Galaxy Mega USB Board Replacement: шаг 2, изображение 3 из 3
      • Insert fingernail into the slot on bottom of battery and gently pull up.

      • Remove the battery.

      Спросите у FixBot

      Добавить комментарий

    1. Samsung Galaxy Mega USB Board Replacement, Midframe: шаг 3, изображение 1 из 3 Samsung Galaxy Mega USB Board Replacement, Midframe: шаг 3, изображение 2 из 3 Samsung Galaxy Mega USB Board Replacement, Midframe: шаг 3, изображение 3 из 3
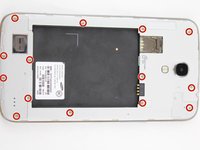
      • Remove the 14 3.45 mm Phillips #000 screws from the assembly.

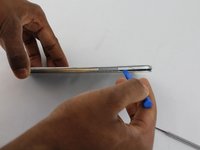
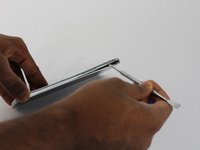
      • Gently, insert plastic opening tool into seam above the volume buttons of your phone.

      • You may substitute metal spudger for plastic opening tool to first start the opening of the seam. This may cause exterior cosmetic damage.

      Спросите у FixBot

      Добавить комментарий

    2. Samsung Galaxy Mega USB Board Replacement: шаг 4, изображение 1 из 2 Samsung Galaxy Mega USB Board Replacement: шаг 4, изображение 2 из 2
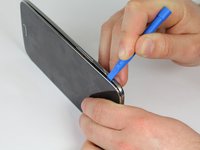
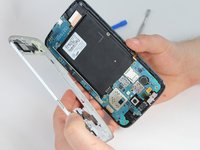
      • Slowly slide plastic opening tool around the device to release all the connectors internal to the device.

      • The device should easily come apart after the plastic opening tool is slid around the entire device.

      • During reassembly, ensure volume and power buttons align properly.

      Спросите у FixBot

      Добавить комментарий

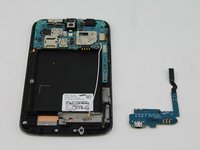
    1. Samsung Galaxy Mega USB Board Replacement, USB Board: шаг 5, изображение 1 из 1
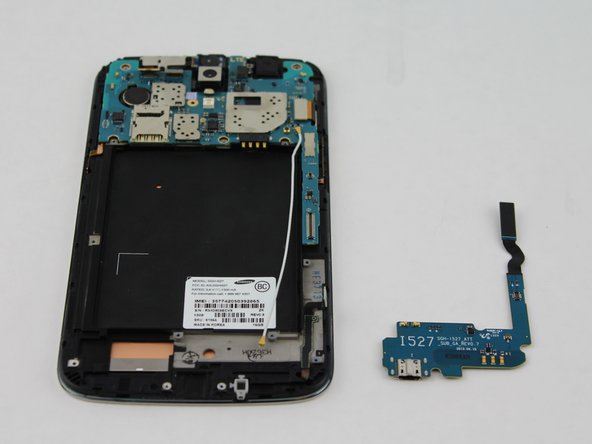
      • This circuit board is the charging port assembly.

      Спросите у FixBot

      Добавить комментарий

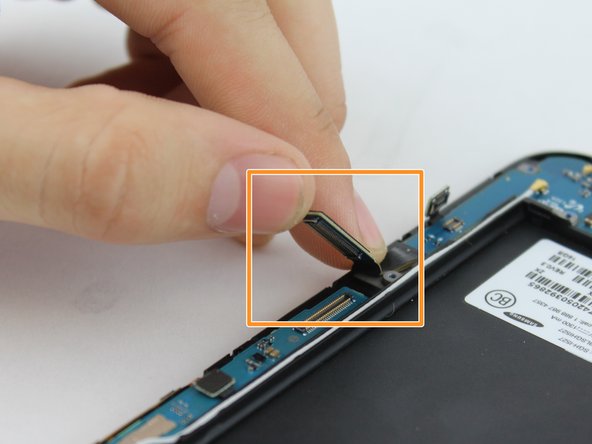
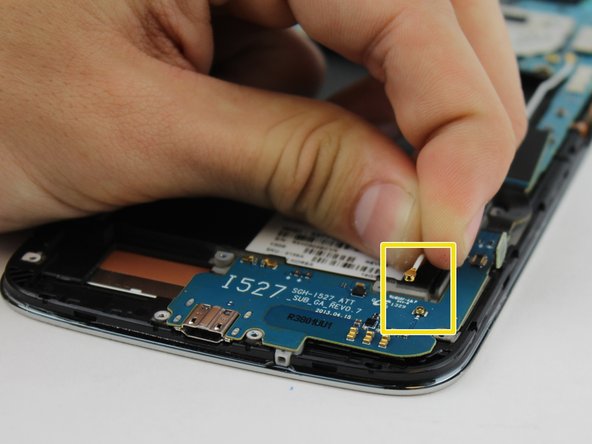
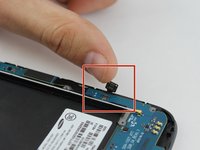
    2. Samsung Galaxy Mega USB Board Replacement: шаг 6, изображение 1 из 3 Samsung Galaxy Mega USB Board Replacement: шаг 6, изображение 2 из 3 Samsung Galaxy Mega USB Board Replacement: шаг 6, изображение 3 из 3
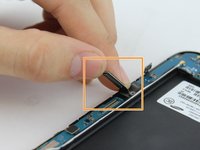
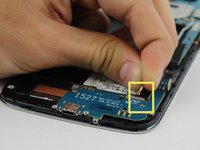
      • Lift up on the clamp with your finger to disconnect the connector.

      • Lift up on the clamp with your finger to disconnect the connection to the mother board.

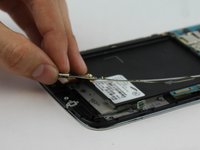
      • Grasp cable head and lift up to disconnect the cable head.

      Спросите у FixBot

      Добавить комментарий

    3. Samsung Galaxy Mega USB Board Replacement: шаг 7, изображение 1 из 2 Samsung Galaxy Mega USB Board Replacement: шаг 7, изображение 2 из 2
      • Use your fingers to gently remove charging port.

      Спросите у FixBot

      Добавить комментарий

Заключение

To reassemble your device, follow these instructions in reverse order.

Отменить: Я не выполнил это руководство.

10 человек успешно провели ремонт по этому руководству.

Aaron Fulton

Участник с: 02/04/16

1 246 Репутация

Автор 3 руководств

Команда

USF Tampa, Team 17-2, Blackwell Winter 2016 Участник USF Tampa, Team 17-2, Blackwell Winter 2016

USFT-BLACKWELL-W16S17G2

4 членов

Автор 56 руководств

0 Комментарии к руководству

Добавить комментарий

Статистика просмотров:

За последние 24 часов: 0

За последние 7 дней: 7

За последние 30 дней: 29

За всё время: 9,147