Введение
The micro USB port is used to connect the charger. Over time, it can become damaged or worn. This could cause the tablet to have trouble recognizing the charger, which could result in the device having trouble charging. In this case, the micro USB port has to be replaced. This guide shows you how to replace it.
Выберете то, что вам нужно
-
-
Remove the Samsung S-Pen stylus.
-
Remove the micro SD storage card.
 Спросите у FixBot
-
-
-
Using the plastic opening tool, start where the S-pen was located and carefully pry up the corner.
-
-
-
Work your way around the entire device by carefully prying and sliding the plastic opening tool.
-
-
-
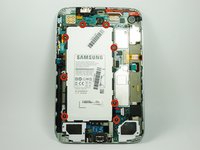
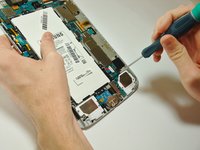
Remove the 8 Phillips#00 3-mm screws holding the battery in place.
-
-
-
-
Gently grasp and lift up the white connector located at the bottom right corner of the battery. It is connected to the battery by two blue and two red wires.
-
-
-
Remove the two 4.5-mm Phillips head screws from the micro USB Port using a Phillips #00 screwdriver.
-
Remove the silver 3-mm Phillips head screw from the silver metal strip using a Phillips #00 screwdriver. This strip covers the connection to the mother board and will be removed in a later step.
-
-
-
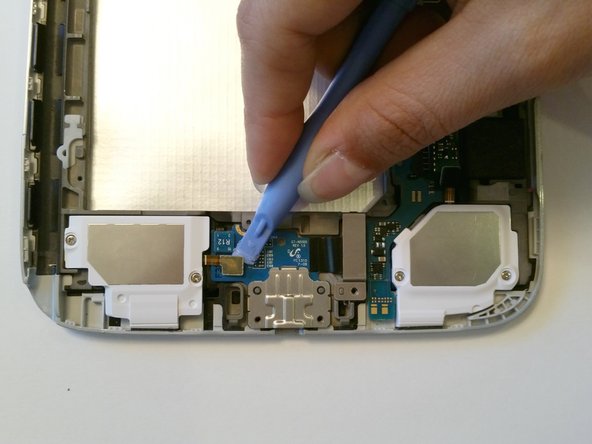
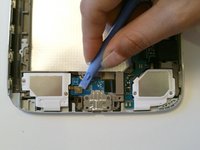
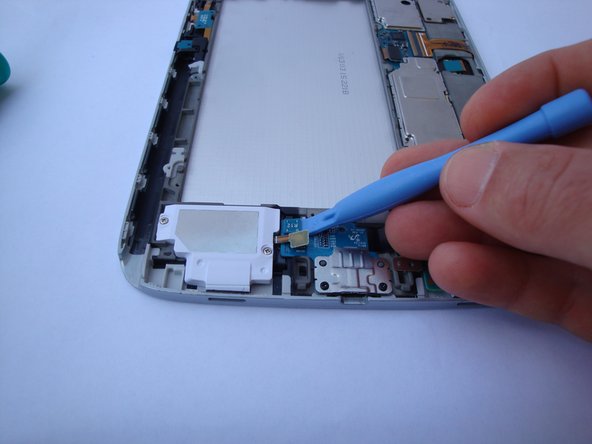
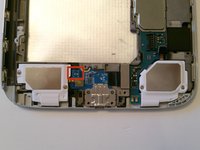
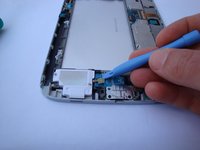
Gently lift up the gold connector on the left side of the board.
-
-
-
Gently lift up the teal connector on the left side of the board.
-
-
-
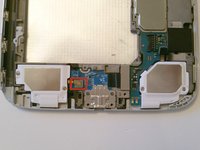
Gently lift up the large black connector on the right side of the component. This is the connector that was underneath the silver plate removed in the previous step.
-







To reassemble your device, follow these instructions in reverse order.
Отменить: Я не выполнил это руководство.
55 человек успешно провели ремонт по этому руководству.

Команда

USF Tampa, Team 12-2, Blackwell Fall 2014 Участник USF Tampa, Team 12-2, Blackwell Fall 2014
USFT-BLACKWELL-F14S12G2
4 членов
Автор 16 руководств
13 Комментарии к руководству
Did it, in spite of unable to remove 2 batt screws due to stripping them. I wish there was a guide to prying open the case, it was very scary.
I see you have tools for removing striped 4.5 mm screws!
I found this guide extremely useful, although i need a new port i didn't have the time to wait for delivery so i followed the guide hoping if i cleaned the part of any dust etc it might charge again temporarily and it did! It wasn't dusty but i did notice the flat plate inside the port wasn't straight so i wedged a flathead in to level it out. I think that was my problem.
Grateful i haven't had to spend unnecessary fees on repair.
Thank You!!!
Thanks! The flat plate inside the connector was bent over to one side. I bent it back like you did and now it works fine. I was ready to trash it. Thank you, thank you.
Hi! How do you guys know if it's the USB port that's broken, and not the battery? My Tab wont turn on... :(
the most difficult, is to open the plastic shell...
Cool tuto !
