Перейти к основному содержанию
Присоединяйся к сообществу ремонтников - Создай аккаунт

Samsung Galaxy Note Display Assembly Replacement

Выберете то, что вам нужно

    1. Samsung Galaxy Note Display Assembly Replacement, Stylus: шаг 1, изображение 1 из 2 Samsung Galaxy Note Display Assembly Replacement, Stylus: шаг 1, изображение 2 из 2
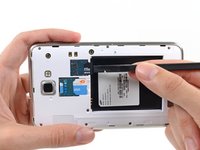
      • Grasp the cap of the stylus and remove it from its slot in the midframe.

      Спросите у FixBot

      Добавить комментарий

    1. Samsung Galaxy Note Display Assembly Replacement, Rear Case: шаг 2, изображение 1 из 2 Samsung Galaxy Note Display Assembly Replacement, Rear Case: шаг 2, изображение 2 из 2
      • Pry with a plastic opening tool, or your fingernail, in the divot to the right of the rear-facing camera, near the volume rocker.

      Спросите у FixBot

      Добавить комментарий

    2. Samsung Galaxy Note Display Assembly Replacement: шаг 3, изображение 1 из 2 Samsung Galaxy Note Display Assembly Replacement: шаг 3, изображение 2 из 2
      • Lift and remove the rear case from the phone.

      Спросите у FixBot

      Добавить комментарий

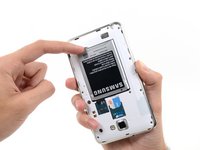
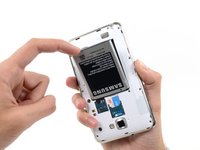
    1. Samsung Galaxy Note Display Assembly Replacement, Battery: шаг 4, изображение 1 из 2 Samsung Galaxy Note Display Assembly Replacement, Battery: шаг 4, изображение 2 из 2
      • Insert your finger in the notch of the battery compartment.

      • Press the battery toward the rear facing camera while pulling outward.

      Спросите у FixBot

      Добавить комментарий

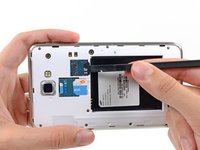
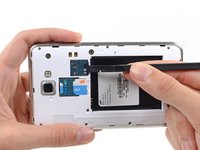
    1. Samsung Galaxy Note Display Assembly Replacement, MicroSD Card: шаг 5, изображение 1 из 3 Samsung Galaxy Note Display Assembly Replacement, MicroSD Card: шаг 5, изображение 2 из 3 Samsung Galaxy Note Display Assembly Replacement, MicroSD Card: шаг 5, изображение 3 из 3
      • Use the flat end of a spudger, or your fingernail, to press the microSD card slightly deeper into its slot until you hear a click.

      • After the click, release the card and it will pop out of its slot.

      • For reassembly, push the microSD card into the slot until it clicks in place.

      Спросите у FixBot

      Добавить комментарий

    2. Samsung Galaxy Note Display Assembly Replacement: шаг 6, изображение 1 из 1
      • Remove the microSD card from its slot in the midframe.

      Спросите у FixBot

      Добавить комментарий

    1. Samsung Galaxy Note Display Assembly Replacement, SIM Card: шаг 7, изображение 1 из 2 Samsung Galaxy Note Display Assembly Replacement, SIM Card: шаг 7, изображение 2 из 2
      • Use a plastic opening tool, or your fingernail, to push the SIM card out of its compartment.

      Спросите у FixBot

      Добавить комментарий

    2. Samsung Galaxy Note Display Assembly Replacement: шаг 8, изображение 1 из 2 Samsung Galaxy Note Display Assembly Replacement: шаг 8, изображение 2 из 2
      • Slide the SIM card out the rest of the way with your thumb and remove it from the device.

      Спросите у FixBot

      Добавить комментарий

    1. Samsung Galaxy Note Display Assembly Replacement, Midframe: шаг 9, изображение 1 из 1
      • Remove the nine 3.4 mm Phillips #00 screws securing the midframe to the display assembly.

      Спросите у FixBot

      Добавить комментарий

    2. Samsung Galaxy Note Display Assembly Replacement: шаг 10, изображение 1 из 2 Samsung Galaxy Note Display Assembly Replacement: шаг 10, изображение 2 из 2
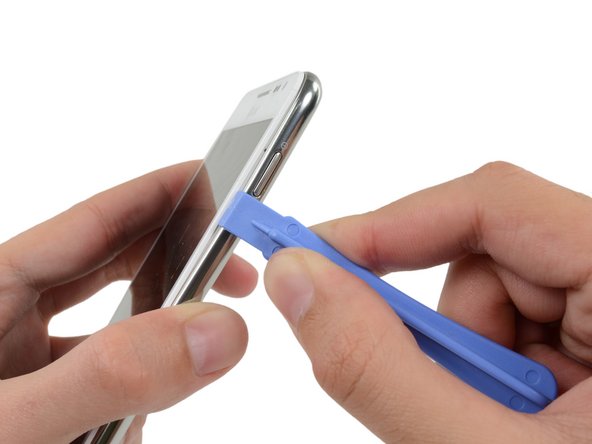
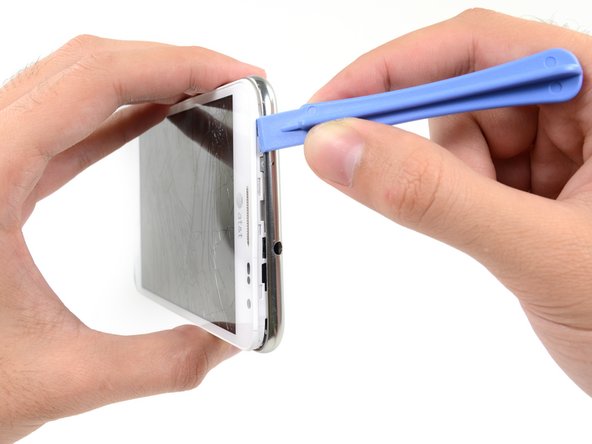
      • Insert your plastic opening tool to the left of the power button between the midframe and the front panel assembly and pry.

      Спросите у FixBot

      Добавить комментарий

    3. Samsung Galaxy Note Display Assembly Replacement: шаг 11, изображение 1 из 3 Samsung Galaxy Note Display Assembly Replacement: шаг 11, изображение 2 из 3 Samsung Galaxy Note Display Assembly Replacement: шаг 11, изображение 3 из 3
      • Slide the plastic opening tool down the seam.

      Спросите у FixBot

      Добавить комментарий

    4. Samsung Galaxy Note Display Assembly Replacement: шаг 12, изображение 1 из 3 Samsung Galaxy Note Display Assembly Replacement: шаг 12, изображение 2 из 3 Samsung Galaxy Note Display Assembly Replacement: шаг 12, изображение 3 из 3
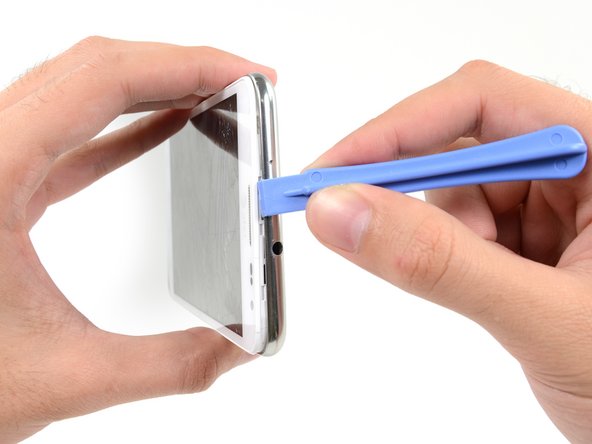
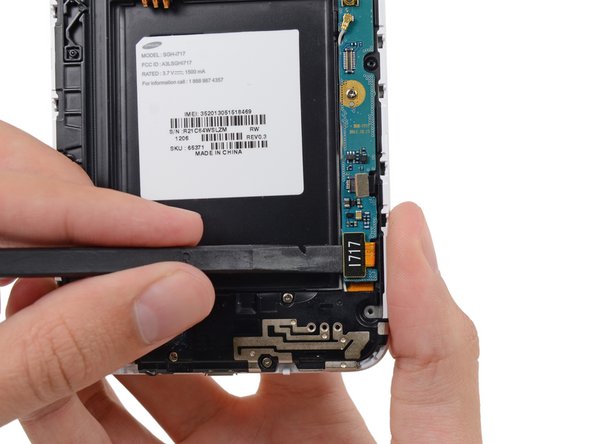
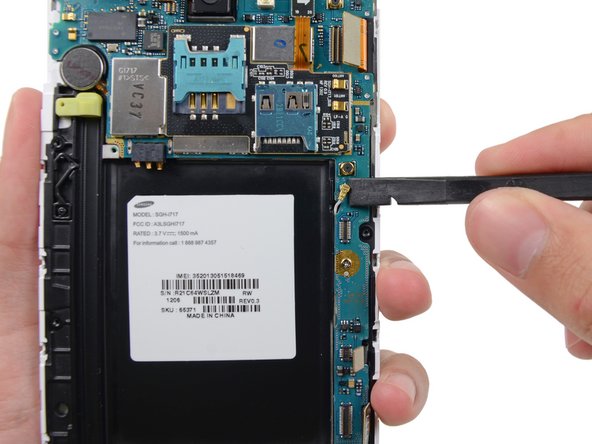
      • Insert your plastic opening tool to the left of the headphone jack between the midframe and the display assembly.

      • Slide the opening tool along the top edge of the phone.

      • Continue to run the plastic opening tool around the perimeter of the phone until the midframe is separated.

      Спросите у FixBot

      Добавить комментарий

    5. Samsung Galaxy Note Display Assembly Replacement: шаг 13, изображение 1 из 2 Samsung Galaxy Note Display Assembly Replacement: шаг 13, изображение 2 из 2
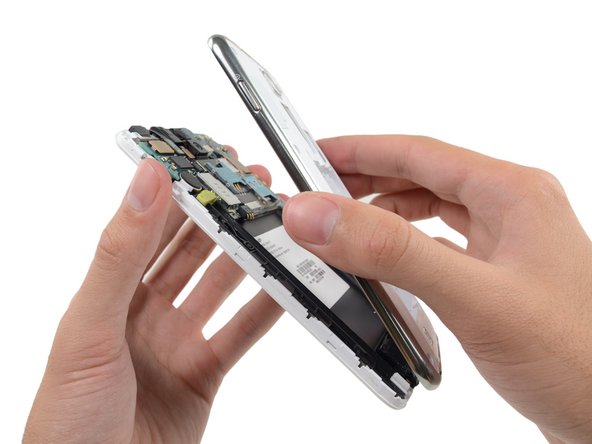
      • Remove the midframe from the display assembly.

      Спросите у FixBot

      Добавить комментарий

    1. Samsung Galaxy Note Display Assembly Replacement, Motherboard Assembly: шаг 14, изображение 1 из 2 Samsung Galaxy Note Display Assembly Replacement, Motherboard Assembly: шаг 14, изображение 2 из 2
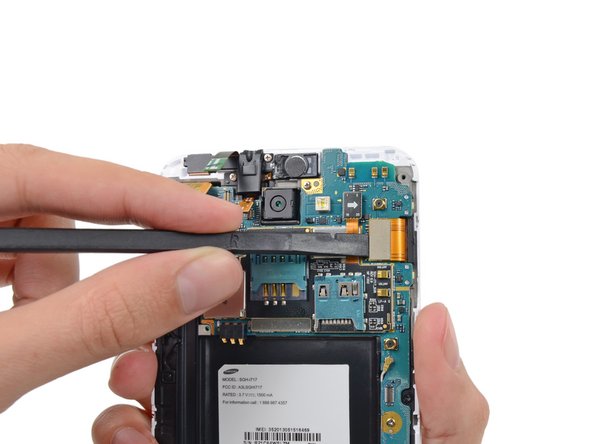
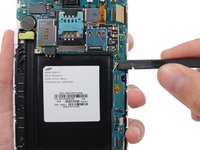
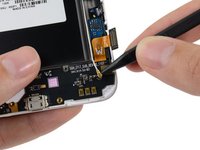
      • Use the flat end of a spudger to carefully disconnect the display cable connector.

      Спросите у FixBot

      Добавить комментарий

    2. Samsung Galaxy Note Display Assembly Replacement: шаг 15, изображение 1 из 3 Samsung Galaxy Note Display Assembly Replacement: шаг 15, изображение 2 из 3 Samsung Galaxy Note Display Assembly Replacement: шаг 15, изображение 3 из 3
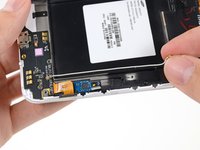
      • Use a spudger to disconnect the front-facing camera assembly cable connector.

      • Disconnect the headphone jack/earpiece speaker assembly cable connector.

      • Disconnect the digitizer cable connector.

      Спросите у FixBot

      Добавить комментарий

    3. Samsung Galaxy Note Display Assembly Replacement: шаг 16, изображение 1 из 3 Samsung Galaxy Note Display Assembly Replacement: шаг 16, изображение 2 из 3 Samsung Galaxy Note Display Assembly Replacement: шаг 16, изображение 3 из 3
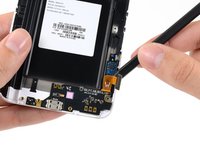
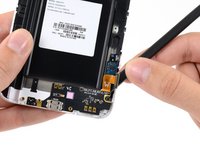
      • Disconnect the soft button cable connector with the flat end of a spudger.

      • Use a spudger to disconnect the USB board cable connector.

      • Disconnect the antenna cable connector.

      Спросите у FixBot

      Добавить комментарий

    4. Samsung Galaxy Note Display Assembly Replacement: шаг 17, изображение 1 из 1
      • Remove the two 3.4 mm Phillips #00 screws securing the motherboard to the display assembly.

      Спросите у FixBot

      Добавить комментарий

    5. Samsung Galaxy Note Display Assembly Replacement: шаг 18, изображение 1 из 2 Samsung Galaxy Note Display Assembly Replacement: шаг 18, изображение 2 из 2
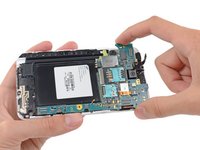
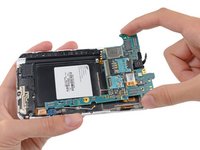
      • Remove the motherboard assembly from the display assembly.

      Спросите у FixBot

      Добавить комментарий

    1. Samsung Galaxy Note Display Assembly Replacement, Display Assembly: шаг 19, изображение 1 из 1
      • Remove the two 3 mm Phillips #00 screws securing the upper display assembly bracket.

      Спросите у FixBot

      Добавить комментарий

    2. Samsung Galaxy Note Display Assembly Replacement: шаг 20, изображение 1 из 2 Samsung Galaxy Note Display Assembly Replacement: шаг 20, изображение 2 из 2
      Инструмент, используемый на этом этапе:
      Tweezers
      $4.99
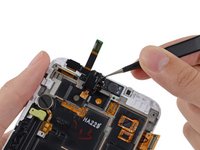
      • Use a pair of tweezers, or your fingers, to remove the upper display assembly bracket.

      Спросите у FixBot

      Добавить комментарий

    3. Samsung Galaxy Note Display Assembly Replacement: шаг 21, изображение 1 из 1
      • Using tweezers, or your fingers, remove the front-facing camera assembly.

      Спросите у FixBot

      Добавить комментарий

    4. Samsung Galaxy Note Display Assembly Replacement: шаг 22, изображение 1 из 2 Samsung Galaxy Note Display Assembly Replacement: шаг 22, изображение 2 из 2
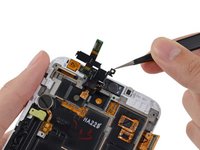
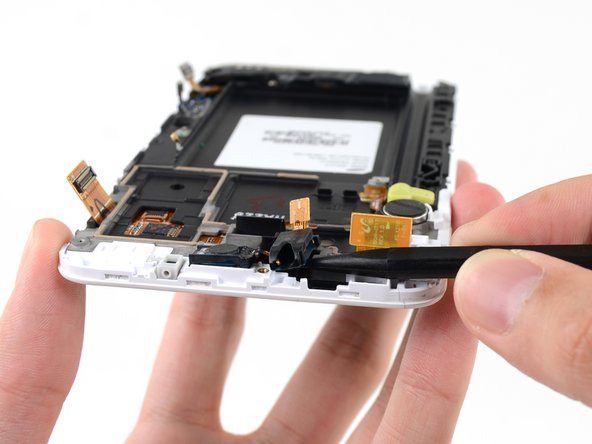
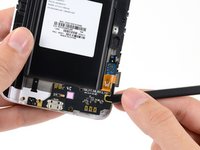
      • Use the tip of a spudger to pry the headphone jack/earpiece speaker assembly out of its recess in the display assembly.

      Спросите у FixBot

      Добавить комментарий

    5. Samsung Galaxy Note Display Assembly Replacement: шаг 23, изображение 1 из 1
      • Use tweezers, or your fingers, to remove the headphone jack/earpiece speaker assembly.

      Спросите у FixBot

      Добавить комментарий

    6. Samsung Galaxy Note Display Assembly Replacement: шаг 24, изображение 1 из 1
      • Remove the three 3 mm Phillips #00 screws securing the speaker enclosure to the front panel assembly.

      Спросите у FixBot

      Добавить комментарий

    7. Samsung Galaxy Note Display Assembly Replacement: шаг 25, изображение 1 из 1
      • Lift the speaker enclosure from the display assembly.

      Спросите у FixBot

      Добавить комментарий

    8. Samsung Galaxy Note Display Assembly Replacement: шаг 26, изображение 1 из 2 Samsung Galaxy Note Display Assembly Replacement: шаг 26, изображение 2 из 2
      • Use the tip of a spudger to disconnect the antenna cable connector from the USB board.

      • Remove the antenna cable.

      Спросите у FixBot

      Добавить комментарий

    9. Samsung Galaxy Note Display Assembly Replacement: шаг 27, изображение 1 из 3 Samsung Galaxy Note Display Assembly Replacement: шаг 27, изображение 2 из 3 Samsung Galaxy Note Display Assembly Replacement: шаг 27, изображение 3 из 3
      • Push the flat end of a spudger under the USB board to separate it from the display assembly.

      • Insert the spudger at a shallow angle to avoid bending or damaging the USB board.

      Спросите у FixBot

      Добавить комментарий

    10. Samsung Galaxy Note Display Assembly Replacement: шаг 28, изображение 1 из 1
      • Remove the USB board.

      Спросите у FixBot

      Добавить комментарий

    11. Samsung Galaxy Note Display Assembly Replacement: шаг 29, изображение 1 из 3 Samsung Galaxy Note Display Assembly Replacement: шаг 29, изображение 2 из 3 Samsung Galaxy Note Display Assembly Replacement: шаг 29, изображение 3 из 3
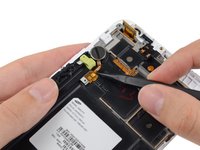
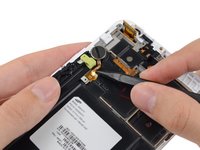
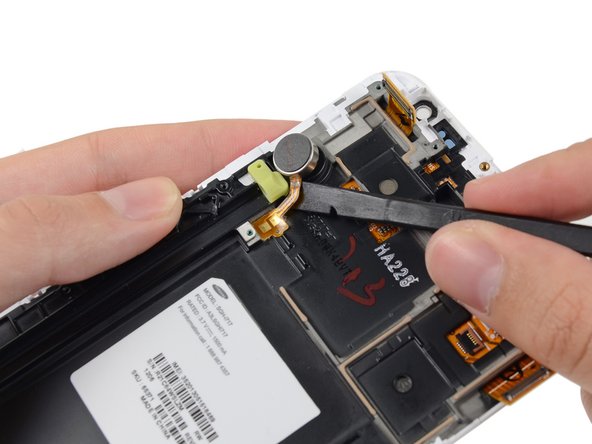
      • Insert the tip of a spudger under the vibrator connector cable near the contacts then slide toward the vibrator itself.

      Спросите у FixBot

      Добавить комментарий

    12. Samsung Galaxy Note Display Assembly Replacement: шаг 30, изображение 1 из 2 Samsung Galaxy Note Display Assembly Replacement: шаг 30, изображение 2 из 2
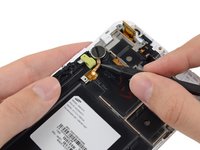
      • Insert the flat end of a spudger under the vibrator connector cable, and pry it up from the adhesive.

      Спросите у FixBot

      Добавить комментарий

    13. Samsung Galaxy Note Display Assembly Replacement: шаг 31, изображение 1 из 1
      • Remove the vibrator from the display assembly.

      Спросите у FixBot

      Добавить комментарий

Заключение

To reassemble your device, follow these instructions in reverse order.

Отменить: Я не выполнил это руководство.

43 человек успешно провели ремонт по этому руководству.

Sam Goldheart

Участник с: 10/18/12

477 893 Репутация

Автор 538 руководств

Команда

iFixit Участник iFixit

Staff

123 членов

Автор 55 924 руководств

6 Комментарии к руководству

étape 31 ensuite ??

Fabrice - Ответить Поделиться

Fantastic !!

omarkhurshid - Ответить Поделиться

i have a galaxy not and its display is badly broken,at the top of the phone(front side),the display is broken so badly that i am able to a little circuit i.e. a brown color wire which is connected to the display.

so my ques. is that can the phone work after repairing or it has gone?

Abhishek Kumbhar - Ответить Поделиться

Hello Abhishek Kumbhar, if the motherboard is not damaged it's all fine. All other parts are replaceable

Georg Fischer - Ответить Поделиться

excellent photos

of samsung 717

murali maroju - Ответить Поделиться

Добавить комментарий

Статистика просмотров:

За последние 24 часов: 2

За последние 7 дней: 15

За последние 30 дней: 48

За всё время: 45,239