Перейти к основному содержанию
Присоединяйся к сообществу ремонтников - Создай аккаунт

Samsung Galaxy Note5 Display Replacement

Выберете то, что вам нужно

    1. Samsung Galaxy Note5 Display Replacement, SIM Card Tray: шаг 1, изображение 1 из 1
      • Insert a SIM Ejector Tool into the small hole on the left side of the top edge of the device.

      • Press down until the SIM Card Tray begins to protrude out of the device.

      Спросите у FixBot

      Добавить комментарий

    2. Samsung Galaxy Note5 Display Replacement: шаг 2, изображение 1 из 1
      • Remove the SIM Card Tray from the slot.

      Спросите у FixBot

      Добавить комментарий

    1. Samsung Galaxy Note5 Display Replacement, Display: шаг 3, изображение 1 из 1
      • Heat the back of the device with a heat gun for two minutes.

      Спросите у FixBot

      Добавить комментарий

    2. Samsung Galaxy Note5 Display Replacement: шаг 4, изображение 1 из 1
      • Once the device is very warm to the touch, place a suction cup near the bottom of the back of the device.

      • Make sure to place the suction cup on the flat part of the glass.

      • Gently pull upwards on the suction cup to separate the rear glass from the body of the phone.

      • While pulling upwards, insert a pick under the rear glass

      Спросите у FixBot

      Добавить комментарий

    3. Samsung Galaxy Note5 Display Replacement: шаг 5, изображение 1 из 1
      • Keeping the pick under the rear glass, move the pick along the bottom edge of the device to cut the adhesive.

      Спросите у FixBot

      Добавить комментарий

    4. Samsung Galaxy Note5 Display Replacement: шаг 6, изображение 1 из 1
      • Repeat the previous heating and cutting procedure for the remaining three sides of the phone.

      • Leave a pick on each side as you continue to the next to prevent the adhesive from resealing.

      Спросите у FixBot

      Добавить комментарий

    5. Samsung Galaxy Note5 Display Replacement: шаг 7, изображение 1 из 1
      • Once all adhesive has been cut, gently lift up the rear glass to remove it.

      Спросите у FixBot

      Добавить комментарий

    6. Samsung Galaxy Note5 Display Replacement: шаг 8, изображение 1 из 1
      • Remove the S-Pen from the bottom of the device.

      Спросите у FixBot

      Добавить комментарий

    7. Samsung Galaxy Note5 Display Replacement: шаг 9, изображение 1 из 2 Samsung Galaxy Note5 Display Replacement: шаг 9, изображение 2 из 2
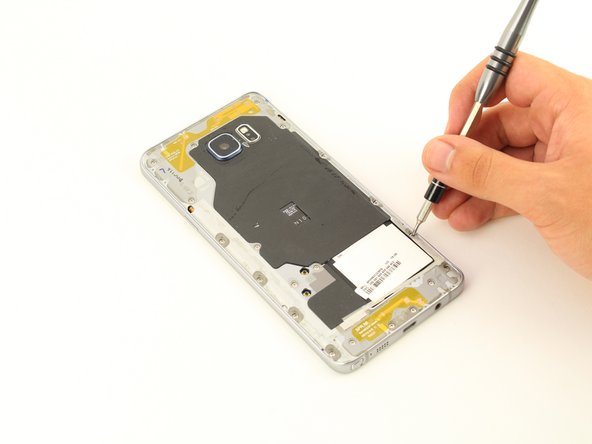
      • Remove 20 5mm screws with a Phillips #1 Screwdriver.

      Спросите у FixBot

      Добавить комментарий

    8. Samsung Galaxy Note5 Display Replacement: шаг 10, изображение 1 из 3 Samsung Galaxy Note5 Display Replacement: шаг 10, изображение 2 из 3 Samsung Galaxy Note5 Display Replacement: шаг 10, изображение 3 из 3
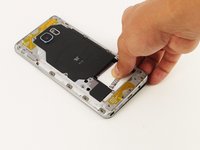
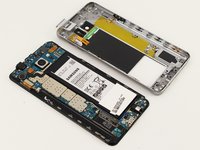
      • Grip the back of the device and press down on the white square to remove the middle housing.

      Спросите у FixBot

      Добавить комментарий

    9. Samsung Galaxy Note5 Display Replacement: шаг 11, изображение 1 из 1
      • Loosen the two signal cable connectors.

      Спросите у FixBot

      Добавить комментарий

    10. Samsung Galaxy Note5 Display Replacement: шаг 12, изображение 1 из 3 Samsung Galaxy Note5 Display Replacement: шаг 12, изображение 2 из 3 Samsung Galaxy Note5 Display Replacement: шаг 12, изображение 3 из 3
      Инструмент, используемый на этом этапе:
      Tweezers
      $4.99
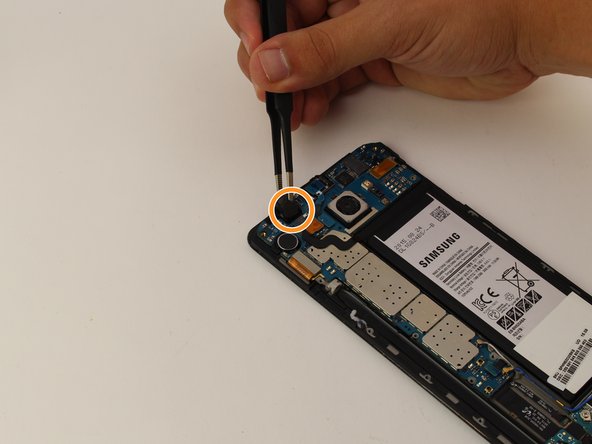
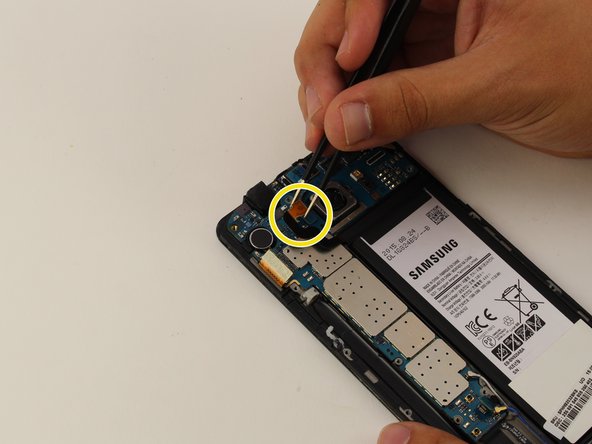
      • To disconnect flexes, carefully pull up on the exposed tab with tweezers.

      • Disconnect the battery flex.

      • Disconnect the earpiece flex.

      • Disconnect the battery flex.

      Спросите у FixBot

      Добавить комментарий

    11. Samsung Galaxy Note5 Display Replacement: шаг 13, изображение 1 из 1
      • Remove the teal navigation button flex.

      Спросите у FixBot

      Добавить комментарий

    12. Samsung Galaxy Note5 Display Replacement: шаг 14, изображение 1 из 1
      • Gently lift up the motherboard from the top end to remove.

      • Make sure all flexes are disconnected before removing the motherboard. If the motherboard does not easily detach, remove any connected flexes.

      Спросите у FixBot

      Добавить комментарий

    13. Samsung Galaxy Note5 Display Replacement: шаг 15, изображение 1 из 3 Samsung Galaxy Note5 Display Replacement: шаг 15, изображение 2 из 3 Samsung Galaxy Note5 Display Replacement: шаг 15, изображение 3 из 3
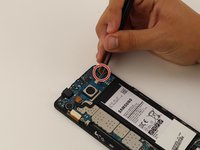
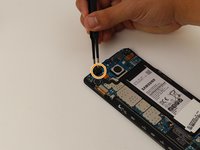
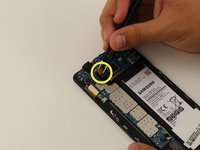
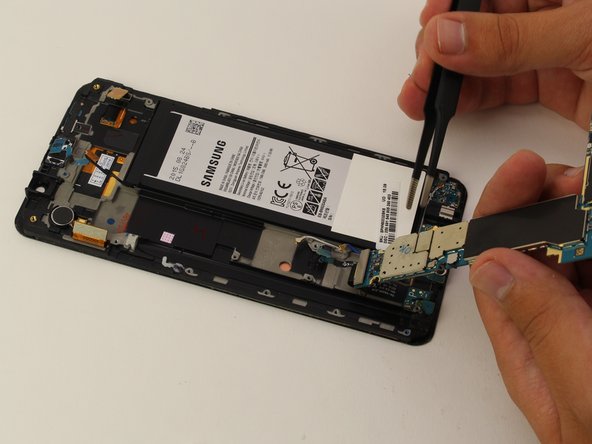
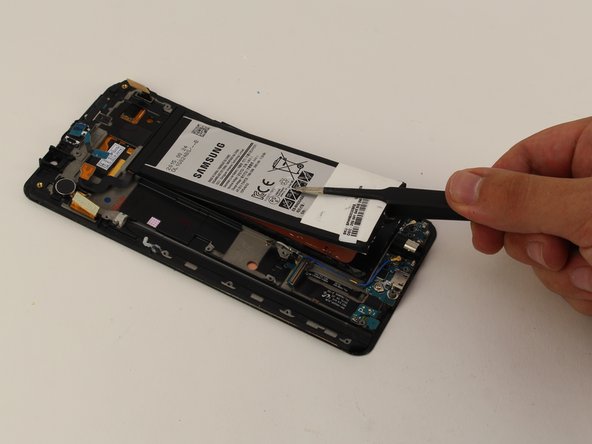
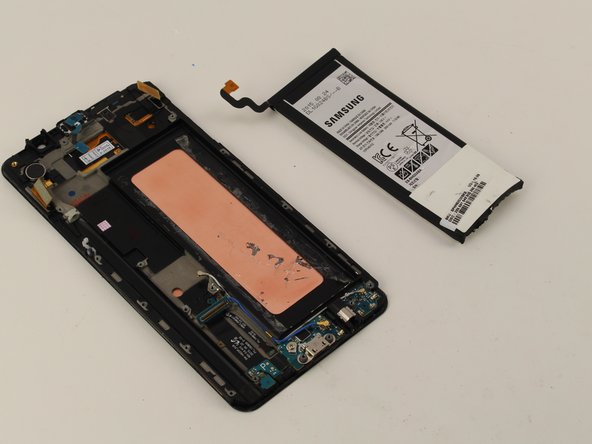
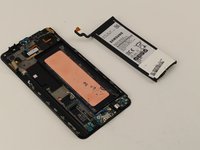
      • With the motherboard removed, slowly pry off the battery with tweezers, starting at the bottom.

      • Be careful not to puncture the battery as this could cause permanent damage.

      Спросите у FixBot

      Добавить комментарий

    14. Samsung Galaxy Note5 Display Replacement: шаг 16, изображение 1 из 1
      • Heat the display for two minutes with a heat gun.

      Спросите у FixBot

      Добавить комментарий

    15. Samsung Galaxy Note5 Display Replacement: шаг 17, изображение 1 из 1
      • Once the display is very warm to the touch, slide a pick between the LCD and the LCD shield on the bottom edge of the device.

      • Slide the pick across the bottom to cut through the adhesive.

      Спросите у FixBot

      Добавить комментарий

    16. Samsung Galaxy Note5 Display Replacement: шаг 18, изображение 1 из 1
      • The display is now removed.

      Спросите у FixBot

      Добавить комментарий

Заключение

To reassemble your device, follow these instructions in reverse order.

Отменить: Я не выполнил это руководство.

41 человек успешно провели ремонт по этому руководству.

Alexander Laucius

Участник с: 04/19/18

1 662 Репутация

Автор 2 руководств

Команда

Cal Poly, Team S25-G17, Maness Spring 2018 Участник Cal Poly, Team S25-G17, Maness Spring 2018

CPSU-MANESS-S18S25G17

4 членов

Автор 46 руководств

6 Комментарии к руководству

Worked like a charm

Ronald Sapp - Ответить Поделиться

How does one bond everything back together?

lcplthomasc - Ответить Поделиться

I am working in fixing my own Note 5. I have heard that double-sided tape made specifically for this task are best. You can find different options here: https://www.magazingsm.ro/adeziv-geam-si...

Cristina - Ответить Поделиться

I have now replaced the display on my Note 5 and actually I didn’t even use the glue I bought. The original glue is quite a lot and the new display comes with glue on the back of it. Thanks again, Alexander, for your helpful instructions!

Cristina - Ответить Поделиться

This was very helpful. Many thanks to the author. may God add many years to his life.

Peterson - Ответить Поделиться

Добавить комментарий

Статистика просмотров:

За последние 24 часов: 4

За последние 7 дней: 33

За последние 30 дней: 103

За всё время: 27,116