Введение
This guide instructs you to remove the Display Assembly, which consists of the LCD and the Digitizer. After removing this assembly, you will be able to access other parts of your phone as well.
Выберете то, что вам нужно
-
-
Insert your fingernail or a plastic opening tool into the pivot on the side of the SIM tray.
-
Pry open the tray to get it out of the socket.
-
-
-
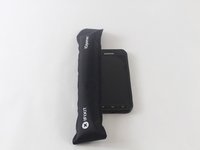
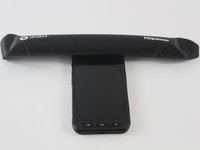
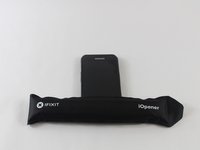
Heat the front face (sides, top, bottom) of the phone with the iOpener, a hair dryer, or a heat gun for 60 seconds to loosen the adhesive around the edge of the glass.
-
-
-
-
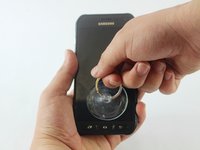
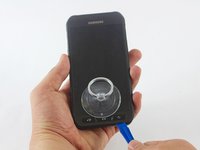
Once you’ve opened a large enough gap, insert a plastic tool at the bottom, between the glass and the rest of frame of the phone.
-
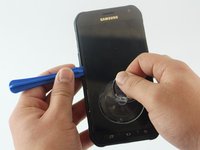
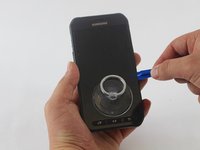
Slide the plastic opening tool around the screen, prying the display gently away from the body
-
-
-
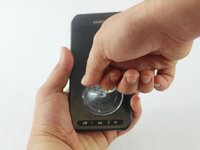
Pull the lower half of the screen screen with the suction cup while holding down the frame of the phone to separate both components.
-
-
Инструмент, используемый на этом этапе:Tweezers$4.99
-
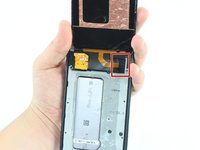
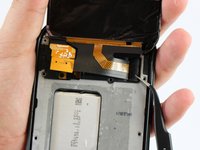
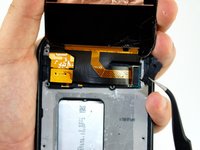
Once the glass is off, you will see a small clip covering the screen connection to the motherboard at the top of the phone. Use tweezers to grab the clip by the crease on its side and pull it out.
-


To reassemble your device, follow these instructions in reverse order.
Отменить: Я не выполнил это руководство.
9 человек успешно провели ремонт по этому руководству.
Команда

USF Tampa, Team 1-5, Sullivan Spring 2017 Участник USF Tampa, Team 1-5, Sullivan Spring 2017
USFT-SULLIVAN-S17S1G5
3 членов
Автор 25 руководств
6 Комментарии к руководству
Great guide but I don't think its difficult, one of the easier repairs out there.
Okay, well, the hairdryer didn’t work. Or maybe that suction cup might help lift a screen that *isn’t* shattered…?
Ah, well. At least the guide was free and the screen kit was cheap; now it’s all just trash.
Suction cup does not work on a cracked screen. You will loose vacuum via the gaps in the cracks. Also be patient with the hair dryer. You must not rush that process. The idea is to heat the edge of the glass so that the glue strip under will melt or get soft enough to pull lose. Not to hot and not to cold. To hot and you damage the phone. To cold and the glue wont melt. It must be hot enough to touch with your finger for a few seconds before burning you. Then keep heating all the way around as you work IF you are working slow. The glue will harden if it cools done. I broke many screens before the process clicked in my mind. Now I realise how easy it was altogether.
Good luck
So we got it apart, which wasnt hard, just a pain! But yeah in the directions it says to put back together just reverse disrecyions. Umm yeah thats NOT working, i can NOT get the %#*@ screen connector reconnected. I've been trying for the 2 hours and it's not working! How am I suppose to line it up? And is it suppose to just clip together? What am I missing??? Please help!
How do you reseal the screen? Do new screens come with glue to reattach the screens with?