Перейти к основному содержанию
Присоединяйся к сообществу ремонтников - Создай аккаунт

Samsung Galaxy S6 Active Front Camera Replacement

Выберете то, что вам нужно

  1. Samsung Galaxy S6 Active Front Camera Replacement, SIM Card: шаг 1, изображение 1 из 2 Samsung Galaxy S6 Active Front Camera Replacement, SIM Card: шаг 1, изображение 2 из 2
    • Insert your fingernail or a plastic opening tool into the pivot on the side of the SIM tray.

    • Pry open the tray to get it out of the socket.

    Спросите у FixBot

    Добавить комментарий

  2. Samsung Galaxy S6 Active Front Camera Replacement: шаг 2, изображение 1 из 1
    • Remove the SIM tray with SIM card from the phone.

    Спросите у FixBot

    Добавить комментарий

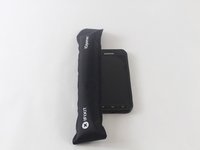
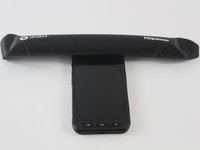
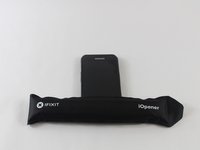
  3. Samsung Galaxy S6 Active Front Camera Replacement, Display Assembly: шаг 3, изображение 1 из 3 Samsung Galaxy S6 Active Front Camera Replacement, Display Assembly: шаг 3, изображение 2 из 3 Samsung Galaxy S6 Active Front Camera Replacement, Display Assembly: шаг 3, изображение 3 из 3
    • Heat the front face (sides, top, bottom) of the phone with the iOpener, a hair dryer, or a heat gun for 60 seconds to loosen the adhesive around the edge of the glass.

    • If using an iOpener, heat it in a microwave for thirty seconds.

    Спросите у FixBot

    Добавить комментарий

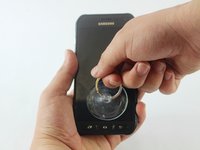
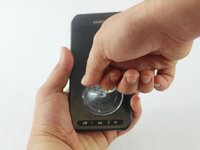
  4. Samsung Galaxy S6 Active Front Camera Replacement: шаг 4, изображение 1 из 1
    • Attach a suction cup to the lower half of the screen.

    Спросите у FixBot

    Добавить комментарий

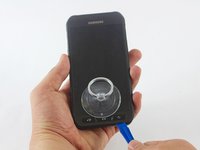
  5. Samsung Galaxy S6 Active Front Camera Replacement: шаг 5, изображение 1 из 2 Samsung Galaxy S6 Active Front Camera Replacement: шаг 5, изображение 2 из 2
    • Using the suction cup, pull gently the lower half of the panel.

    • If you pull too hard you may break the display. If you still feel resistance repeat Step 3, leaving the iOpener on longer.

    Спросите у FixBot

    Добавить комментарий

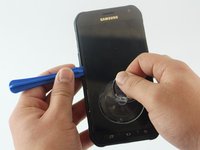
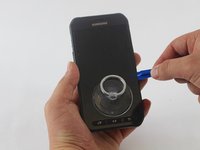
  6. Samsung Galaxy S6 Active Front Camera Replacement: шаг 6, изображение 1 из 3 Samsung Galaxy S6 Active Front Camera Replacement: шаг 6, изображение 2 из 3 Samsung Galaxy S6 Active Front Camera Replacement: шаг 6, изображение 3 из 3
    • Once you’ve opened a large enough gap, insert a plastic tool at the bottom, between the glass and the rest of frame of the phone.

    • Slide the plastic opening tool around the screen, prying the display gently away from the body

    Спросите у FixBot

    Добавить комментарий

  7. Samsung Galaxy S6 Active Front Camera Replacement: шаг 7, изображение 1 из 1
    • Pull the lower half of the screen screen with the suction cup while holding down the frame of the phone to separate both components.

    • Only lift the lower part of the screen. It is connected with a clip to the top of the motherboard and can rip off if you pull too hard.

    Спросите у FixBot

    Добавить комментарий

  8. Samsung Galaxy S6 Active Front Camera Replacement: шаг 8, изображение 1 из 3 Samsung Galaxy S6 Active Front Camera Replacement: шаг 8, изображение 2 из 3 Samsung Galaxy S6 Active Front Camera Replacement: шаг 8, изображение 3 из 3
    Инструмент, используемый на этом этапе:
    Tweezers
    $4.99
    • Once the glass is off, you will see a small clip covering the screen connection to the motherboard at the top of the phone. Use tweezers to grab the clip by the crease on its side and pull it out.

    Спросите у FixBot

    Добавить комментарий

  9. Samsung Galaxy S6 Active Front Camera Replacement: шаг 9, изображение 1 из 1
    • Undo the screen connection with a plastic tool.

    Спросите у FixBot

    Добавить комментарий

  10. Samsung Galaxy S6 Active Front Camera Replacement: шаг 10, изображение 1 из 1
    • Remove the display assembly (LCD and Digitizer).

    Спросите у FixBot

    Добавить комментарий

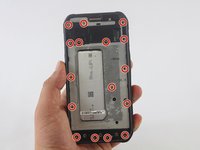
  11. Samsung Galaxy S6 Active Front Camera Replacement, Battery: шаг 11, изображение 1 из 2 Samsung Galaxy S6 Active Front Camera Replacement, Battery: шаг 11, изображение 2 из 2
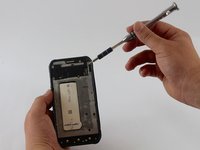
    • Use the Phillips Head Screwdriver sized PH000 to remove the sixteen 4mm screws from the frame.

    Спросите у FixBot

    Добавить комментарий

  12. Samsung Galaxy S6 Active Front Camera Replacement: шаг 12, изображение 1 из 1
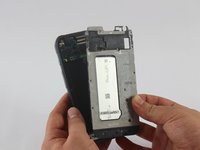
    • Put a little pressure on the top, on the bottom, and on the sides of the phone to separate the rear case.

    • You will hear the clips start undoing themselves.

    Спросите у FixBot

    Добавить комментарий

  13. Samsung Galaxy S6 Active Front Camera Replacement: шаг 13, изображение 1 из 2 Samsung Galaxy S6 Active Front Camera Replacement: шаг 13, изображение 2 из 2
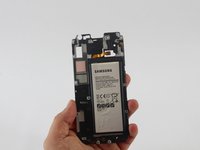
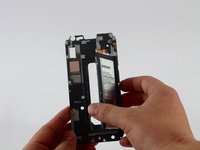
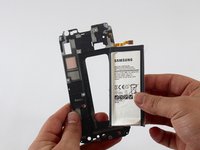
    • Once all the clips have popped, pull out the rear case to separate it from the frame with the battery.

    • The battery will be on the back side of this frame.

    Спросите у FixBot

    Добавить комментарий

  14. Samsung Galaxy S6 Active Front Camera Replacement: шаг 14, изображение 1 из 1
    • Insert a plastic opening tool on the side of the frame and pull out the battery.

    Спросите у FixBot

    Добавить комментарий

  15. Samsung Galaxy S6 Active Front Camera Replacement: шаг 15, изображение 1 из 2 Samsung Galaxy S6 Active Front Camera Replacement: шаг 15, изображение 2 из 2
    • Remove the battery from the frame.

    Спросите у FixBot

    Добавить комментарий

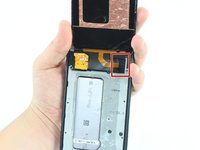
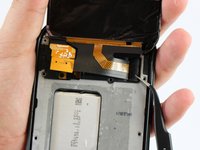
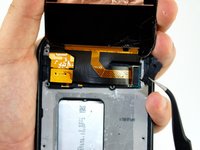
  16. Samsung Galaxy S6 Active Front Camera Replacement, Motherboard: шаг 16, изображение 1 из 3 Samsung Galaxy S6 Active Front Camera Replacement, Motherboard: шаг 16, изображение 2 из 3 Samsung Galaxy S6 Active Front Camera Replacement, Motherboard: шаг 16, изображение 3 из 3
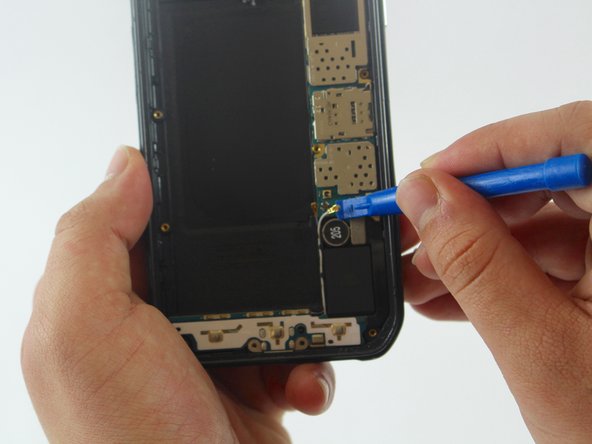
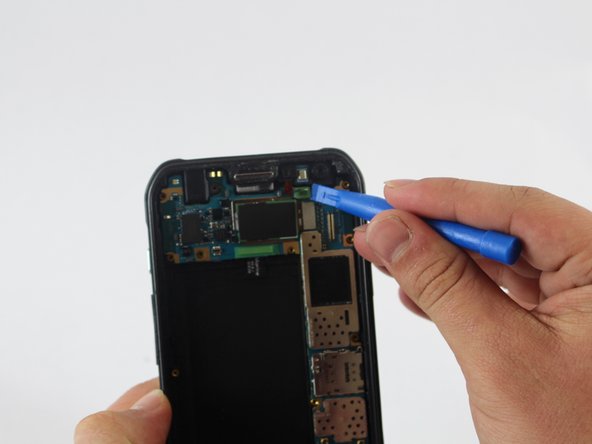
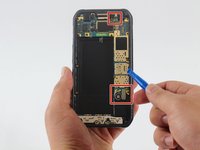
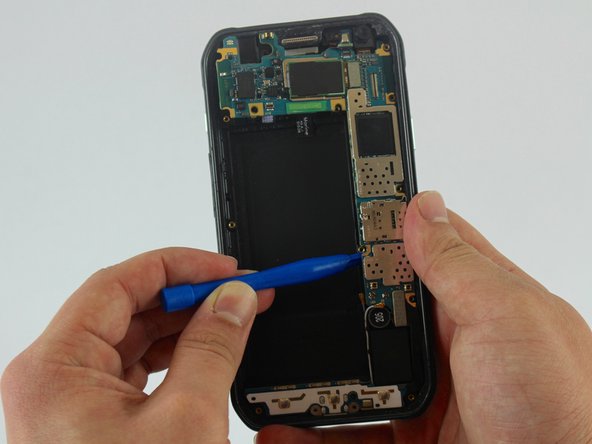
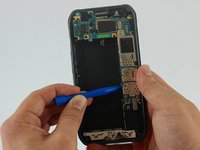
    • Use a plastic tool to undo all the connections in the motherboard.

    • There are three connections that have to be removed.

    Спросите у FixBot

    Добавить комментарий

  17. Samsung Galaxy S6 Active Front Camera Replacement: шаг 17, изображение 1 из 2 Samsung Galaxy S6 Active Front Camera Replacement: шаг 17, изображение 2 из 2
    • Insert the flats end of the spudger below the motherboard and twist it to pry the board up.

    Спросите у FixBot

    Добавить комментарий

  18. Samsung Galaxy S6 Active Front Camera Replacement: шаг 18, изображение 1 из 1
    • Remove the motherboard from the rear case.

    Спросите у FixBot

    Добавить комментарий

  19. Samsung Galaxy S6 Active Front Camera Replacement, Front Camera: шаг 19, изображение 1 из 2 Samsung Galaxy S6 Active Front Camera Replacement, Front Camera: шаг 19, изображение 2 из 2
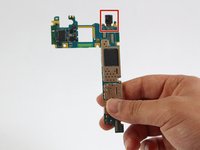
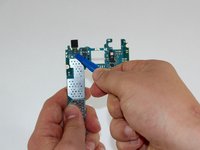
    • The front camera will be attached to the back of the motherboard.

    • Turn the motherboard around and use a plastic tool to undo the connection of the front camera.

    Спросите у FixBot

    Добавить комментарий

  20. Samsung Galaxy S6 Active Front Camera Replacement: шаг 20, изображение 1 из 1
    Инструмент, используемый на этом этапе:
    Tweezers
    $4.99
    • Use the tweezers to remove the front camera from the motherboard.

    Спросите у FixBot

    Добавить комментарий

Заключение

To reassemble your device, follow these instructions in reverse order.

Отменить: Я не выполнил это руководство.

Еще один человек закончил это руководство.

Lucia Valbuena

Участник с: 02/15/17

2 538 Репутация

Автор 8 руководств

Команда

USF Tampa, Team 1-5, Sullivan Spring 2017 Участник USF Tampa, Team 1-5, Sullivan Spring 2017

USFT-SULLIVAN-S17S1G5

3 членов

Автор 25 руководств

0 Комментарии к руководству

Добавить комментарий

Статистика просмотров:

За последние 24 часов: 1

За последние 7 дней: 9

За последние 30 дней: 43

За всё время: 1,070