Этот документ имеет более свежие изменения. Перейти к последней непроверенной версии.
Введение
Replacement guide for the OEM Samsung Galaxy Tab A 8.0 (SM-T350) display assembly.
Выберете то, что вам нужно
-
-
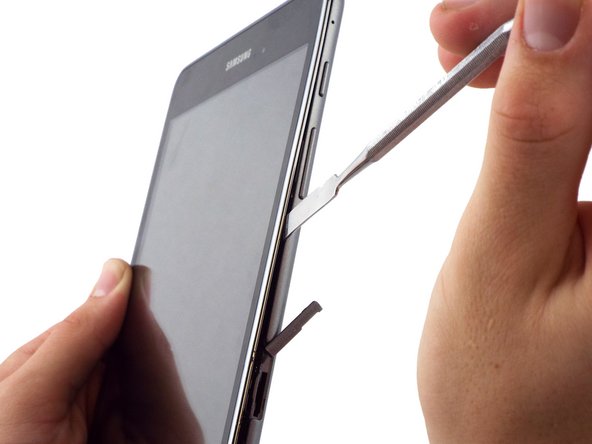
At the top portion of the memory card slot, use the small metal spudger to create separation between the back cover and the rest of the device.
-
-
-
Use the intermediate metal spudger in place of the small metal spudger to remove the back cover. This is done by sliding the intermediate metal spudger around the perimeter of the device, beginning at the top portion of the memory card slot.
-
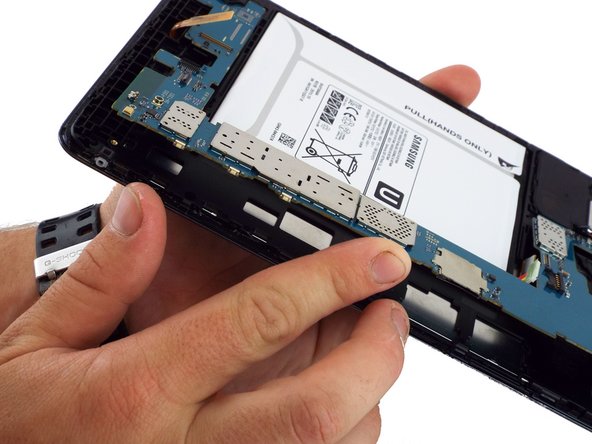
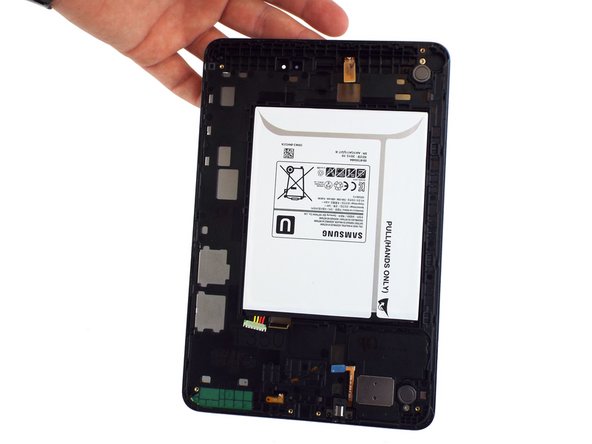
The second picture shows the internal portion of the device once the back cover is removed.
-
-
-
Disconnect the electrical connector from the motherboard using the bent precision tweezers.
-
-
-
Use the flat end of the plastic spudger to pry the battery apart from the rest of the device.
-
Once the back cover and battery are removed, the device should look like as illustrated in the second picture.
-
-
-
-
Use a spudger to lift up and release the press-fit display cable connector from the motherboard.
-
-
-
Use a spudger to lift up and release the ZIF connector; gently pull the rear facing camera ribbon cable free.
-
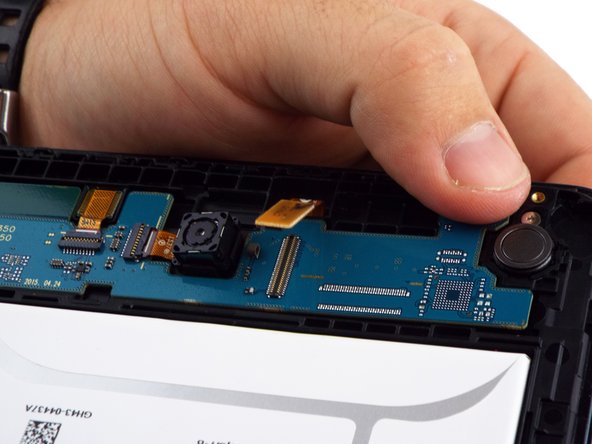
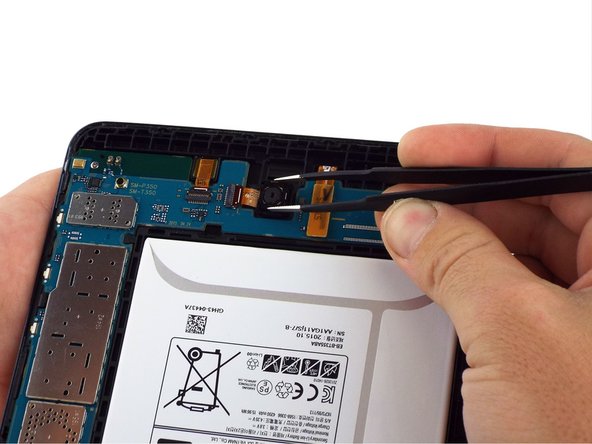
Use a pair of tweezers to gently secure the camera and lift it out of the frame.
-
-
-
Use a spudger to flip the front-facing camera ZIF connector up; gently pull the ribbon cable free.
-
Use tweezers to gently remove the front facing camera from the frame.
-
-
-
Use the flat end of a spudger to lift up and disconnect the LCD screen press-fit connector.
-
-
-
Use the flat end of a spudger to lift up and disconnect the 3.5mm headset jack press-fit connector.
-
-
-
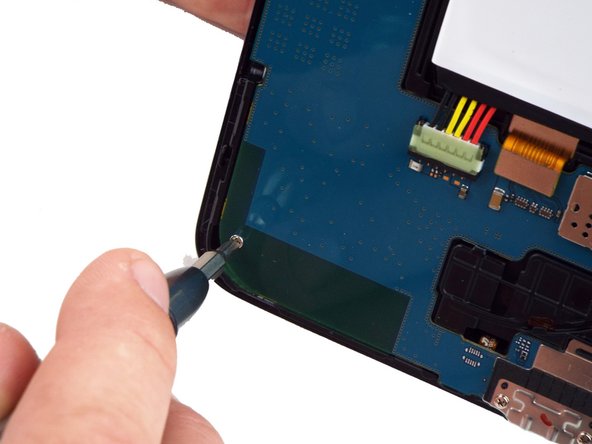
Use a PH000 screwdriver to remove the two 3 mm screws that connect the USB port shield to the midframe.
-
-
-
Use a PH000 screwdriver to remove the two 3 mm screws on the left side of the motherboard.
-
-
-
Lift the motherboard free from the power and volume button side.
-
You may use a spudger to assist in gently lifting the motherboard up from the button side.
-
A small plastic bracket secures the motherboard to the frame; lift the motherboard from the power and volume button side first, and slide away from the bracket.
-
To reassemble your device, follow these instructions in reverse order.
To reassemble your device, follow these instructions in reverse order.
Отменить: Я не выполнил это руководство.
13 участников успешно повторили данное руководство.
3 Комментариев
Where is the rest of this guide? Just stops after removing motherboard :[
It appears that it is intended to remove all parts from the case (battery and motherboard) and install them in a new body with a good screen attached.
Ben D -
After removing the motherboard, I continued with disassembly by following the iFixit guide for the Digitizer removal.
( Samsung Galaxy Tab A Digitizer Replacement )
After removing the glass/digitizer, I was able to remove the LCD relatively easy by pushing it through the gaps on the back end of the frame. It appeared to not have any adhesive holding it in place. I was replacing the LCD and the digitizer in my case so I was I bit more careless with the removal of those components. I did place a bit of adhesive on the new LCD replacement and everything fit back snuggly.

