Перейти к основному содержанию
Присоединяйся к сообществу ремонтников - Создай аккаунт

Samsung ML2510 Side Cooling Fan Replacement

Выберете то, что вам нужно

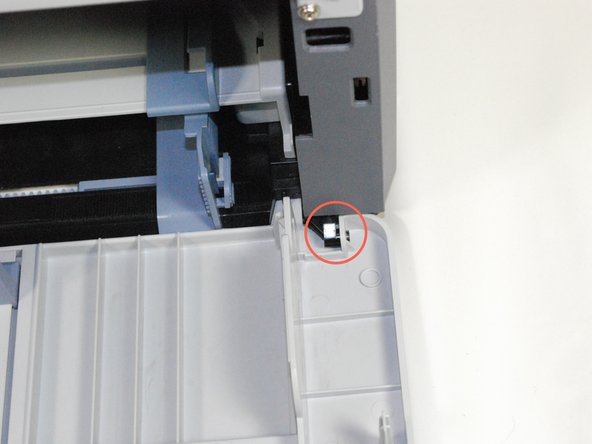
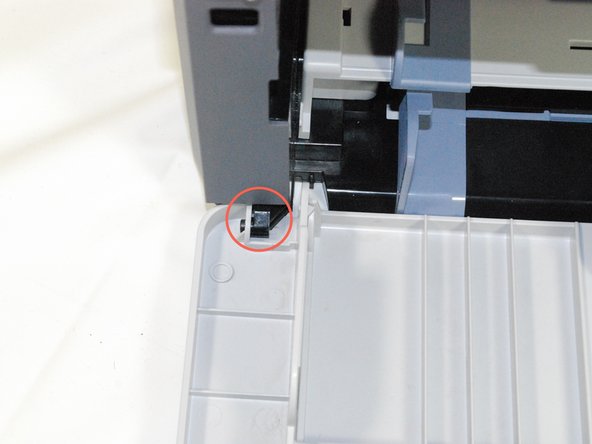
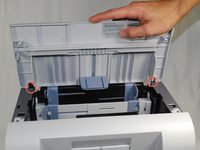
    1. Samsung ML2510 Side Cooling Fan Replacement, Removing Samsung ML2510 Back Panel: шаг 1, изображение 1 из 3 Samsung ML2510 Side Cooling Fan Replacement, Removing Samsung ML2510 Back Panel: шаг 1, изображение 2 из 3 Samsung ML2510 Side Cooling Fan Replacement, Removing Samsung ML2510 Back Panel: шаг 1, изображение 3 из 3
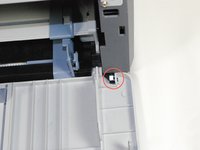
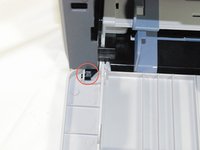
      • Remove the top hinged panel by taking out the pins at the bottom of this panel.

      Спросите у FixBot

      Добавить комментарий

    2. Samsung ML2510 Side Cooling Fan Replacement: шаг 2, изображение 1 из 1
      • Using a Phillips #2 screwdriver, remove the four screws on the back of the printer.

      Спросите у FixBot

      Добавить комментарий

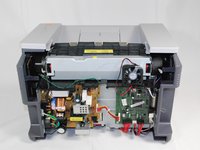
    3. Samsung ML2510 Side Cooling Fan Replacement: шаг 3, изображение 1 из 3 Samsung ML2510 Side Cooling Fan Replacement: шаг 3, изображение 2 из 3 Samsung ML2510 Side Cooling Fan Replacement: шаг 3, изображение 3 из 3
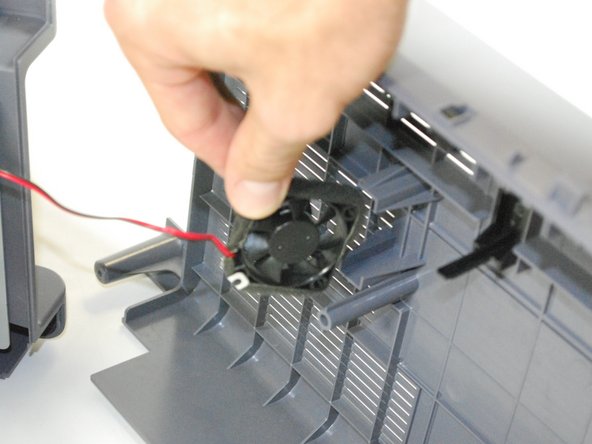
      • Gently lift the top panel while simultaneously pulling off the back panel.

      • Before pulling out the back panel entirely, make sure to remove the rear cooling fan from its slot.

      Спросите у FixBot

      Добавить комментарий

    1. Samsung ML2510 Side Cooling Fan Replacement, Side Cooling Fan: шаг 4, изображение 1 из 3 Samsung ML2510 Side Cooling Fan Replacement, Side Cooling Fan: шаг 4, изображение 2 из 3 Samsung ML2510 Side Cooling Fan Replacement, Side Cooling Fan: шаг 4, изображение 3 из 3
      • Locate the holes on the panel that are attached to the main body.

      • Remove the front panel by gently moving the holes from the pegs one by one.

      Спросите у FixBot

      Добавить комментарий

    2. Samsung ML2510 Side Cooling Fan Replacement: шаг 5, изображение 1 из 1
      • Using a Phillips #2 screwdriver, remove the two 1" screws on the front face of the printer.

      Спросите у FixBot

      Добавить комментарий

    3. Samsung ML2510 Side Cooling Fan Replacement: шаг 6, изображение 1 из 3 Samsung ML2510 Side Cooling Fan Replacement: шаг 6, изображение 2 из 3 Samsung ML2510 Side Cooling Fan Replacement: шаг 6, изображение 3 из 3
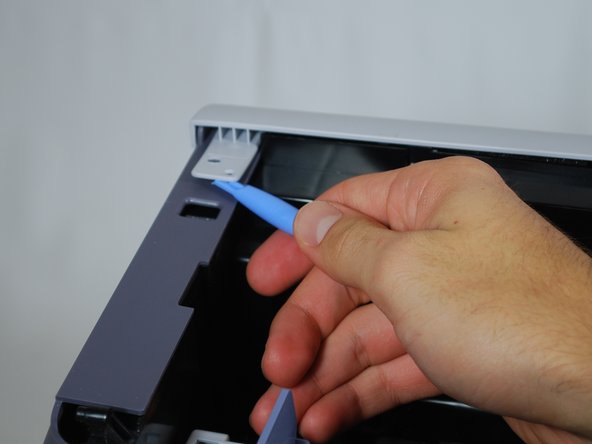
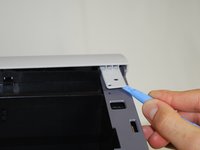
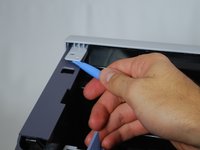
      • Using a plastic opening tool, gently lift one side of the top panel from its peg.

      • Repeat process for the other side.

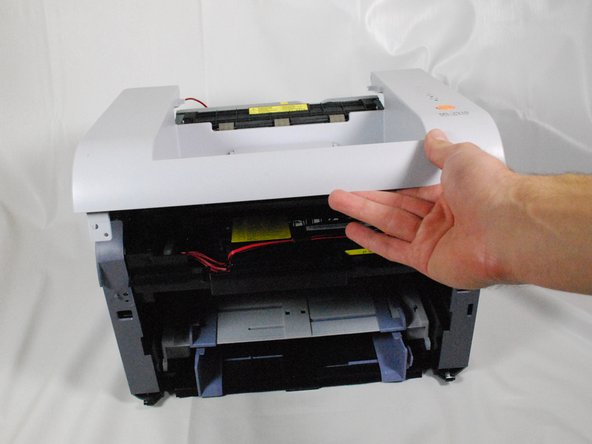
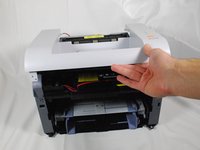
      • Lift the top panel from the front to remove it entirely.

      Спросите у FixBot

      Добавить комментарий

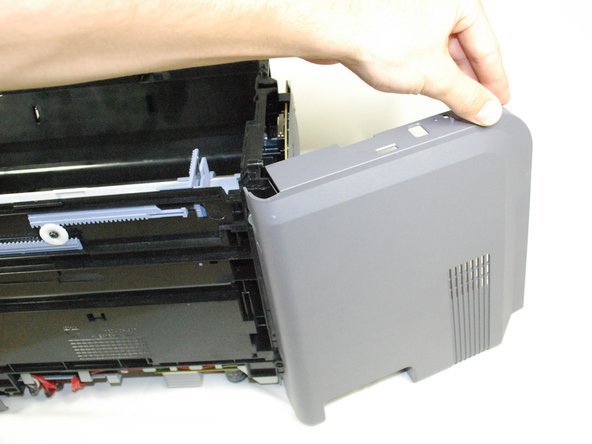
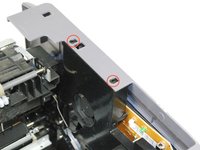
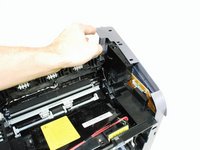
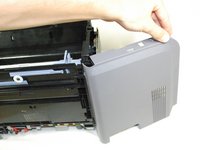
    4. Samsung ML2510 Side Cooling Fan Replacement: шаг 7, изображение 1 из 3 Samsung ML2510 Side Cooling Fan Replacement: шаг 7, изображение 2 из 3 Samsung ML2510 Side Cooling Fan Replacement: шаг 7, изображение 3 из 3
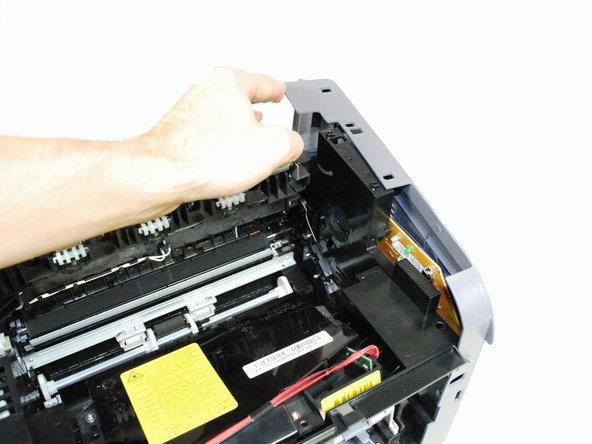
      • Lift the right side-panel up from the raised stops.

      • Gently rotate the panel as indicated in the picture to remove the panel entirely.

      Спросите у FixBot

      Добавить комментарий

    5. Samsung ML2510 Side Cooling Fan Replacement: шаг 8, изображение 1 из 1
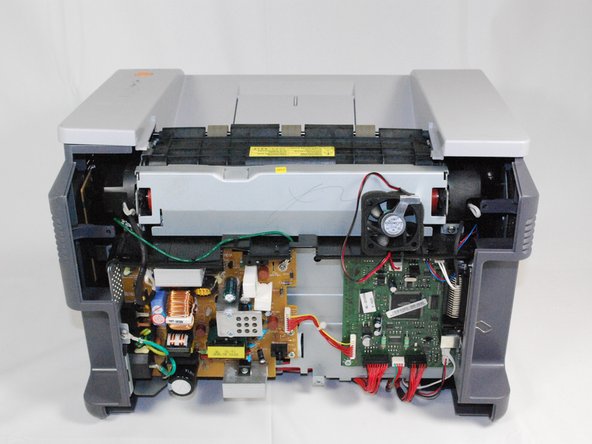
      • Poke out the side fan from the inside of the printer.

      Спросите у FixBot

      Добавить комментарий

    6. Samsung ML2510 Side Cooling Fan Replacement: шаг 9, изображение 1 из 1
      • Unplug the fan's wires from the side circuit board.

      • Replace the fan and reassemble the printer using reverse procedures.

      Спросите у FixBot

      Добавить комментарий

Заключение

To reassemble your device, follow these instructions in reverse order.

Отменить: Я не выполнил это руководство.

2 человек успешно провели ремонт по этому руководству.

bbaustin

Участник с: 10/12/11

268 Репутация

Автор 6 руководств

Команда

Cal Poly, Team 17-18, Regan Fall 2011 Участник Cal Poly, Team 17-18, Regan Fall 2011

CPSU-REGAN-F11S17G18

4 членов

Автор 12 руководств

0 Комментарии к руководству

Добавить комментарий

Статистика просмотров:

За последние 24 часов: 0

За последние 7 дней: 4

За последние 30 дней: 25

За всё время: 2,944